To diagnose leaks in your inflatable kayaks and SUPs, start by inflating them to the recommended pressure. Listen for hissing sounds, indicating escaping air. If you suspect a leak, use a soapy water solution and spray around seams and patches; bubbles will reveal the leak’s location. Regularly inspect for wear and tear, especially at seam points, and repair any identified leaks promptly to keep your gear in top shape. There’s more to learn about effective maintenance techniques!
Key Takeaways
- Inflate the kayak or SUP to the recommended pressure before starting the leak diagnosis process.
- Listen for hissing sounds, indicating air escaping from potential leak sites.
- Apply a soapy water solution around seams and patches to identify bubbles forming at leaks.
- Use self-adhesive patches for small punctures and follow manufacturer instructions for proper adhesion.
- Regularly inspect and maintain gear to prevent unnoticed leaks and extend the lifespan of your inflatable watercraft.
When you’re out on the water, the last thing you want is a leak in your inflatable kayak or stand-up paddleboard (SUP). It can quickly turn a fun day into a frustrating experience. The first step in dealing with this potential disaster is knowing how to diagnose leaks effectively. You don’t want to be left wondering whether your gear is going to hold up, especially when you’re out in the middle of a lake or ocean.
Start by checking the material durability of your kayak or SUP. Most inflatable watercrafts are made from PVC or drop-stitch fabric, which are designed to withstand wear and tear. However, even the most durable materials can develop tiny punctures or leaks over time. Look for any signs of wear, such as scratches, abrasions, or irregularities. Pay special attention to seams, as these areas are often more vulnerable.
Check your kayak or SUP for material durability; even tough fabrics can develop leaks from wear and tear over time.
If you suspect a leak, you can perform a simple test. Inflate your kayak or SUP to its recommended pressure and then listen closely. Sometimes, you can hear a hissing sound that indicates air escaping. If you don’t hear anything, use a soapy water solution and spray it over the surface, particularly around seams and patches. If you see bubbles forming, you’ve found the leak.
Once you’ve identified the location of the leak, you’ll want to address it promptly. Depending on the size and nature of the leak, various patching techniques can be employed. For small punctures, a self-adhesive patch can work wonders. Clean the area around the leak thoroughly, apply the patch according to the manufacturer’s instructions, and let it cure. For larger holes, you might need to use a more robust repair kit that includes extra fabric and adhesive.
Remember, proper material durability is key to the longevity of your inflatable gear. Regularly check for wear and tear, and don’t hesitate to make repairs when needed. Even the best equipment requires some TLC. Additionally, consider investing in portable repair kits that can help you address leaks quickly while you’re out on your adventures.
Being proactive about diagnosing leaks and using effective patching techniques will keep your kayak or SUP in top shape. So next time you’re gearing up for a day on the water, take a moment to inspect your gear. You’ll have peace of mind knowing you’re ready for anything, and you can focus on enjoying your time on the water instead of worrying about leaks.
Frequently Asked Questions
How Can I Prevent Leaks in My Inflatable Kayak or SUP?
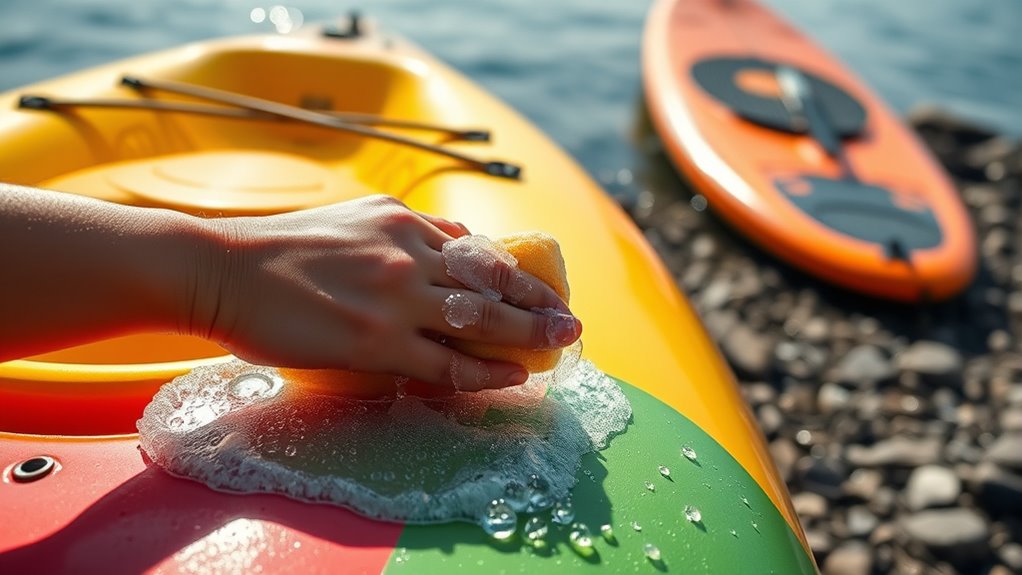
To prevent leaks in your inflatable kayak or SUP, follow regular maintenance routines like inspecting for punctures and ensuring valves are secure. Clean the surface after each use to remove debris and avoid abrasion. For storage, keep it in a cool, dry place away from direct sunlight, and deflate it partially to relieve pressure. Always use a protective cover to shield it from sharp objects or harsh weather conditions.
What Tools Do I Need for Leak Diagnosis?
To catch those elusive leaks, you’ll need some essential tools. Start with a leak detection kit, which often includes soapy water to spot bubbles. A flashlight can help illuminate hard-to-see areas, while a pressure gauge ensures your vessel’s inflated properly. Don’t forget a suitable repair kit, stocked with patches and adhesive, to tackle any issues you find. With these tools, you’ll be prepared to maintain your inflatable gear like a seasoned explorer.
How Often Should I Check for Leaks?
You should check for leaks regularly, ideally before each use and after long periods of storage. Incorporate maintenance tips like inspecting seams and valves, and use proper storage practices to avoid damage. If you’re storing your kayak or SUP for an extended time, give it a thorough leak check before the season starts. Staying proactive helps guarantee a safe and enjoyable experience on the water, so make it a routine!
Can I Patch a Leak Underwater?
You wouldn’t try to fix a flat tire while driving, right? Patching a leak underwater isn’t practical, as water pressure complicates the process. Instead, use leak detection tools to find the problem above water. Once you’ve located it, explore various patching techniques designed for wet conditions. Always verify the area is clean and dry before applying any patch for the best results. This way, you’ll keep your gear safe and sound for future adventures!
Are There Specific Brands Known for Leak Issues?
Yes, some brands have a reputation for leak issues. You might want to research specific models and their leak history before making a purchase. Brands known for quality usually have fewer complaints, so it’s wise to check customer reviews and feedback. Avoiding brands with consistent leak problems can save you headaches down the line. Always prioritize reliability and durability when selecting inflatable options for your adventures.
Conclusion
So, you’ve gone through all the trouble of finding and fixing leaks in your inflatable kayak or SUP, only to realize that the real challenge was your own patience. Isn’t it ironic? You set out to conquer the water, but first, you had to battle air loss. With each repair, you’ve not only saved your gear but also honed your skills—turning a frustrating task into a lesson in resilience. Now, you’re ready to glide smoothly, leak-free!