To replace a vacuum switch, first gather your tools like screwdrivers, pliers, and a multimeter. Locate the faulty switch, then carefully disconnect its vacuum lines and remove mounting fasteners. Prepare the new switch by checking compatibility and cleaning it. Install and secure it in place, reconnecting the vacuum hoses properly. Finally, test the system for leaks and correct operation. Keep going to explore detailed, step-by-step instructions with helpful photos to make the process easier.
Key Takeaways
- Gather necessary tools and identify the faulty vacuum switch using visual inspection and diagnostic tools.
- Carefully disconnect vacuum lines and remove the old switch, marking connections for accurate reinstallation.
- Install and secure the new vacuum switch, ensuring proper connection and calibration according to manufacturer instructions.
- Test system functionality by checking vacuum pressure, sensor response, and leak-free operation.
- Reassemble components, tighten connections, and verify the system operates smoothly without errors.
Gathering the Necessary Tools and Parts
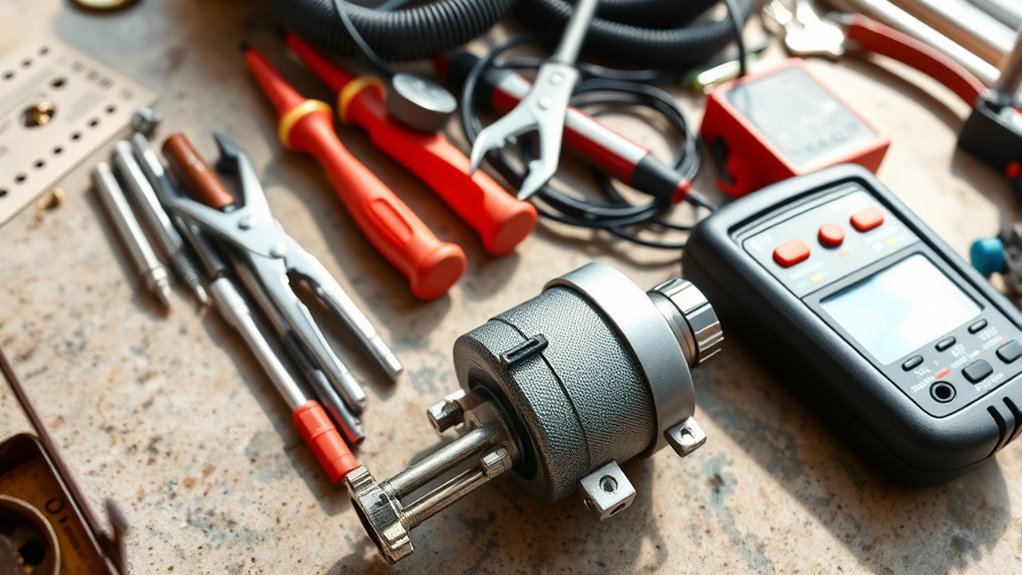
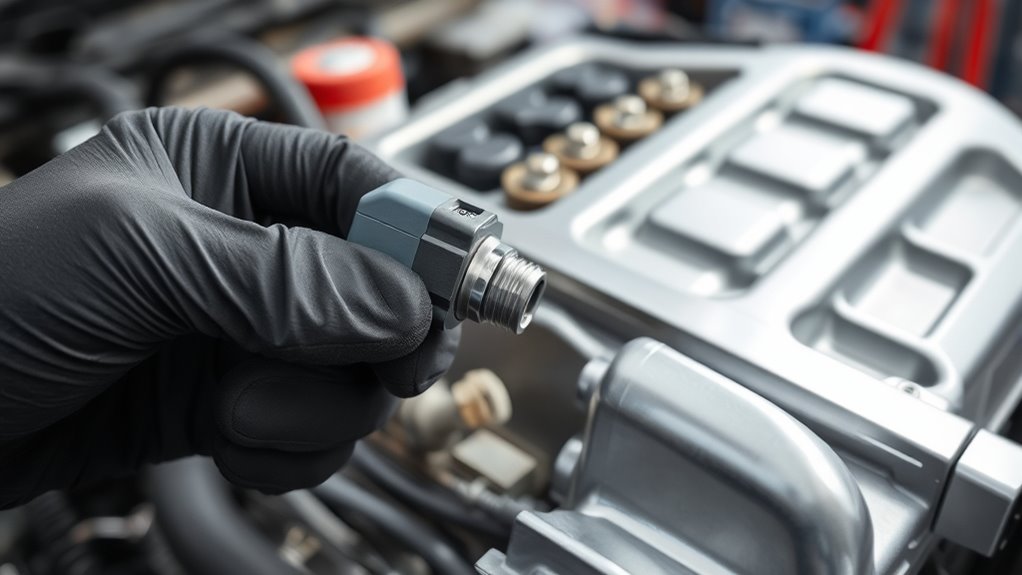
Before you begin replacing the vacuum switch, gather all the tools and parts you’ll need to guarantee a smooth process. Start with a tools overview: you’ll likely need screwdrivers, pliers, and possibly a wrench. Having a multimeter on hand can help with part identification and testing. Next, identify the correct vacuum switch for your vehicle model—check the part number or consult your manual to ensure compatibility. Make sure the replacement part is clean and ready for installation. Double-check that you have all the necessary hardware, such as screws or clips, that might be required to secure the new switch. Preparing these tools and parts beforehand saves time and prevents interruptions once you’re ready to proceed. Additionally, understanding the sound healing science behind vibrations can help ensure proper handling of sensitive components during installation.
Locating the Faulty Vacuum Switch
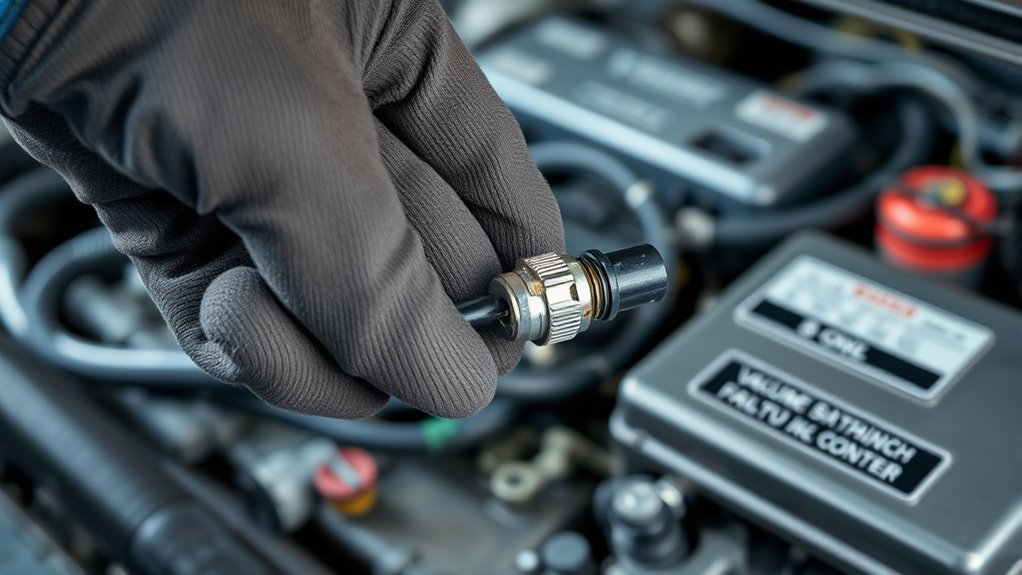
To locate the faulty vacuum switch, start by inspecting the vacuum lines and connections for visible damage, leaks, or disconnections. Use diagnostic techniques such as listening for hissing sounds or feeling for leaks around fittings. Check for cracked or brittle hoses that might compromise vacuum integrity. Always follow safety precautions—disconnect the vehicle’s battery if needed, and work in a well-ventilated area to avoid inhaling fumes. Test the switch with a multimeter or vacuum gauge to confirm malfunction. Remember, visual inspection alone might not reveal the fault, so combine it with functional tests. Additionally, understanding how glycolic acid benefits skin can help in selecting appropriate skin treatments if you experience skin irritation from the switch or related components. By systematically examining these components, you’ll identify the problematic switch accurately and guarantee a safer, more effective replacement process.
Disconnecting the Old Vacuum Switch
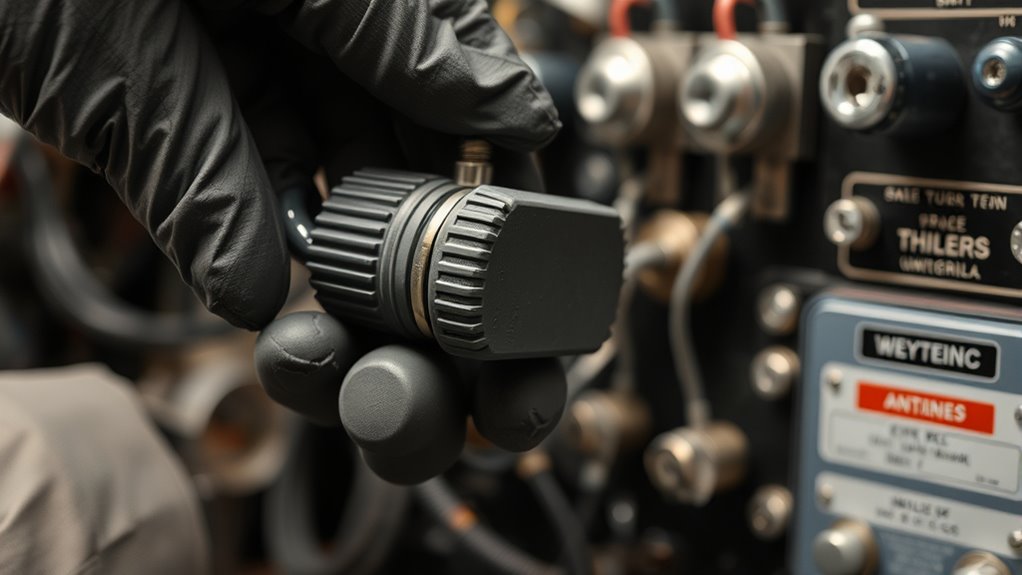
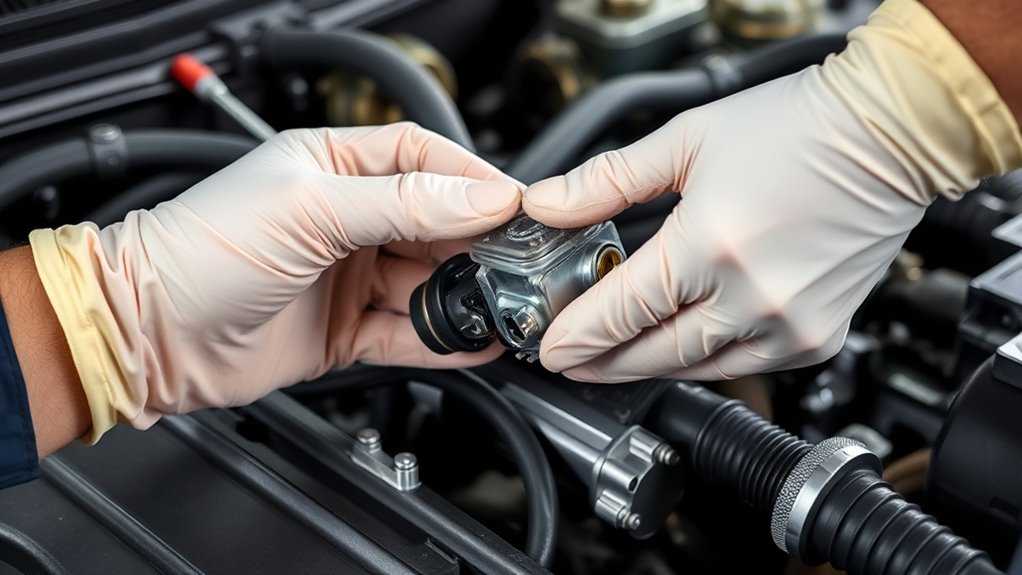
When disconnecting the old vacuum switch, start by locating the mounting points and any securing clips or bolts. Carefully remove these fasteners to free the switch. Next, disconnect the vacuum lines attached to the switch, ensuring you note their positions for reinstallation. Use the following table to guide you through the disconnection process:
| Step | Action | Tips |
|---|---|---|
| 1 | Identify mounting points | Look for bolts or clips securing switch |
| 2 | Remove securing clips/bolts | Use appropriate tools |
| 3 | Detach vacuum lines | Mark lines for correct reattachment |
| 4 | Carefully pull out switch | Avoid damaging surrounding parts |
| 5 | Inspect for damage | Check for corrosion or wear |
Additionally, understanding system components can help ensure proper reinstallation and prevent future issues. This process ensures a smooth disconnection of your vacuum switch.
Preparing the New Vacuum Switch for Installation
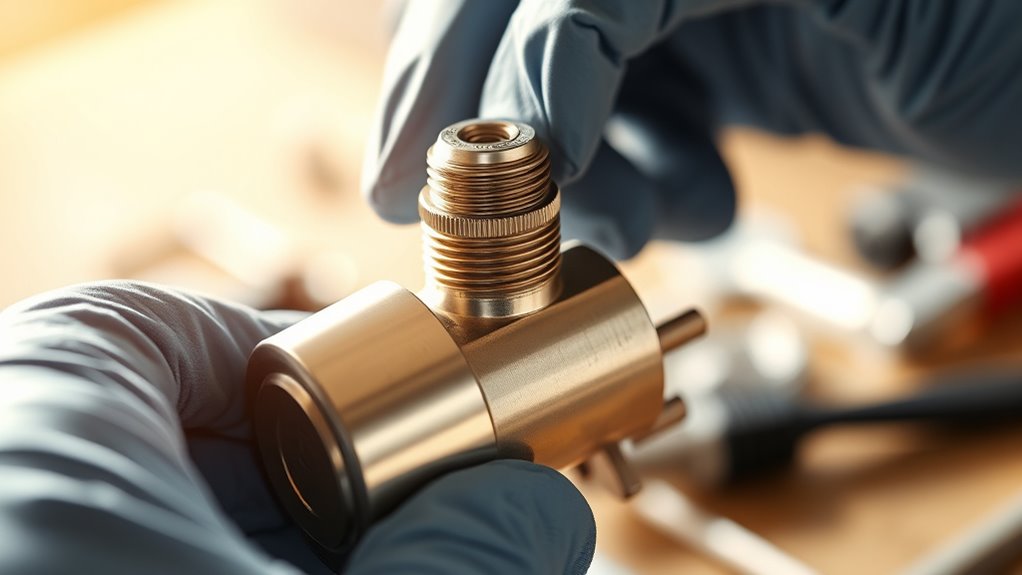
Preparing the new vacuum switch for installation requires inspecting it thoroughly and making certain it’s ready to function properly. First, check the replacement part compatibility to confirm it matches your system’s specifications. Next, verify the vacuum switch’s calibration; proper calibration ensures accurate operation once installed. Look for any signs of damage or defects that could affect performance. If calibration adjustments are needed, follow the manufacturer’s instructions before proceeding. Ensuring compatibility and proper calibration prevents future issues and guarantees the switch operates effectively. Handle the new switch carefully to avoid damage, and keep all related components clean. Proper maintenance practices ensure your replacement switch functions reliably once installed. Taking these steps now helps streamline the installation process and ensures your replacement switch functions reliably once installed.
Installing the New Vacuum Switch
Begin by turning off the system power and disconnecting any energy sources to guarantee safety. Position the new vacuum switch in its designated spot, ensuring it aligns correctly with the mounting points. Secure it firmly, but don’t overtighten, to avoid damaging the switch or its fittings. Connect the vacuum hose securely, checking for proper seating to prevent leaks. Once installed, perform vacuum switch calibration if necessary, following the manufacturer’s instructions to ensure accurate operation. Tighten fittings carefully to avoid damaging threads or causing leaks. After installation, double-check all connections for tightness. Proper installation helps prevent troubleshooting vacuum leaks later and ensures the switch functions correctly in your system. Accurate placement and secure connections are essential for optimal performance. Recognizing angel numbers can also provide guidance for making important decisions about your system or relationships, ensuring you’re aligned with positive energies.
Testing the New Vacuum Switch Functionality
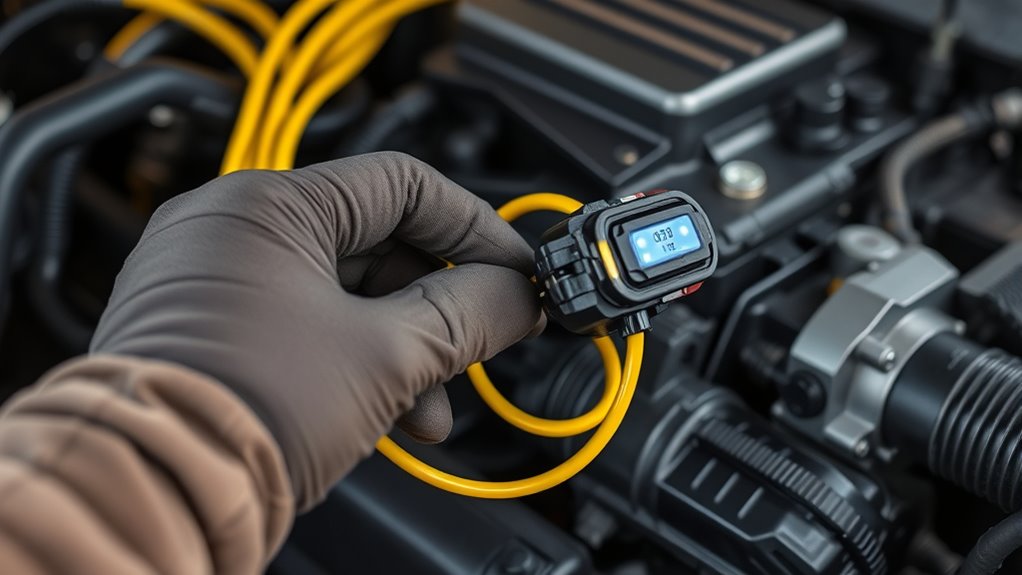
To guarantee your new vacuum switch works correctly, start by testing its operation under normal system conditions. Begin with sensor testing to ensure the switch activates properly when the vacuum reaches the specified level. Use a multimeter to perform electrical diagnostics, checking for continuity and correct wiring connections. Turn on the system and observe the switch’s response; it should open or close as intended during vacuum changes. If the switch doesn’t respond correctly, recheck the wiring and connections. Confirm that the switch triggers the appropriate signals to other system components. This step verifies that the switch functions reliably before proceeding with final reassembly. Proper sensor testing and electrical diagnostics are essential to ensure your vacuum system operates safely and efficiently. Additionally, applying automation principles can help streamline the testing process and improve accuracy.
Final Checks and Reassembly
Before finishing, make sure all system connections are secure and correctly attached. Test the vacuum function to confirm everything works properly. Once confirmed, you can secure the switch and reassemble any removed panels or covers. Additionally, review your privacy preferences to ensure your data is protected during future visits.
Verify System Connections
After installing the new vacuum switch, it’s essential to carefully verify all system connections to guarantee everything is properly secured. Check that the wiring matches the wiring diagram, making sure no loose or misconnected wires. Confirm that the vacuum lines are firmly attached and free of leaks, which could affect system pressure. Inspect the switch’s placement to guarantee it’s correctly positioned for accurate readings. Make sure all fasteners are tight and the switch is mounted securely. Revisit the system pressure to verify it’s within the normal range. Double-check electrical connections for corrosion or damage. These final checks help prevent future issues and ensure reliable operation of the vacuum system. Additionally, verifying proper system maintenance practices can extend the lifespan of your equipment.
Test Vacuum Functionality
Have you tested the vacuum system to guarantee it functions correctly? To do this, check the vacuum pressure with a gauge to ensure it’s within specifications. Confirm the sensor calibration by observing the readings on your diagnostic tool; proper calibration indicates the switch responds accurately. Run the engine and observe the vacuum pressure gauge, noting any fluctuations. Use the table below for quick reference:
| Step | Action | Expected Result |
|---|---|---|
| 1 | Start engine and observe gauge | Pressure stabilizes within range |
| 2 | Activate vacuum system manually | Switch responds correctly |
| 3 | Check sensor readings during test | Readings match calibration data |
| 4 | Turn off engine | Pressure drops to zero |
| 5 | Verify no leaks or errors | System operates smoothly |
This ensures your vacuum system, pressure, and sensor calibration are all functioning properly. Additionally, regularly inspecting filter replacement indicators helps maintain optimal system performance.
Secure and Reassemble
Once you’ve confirmed that the vacuum system is functioning correctly, it’s time to secure all components and reassemble the system. Before proceeding, review safety precautions to avoid injury. Double-check that all connections are tight and properly seated to prevent leaks. Use troubleshooting tips such as inspecting for damaged hoses or loose fittings. Ensure the vacuum switch is securely fastened in place. Carefully reconnect any electrical wires, making sure they’re attached correctly. Reattach any panels or covers, securing them firmly. Confirm that no tools or debris are left inside the system before finalizing. This step guarantees safe operation and prevents future issues. Proper reassembly promotes system longevity and safety, so take your time and verify each connection as you go. Additionally, consulting manufacturer guidelines can help ensure you follow all recommended procedures for your specific vacuum system.
Frequently Asked Questions
How Do I Identify the Correct Replacement Vacuum Switch for My Vehicle?
To identify the correct replacement vacuum switch, you need to check its specifications carefully. Look at the part number, voltage, and connector type, making certain they match your vehicle’s requirements. You should also verify the switch’s compatibility with your vehicle model by checking compatible vehicle models listed by the manufacturer. This way, you can ensure you get the right part that fits and functions properly in your vehicle’s system.
What Safety Precautions Should I Take During the Replacement Process?
When replacing a vacuum switch, you should prioritize safety by wearing personal protective equipment like gloves and safety glasses to protect against debris and fumes. Make certain your work area is well-ventilated, clean, and free of hazards. Turn off the vehicle and disconnect the battery before starting to avoid electrical shocks. Taking these precautions helps maintain work area safety and prevents injuries during the replacement process.
Can I Replace the Vacuum Switch Without Professional Tools?
Think of DIY repairs like fixing a delicate watch—you need the right tools to guarantee avoiding breaking it. Replacing a vacuum switch typically requires basic tools like screwdrivers and pliers, but some models might need specialized equipment. If you don’t have the proper tools, you risk damaging components or causing safety issues. It’s best to assess your skill level and tool availability before attempting the replacement to guarantee a safe, successful repair.
How Long Does the Entire Replacement Process Typically Take?
The entire vacuum switch replacement usually takes about 30 minutes to an hour, depending on your experience and tools. If you’re comfortable with vacuum switch diagnosis and have the right replacement tools, you’ll likely finish faster. Gather all necessary tools beforehand, follow the step-by-step guide, and work carefully. Rushing can cause mistakes, so take your time and make certain each step is complete before moving on.
What Are Common Signs of a Faulty Vacuum Switch Besides the Symptoms Mentioned?
A faulty vacuum switch can cause more chaos than a tornado in a trailer park. Besides common symptoms, look for erratic engine idling, unexplained stalling, or poor fuel economy. Vacuum switch malfunctions may also trigger diagnostic tool alerts or cause the check engine light to come on unexpectedly. If you notice these signs, it’s time to inspect your switch carefully, because ignoring them could lead to more serious engine issues down the line.
Conclusion
With the new vacuum switch in place, you’ve restored your vehicle’s harmony, much like tuning a fine instrument. As you reconnect the parts and listen for the smooth hum of proper function, remember that your hands have become the craftsmen of reliability. Just as a master painter adds the final strokes to a masterpiece, your careful work guarantees your car runs seamlessly, ready to carry you confidently down the road once more.