To perform a DIY belt tension test and prevent suction loss, start by gathering tools like a tension gauge or ruler, and inspect your belt for cracks or wear. Locate key tension points near pulleys, then gently press on the belt’s middle to feel for proper tightness—little deflection is ideal. Use a tension gauge for accuracy, and make adjustments as needed. Following these steps regularly helps keep your system running smoothly; learn more if you want to master the process.
Key Takeaways
- Use a tension gauge or ruler to measure belt deflection at tension points for accurate assessment.
- Locate the correct belt and tension spots near pulleys or tensioners before testing.
- Gently press the belt midpoint to check for proper tension; slight flex indicates optimal tightness.
- Compare deflection measurements to standard values based on belt material type to ensure proper tension.
- Regularly inspect and adjust belt tension to prevent suction loss and extend equipment lifespan.
Tools and Materials Needed for the Test
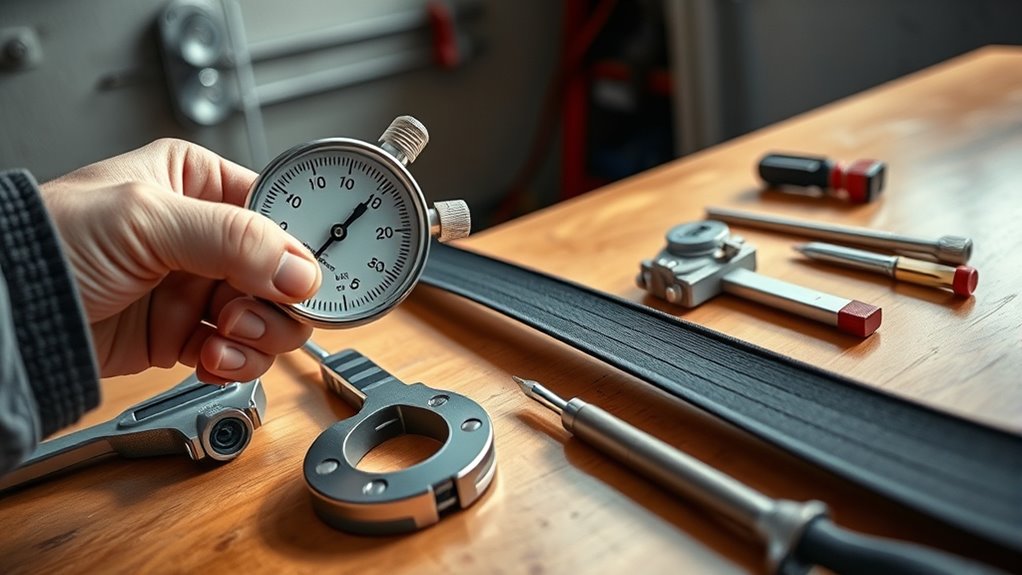
To perform a DIY belt tension test, you’ll need a few essential tools and materials. First, identify the belt material, as different types—rubber, leather, or synthetic—may require specific handling. Next, gather tension tools such as a belt tension gauge or a simple ruler or ruler-like device to measure the deflection or tension accurately. A clean cloth or rag is helpful to wipe down the belt before testing, ensuring no debris affects readings. You might also want a flashlight for better visibility, especially in tight or poorly lit areas. Having these tools ready will help you assess the belt’s tension reliably, preventing future issues like suction loss. Proper tension is crucial for optimal performance, as air purifier efficiency can be affected by belt slack or tightness. With the right materials, you can perform an effective and safe DIY belt tension test.
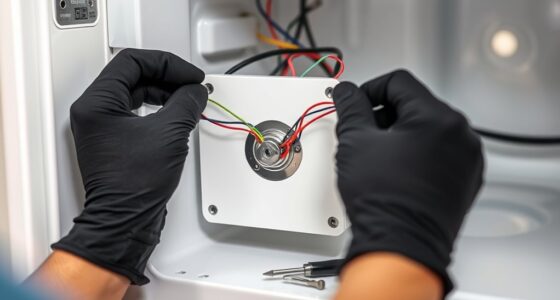
Preparing Your Equipment and Safety Measures

Before you start the belt tension test, make sure your equipment checklist is complete and all tools are in good condition. It’s also essential to review safety precautions, like wearing protective gear and securing loose clothing. Taking these steps guarantees you stay safe and get accurate results during the testing process. Additionally, understanding the importance of proper oral health maintenance can help prevent issues that might affect your testing outcomes.
Equipment Checklist Essentials
Having the right equipment ready and prioritizing safety measures are vital steps before performing a belt tension test. First, check your belt material—verify it’s free of cracks or wear that could affect tension readings. Use a reliable tension gauge to measure tension oscillation accurately; this helps identify inconsistencies that might lead to suction loss. Prepare a clean, stable workspace to prevent accidents or equipment damage. Keep tools like wrenches and replacement belts handy. Confirm your testing area is clear of obstructions. Wearing safety gloves and eye protection is essential to avoid injuries. Double-check all connections and ensure your measuring devices are calibrated. Proper preparation minimizes risks and guarantees you get precise, actionable results for maintaining ideal belt tension. Additionally, understanding the real couple dynamics can help in troubleshooting issues related to equipment handling and ensuring consistent tension.
Safety Precautions Overview
Properly preparing your equipment and implementing safety measures help prevent accidents and guarantee accurate belt tension testing. Begin by conducting hazard identification to spot potential risks, such as loose tools or unstable surfaces. Always wear appropriate safety gear, including eye protection, gloves, and sturdy footwear, to shield yourself from injuries. Secure all tools and parts before starting, ensuring nothing can fall or cause harm during the process. Keep your workspace organized and well-lit to avoid mishaps. Double-check that your testing setup is stable and properly calibrated. Being aware of sound healing science concepts can also help you understand the importance of a calm and focused environment during testing. By following these safety precautions, you minimize the risk of accidents and ensure precise results. Staying attentive and cautious throughout the process helps you perform the belt tension test efficiently while prioritizing your safety.
Locating the Correct Belt and Tension Points

To get started, you need to identify the type of belt you’re working with, as different belts require different tension methods. Next, locate the key tension points on your equipment, which can vary based on the belt’s design. Once you know these areas, you can accurately measure and adjust the tension for ideal performance. Familiarity with news trends can also help anticipate common issues faced during maintenance.
Identifying Belt Type
Before you begin testing belt tension, it’s crucial to identify the correct belt type and locate the tension points. Start by examining the belt material, which can be rubber, leather, or synthetic. Each material responds differently to tension measurement, so knowing what you’re working with helps determine the proper tensioning method. Look for labels, markings, or wear patterns that indicate the belt’s specifications. Understanding the belt type ensures you use the right tools and techniques for accurate tension testing. Proper identification prevents over-tightening or under-tightening, which can cause equipment issues or premature wear. Additionally, ensuring you have the right fabric and material knowledge helps in selecting suitable tensioning tools and methods. Taking these initial steps guarantees you’re working with the correct belt, making your tension measurement more precise and effective.
Pinpointing Tension Spots
Locating the correct belt and tension points is essential for accurate testing. You need to identify areas where belt squeal occurs or where the belt feels loose. Use a tension gauge to measure specific spots, focusing on the most likely tension loss points. Typically, these are near pulleys or tensioners. Refer to the table below to help locate these spots:
| Belt Section | Common Issue | Testing Tip |
|---|---|---|
| Near Pulley | Belt squeal | Apply tension gauge here |
| Mid-Belt | Looseness | Check for slack |
| Tensioner Area | Excessive noise | Use tension gauge for accuracy |
Additionally, understanding belt tension is crucial for maintaining optimal performance and preventing suction loss.
Applying the Finger Pressure Test

When testing belt tension with your fingers, apply gentle but firm pressure to the belt’s midpoint or a designated tension point. This method helps you feel for tension variations that indicate whether the belt is properly tightened. Different belt materials, such as rubber or synthetic compounds, respond uniquely to pressure—some may feel more flexible, while others offer more resistance. As you press, notice how much the belt gives or resists; excessive give suggests loose tension, while little movement indicates tightness. Be consistent in your pressure to get accurate results. Remember, this test provides a quick, tactile assessment of belt tension, helping you identify if further adjustments are needed to prevent issues like suction loss. Additionally, understanding the horsepower of your electric dirt bike can help in maintaining optimal performance and preventing belt slip or damage.
Interpreting the Results and Adjusting Belt Tension
Once you’ve applied the finger pressure test and gathered your impressions, it’s time to interpret what the results mean for your belt’s tension. If you felt little resistance or the belt slipped easily, your tension might be too loose, risking belt slip and potential suction loss. Conversely, if the belt feels very tight and difficult to press, it could be over-tensioned, which may cause premature wear or damage. For proper operation, aim for a tension that allows slight flexing without excessive force. Adjust the tension accordingly—tighten if the belt slips easily, or loosen if it’s overly tight. Regularly checking and fine-tuning tension helps prevent belt slip, ensuring consistent performance and reducing the risk of suction loss. Additionally, monitoring the belt tension over time can help identify when adjustments are necessary before issues arise.
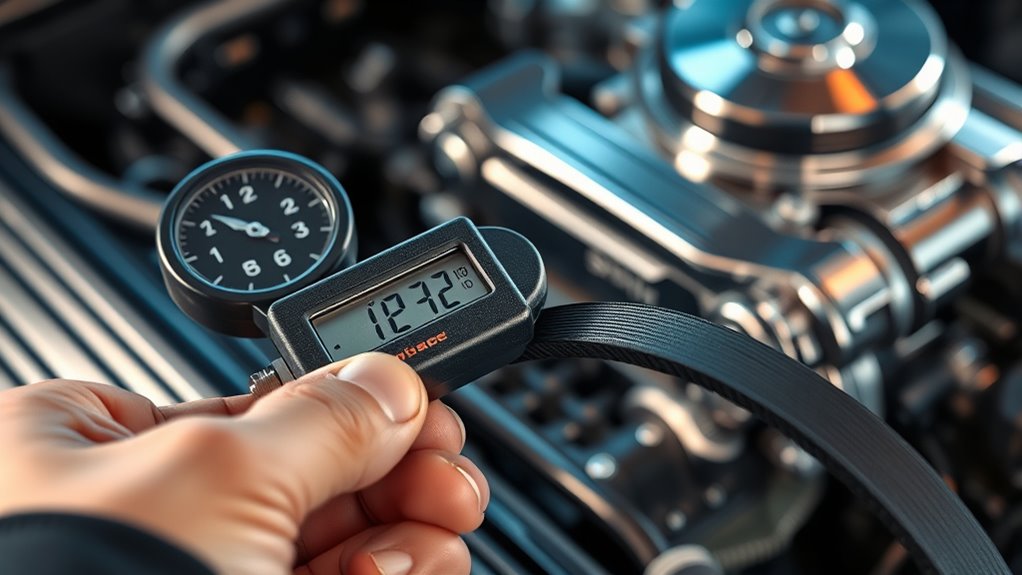
Verifying Proper Tension With a Ruler or Gauge
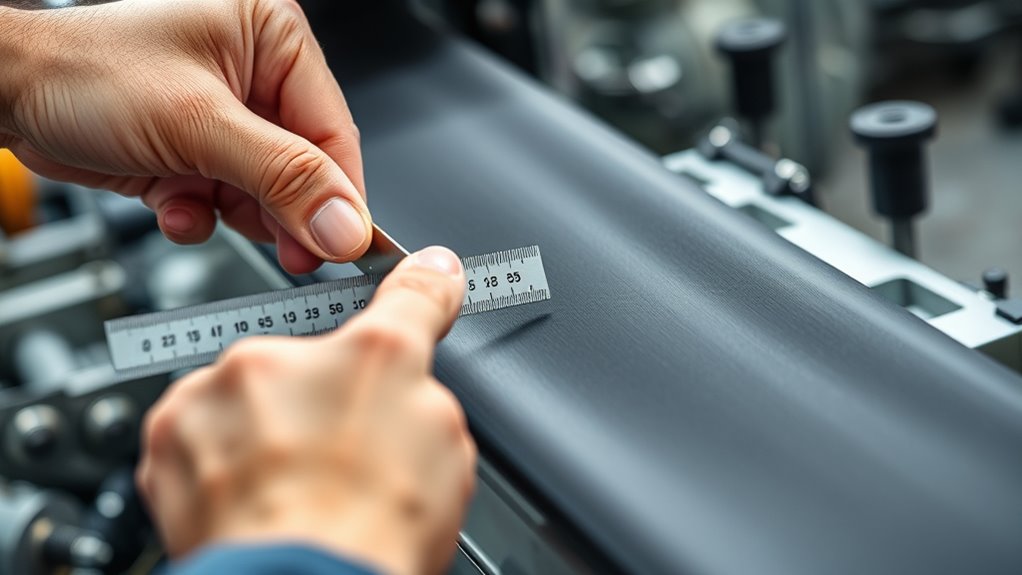
To accurately verify your belt tension, using a ruler or gauge provides a precise measurement beyond just feeling. You’ll want to account for belt material differences, as rubber, synthetic, or leather belts each have unique tension needs. A properly calibrated tension gauge ensures accuracy; check its calibration regularly for consistent readings. When measuring, imagine this setup:
| Belt Type | Tension Reading | Tension Range |
|---|---|---|
| Rubber | 1/4 inch deflect | 1/8–3/8 inch |
| Synthetic | 3/8 inch deflect | 1/4–1/2 inch |
| Leather | 1/2 inch deflect | 3/8–5/8 inch |
| V-Belt | 1/4 inch deflect | 1/8–3/8 inch |
Using these measurements, you ensure consistent tension, preventing premature wear or suction loss. Regularly inspecting belt tension can help maintain optimal performance and extend the lifespan of your equipment.
Tips for Routine Checks and Preventative Maintenance

Regularly inspecting your belt system helps catch issues early before they cause costly damage or downtime. Check the belt material regularly, as wear or cracks can signal the need for replacement. During routine checks, focus on tension measurement—ensure the belt isn’t too tight or loose, which can lead to suction loss or component wear. Use a tension gauge or perform a simple deflection test to verify proper tension levels. Keep an eye on alignment and look for signs of fraying or glazing. Maintaining consistent tension and inspecting belt material helps extend lifespan and prevents unexpected failures. Incorporate these checks into your routine maintenance schedule to keep your system running smoothly and reliably. Regular preventative care saves money and minimizes downtime over the long term.
Frequently Asked Questions
How Often Should I Perform the Belt Tension Test?
You should perform the belt tension test regularly, ideally once a month, to guarantee tension consistency and prevent belt wear issues. Frequent checks help catch slack or tightness problems early, reducing the risk of suction loss. Keep an eye on how the belt feels and looks, and adjust tension as needed. Consistent testing maintains peak performance and extends your equipment’s lifespan.
Can I Use Household Tools Instead of Specialized Equipment?
Think of DIY maintenance as fixing a boat with a butter knife—you’re trying to make do, but it’s not ideal. You can use household tools like a ruler, a wrench, or a simple weight to gauge belt tension, but they won’t be as precise as specialized equipment. While it’s possible for a quick check, for accurate results and to prevent suction loss, investing in proper tools is highly recommended.
What Signs Indicate a Belt Needs Replacement Besides Tension Issues?
When checking if a belt needs replacement, look for signs beyond tension issues. Belt wear, such as cracks, fraying, or glazing, indicates it’s time for a new one. Noise indicators like squealing or chirping can also signal deterioration. If you notice these signs, don’t ignore them; replacing the belt promptly helps prevent further damage and keeps your system running smoothly.
Is There a Recommended Belt Tension Specification for Different Machines?
You might think there’s a universal tension specification for all belts, but it varies based on belt material and machine type. Using a tension gauge helps you measure properly, ensuring peak performance. Always consult the manufacturer’s guidelines or manual, which specify the ideal tension for your specific belt and machine. Proper tension prevents slip and reduces wear, keeping your equipment running smoothly and efficiently.
How Does Belt Tension Affect Overall Equipment Efficiency?
You’ll notice that proper belt tension directly impacts your equipment’s efficiency. When the belt’s too tight, it causes excessive belt wear and puts strain on pulleys, leading to misalignment. Conversely, if it’s too loose, it slips, reducing power transfer and increasing the risk of suction loss. Maintaining the right tension guarantees smooth operation, minimizes wear, and keeps pulley alignment correct, ultimately boosting your machine’s performance and lifespan.
Conclusion
So, there you have it—your foolproof plan to keep that belt tight and your engine singing. Who knew that a simple finger press could save you from a costly slip-up? Just remember, neglecting this test is like ignoring your car’s hairbrush—eventually, things fall apart. So go ahead, master the tension test, and enjoy the sweet symphony of a well-maintained ride. After all, who needs surprises when you’ve got a belt to keep in line?