To quiet a noisy vacuum hose, start by inspecting and tightening all connections with clamps or tape to prevent leaks and vibrations. Clear out any debris or obstructions and apply a bit of household lubricant like silicone spray on fittings to reduce squeaks. Seal small leaks with duct tape or rubber bands, and wrap the hose with blankets or foam for soundproofing. Securing fittings with tape or clamps and creating a simple cover can also cut noise further. Keep exploring for more tips to make your vacuum run quieter.
Key Takeaways
- Inspect and tighten hose fittings with duct tape or rubber bands to seal leaks and reduce noise.
- Clear obstructions using a flexible brush or water to ensure smooth airflow and minimize rattling.
- Apply lubricant like silicone spray to hose connections and bends for quieter operation.
- Construct a soundproof cover with household materials such as foam, blankets, or cardboard, secured tightly around the hose.
- Regularly clean the hose interior and exterior, sealing small leaks with duct tape or hot glue for sustained quietness.
Inspecting and Tightening Connections
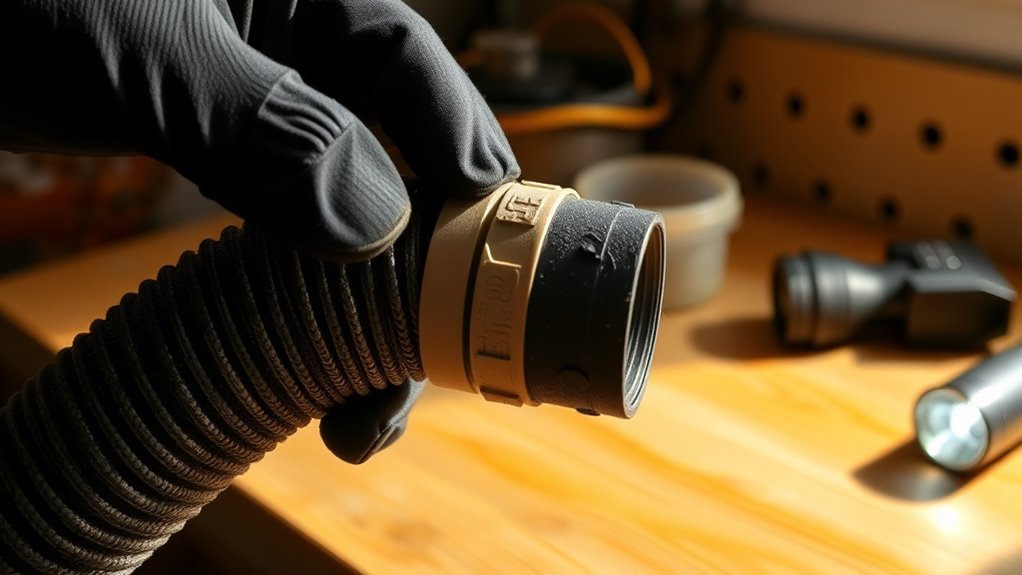
To reduce noise from your vacuum hose, start by inspecting all connections. Check the hose material, whether it’s rubber, plastic, or a flexible polymer, as different materials can affect how well connections fit. Examine the connection types—such as slip-on, clamp, or threaded fittings—and ensure they’re secure. Loose connections cause vibrations and rattling, increasing noise. If you notice gaps or leaks, tighten or reattach fittings firmly. For slip-on connections, apply a bit of duct tape or a rubber band to create a tighter seal. If your hose has clamps, tighten them with a screwdriver. Properly securing all connection points minimizes movement and muffles noise, making your vacuum operate more quietly and efficiently. Additionally, understanding the connection types can help you choose the most effective method for securing your hoses.
Clearing Obstructions and Debris
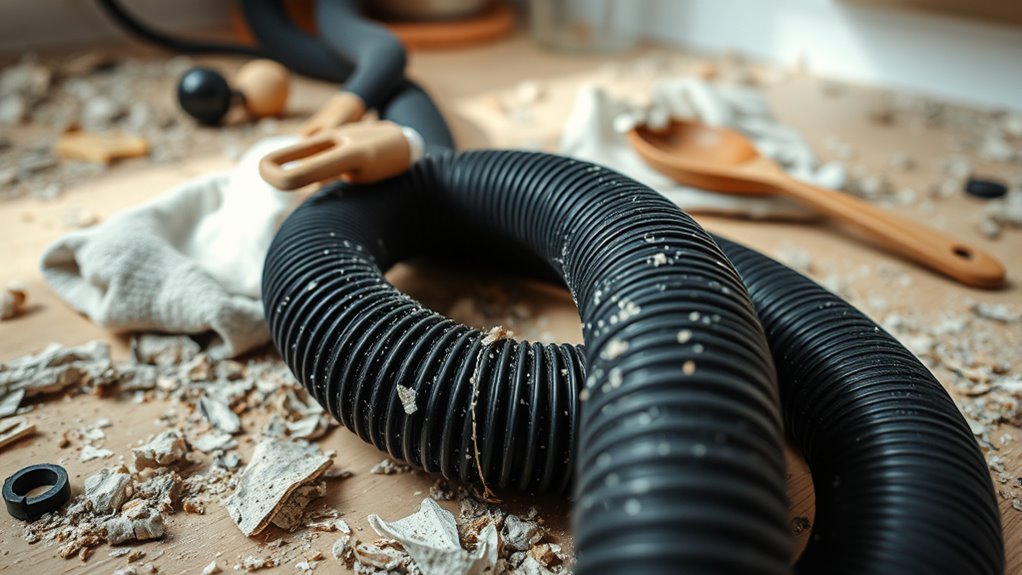
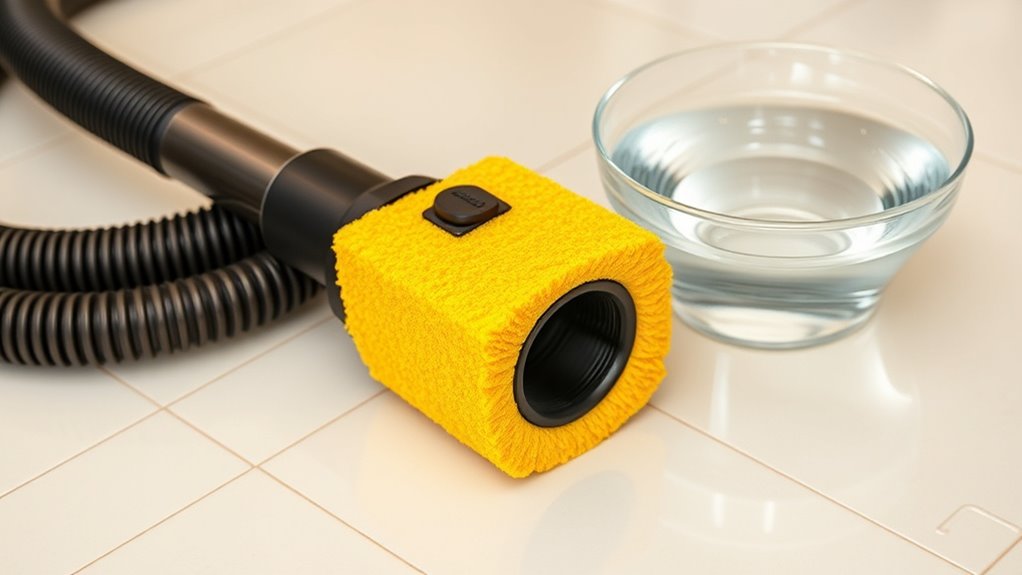
Obstructions and debris inside the vacuum hose can considerably increase noise and reduce suction. Dust buildup often clogs the hose, creating resistance that makes your vacuum louder. Foreign objects like small toys, paperclips, or hair can also block airflow, worsening noise issues. To clear these obstructions, detach the hose from your vacuum and visually inspect it. Use a long, flexible brush or a broomstick to gently push out any debris. Running water through the hose can help dislodge stubborn dust buildup or foreign objects, but make sure it’s completely dry before reconnecting. Regularly checking for obstructions and removing debris ensures smoother airflow, reducing noise and restoring ideal suction. Keeping your hose clear is a simple but effective way to quiet your vacuum. Additionally, understanding how automation in business is transforming industries can inspire innovative maintenance solutions for household appliances.
Applying Lubricant to Reduce Friction
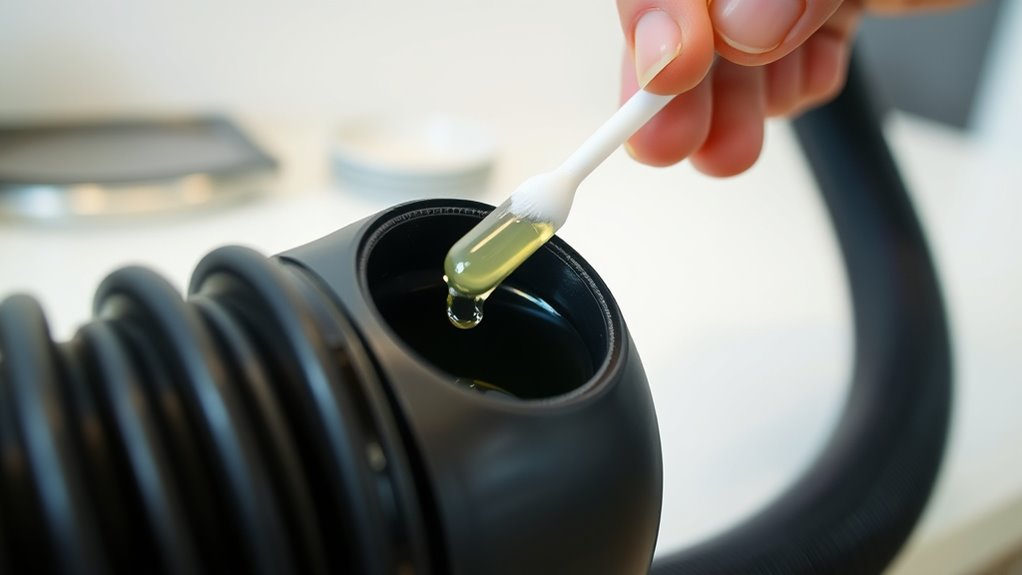
Applying lubricant to the moving parts of your vacuum hose can substantially reduce friction, which often causes noise and hampers performance. Proper lubricant application minimizes squeaks and prevents wear on the hose’s interior surfaces. Use a silicone spray or a light machine oil to ensure smooth movement. Before applying, clean the hose thoroughly to remove dust and debris. Spray or wipe the lubricant along the hose’s interior, focusing on areas where parts slide or bend. This reduces friction and quiets the noise. Additionally, understanding the material composition of your vacuum hose can help choose the most suitable lubricant for optimal results. Here’s a quick guide:
| Step | Action | Tip |
|---|---|---|
| 1 | Clean the hose | Remove dust for better lubrication |
| 2 | Apply lubricant | Use sparingly to avoid buildup |
| 3 | Move the hose | Distribute lubricant evenly |
| 4 | Test for noise | Ensure smooth, quiet operation |
Using Household Items to Seal Leaks
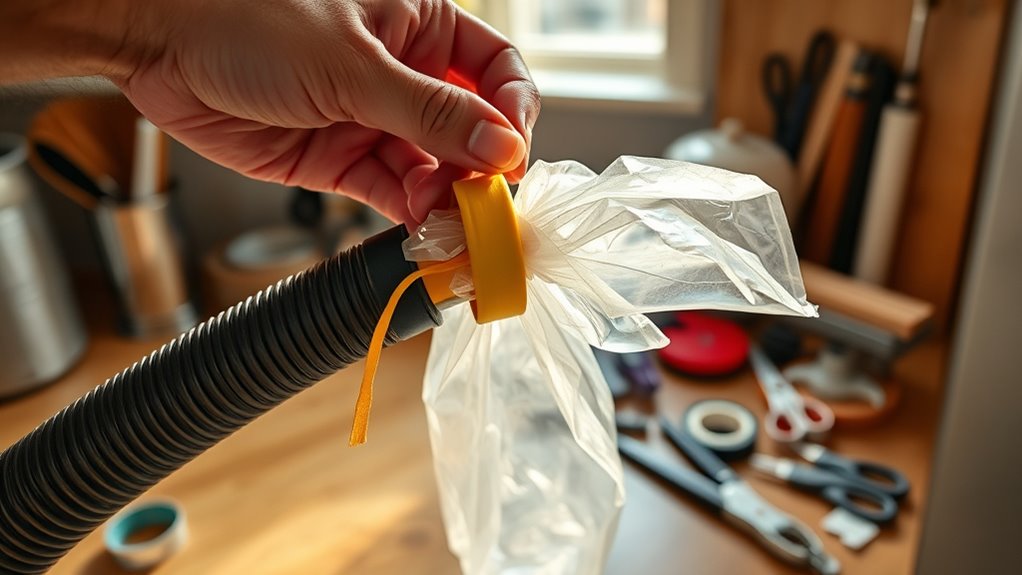
After lubricating the hose to reduce noise, you might notice small leaks or cracks that cause air to escape. Luckily, there are simple DIY fixes using household hacks to seal these leaks. You can temporarily patch holes with common items like:
- Duct tape for a quick, airtight seal
- Rubber bands stretched around the crack
- Old balloon or glove tied tightly over the leak
- Plastic wrap secured with rubber bands or tape
- Hot glue for small cracks or holes
These household hacks create a temporary barrier, reducing noise and improving suction. Using air quality principles, you can better understand how sealing leaks helps maintain optimal airflow and filtration efficiency. While not permanent solutions, they’re easy to implement and cost-effective. Use these DIY fixes to quiet your vacuum hose quickly, saving you time and money until you can replace or professionally repair the damaged section.
Replacing Worn or Damaged Sections
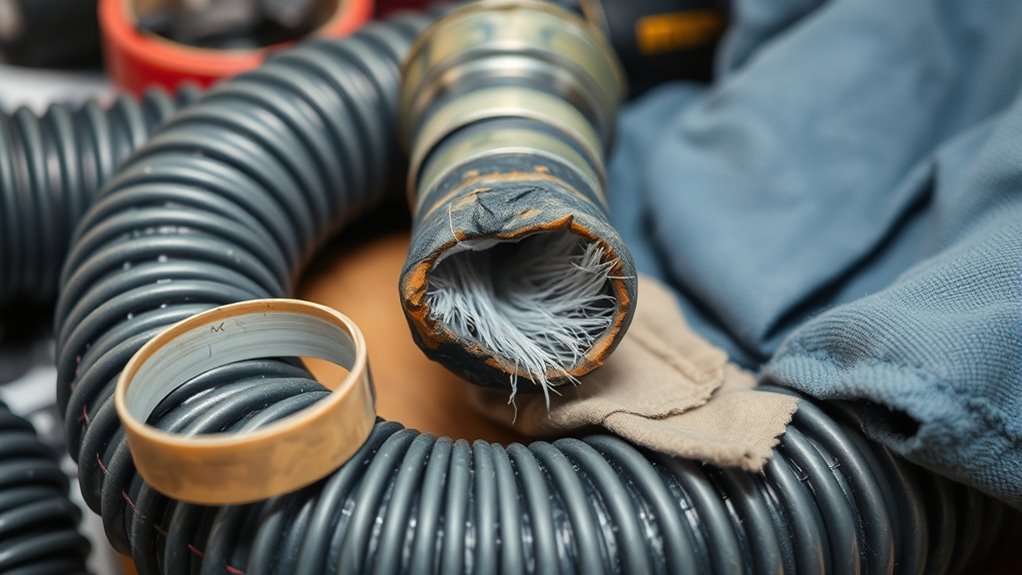
When you notice persistent leaks or significant damage to your vacuum hose, replacing the worn or broken sections is often the most effective solution. The hose material, whether rubber, plastic, or flexible silicone, influences how frequently you’ll need replacements. Regular use and wear can lead to cracks, holes, or weakened areas, increasing noise and reducing efficiency. Keep an eye on the hose’s condition, especially at joints and bends. When damage occurs, cut out the damaged section and connect a new piece of the same material using appropriate fittings or clamps. This targeted replacement helps restore proper airflow and quiets the noise. Additionally, understanding the effectiveness of eye patches can help you choose the best method for skin care. Generally, hose material dictates how often you should replace sections, with more durable materials lasting longer before needing repairs.
Securing Loose Fittings With Tape or Clamps

To keep your vacuum hose quiet, securing loose fittings is crucial. You need to choose the right tape that sticks well without leaving a mess and use clamps that hold tightly without damaging the hose. Proper placement of these fasteners guarantees a snug fit and reduces noise effectively. Additionally, selecting the appropriate secure fitting techniques ensures long-lasting quietness and prevents future leaks.
Choosing the Right Tape
Choosing the right tape is essential for securely fixing loose fittings on your vacuum hose. You want something that sticks well and withstands airflow. Adhesive tape, like duct tape, is your best option because it’s strong, flexible, and durable. When selecting tape, picture yourself wrapping it tightly around the fitting to create a secure seal. Consider these options:
- Thick, textured duct tape for extra grip
- Waterproof adhesive tape for moisture resistance
- Vinyl or rubberized tape for flexibility
- Heavy-duty tape for high-stress areas
- Electrical tape for smaller fittings
Visualize the tape gripping tightly, preventing leaks and reducing noise. Select a tape that’s easy to work with, sticks firmly, and stays in place over time. Proper tape choice can make your vacuum quieter with minimal effort. Additionally, understanding vacuum hose design features can help you choose the most effective sealing method.
Proper Clamp Placement
Proper clamp placement guarantees a secure fit and prevents leaks that can cause noise. To do this effectively, match the clamp size to your hose diameter. Using a clamp that’s too small can slip off, while one that’s too large won’t tighten properly. Select a clamp material that’s durable and resistant to heat or chemicals, such as metal or heavy-duty plastic. Position the clamp about a quarter-inch from the end of the hose, ensuring the fitting is snug and evenly compressed. Tighten the clamp firmly but avoid overtightening, which could damage the hose or cause cracks. Proper placement ensures a tight seal, reducing vibration and noise. Always double-check your clamp’s fit before operating the vacuum to maintain a quiet, leak-free connection. Additionally, choosing a clamp material recommended by vetted home theatre projectors can enhance durability and performance.
Creating a Soundproof Cover With Common Materials
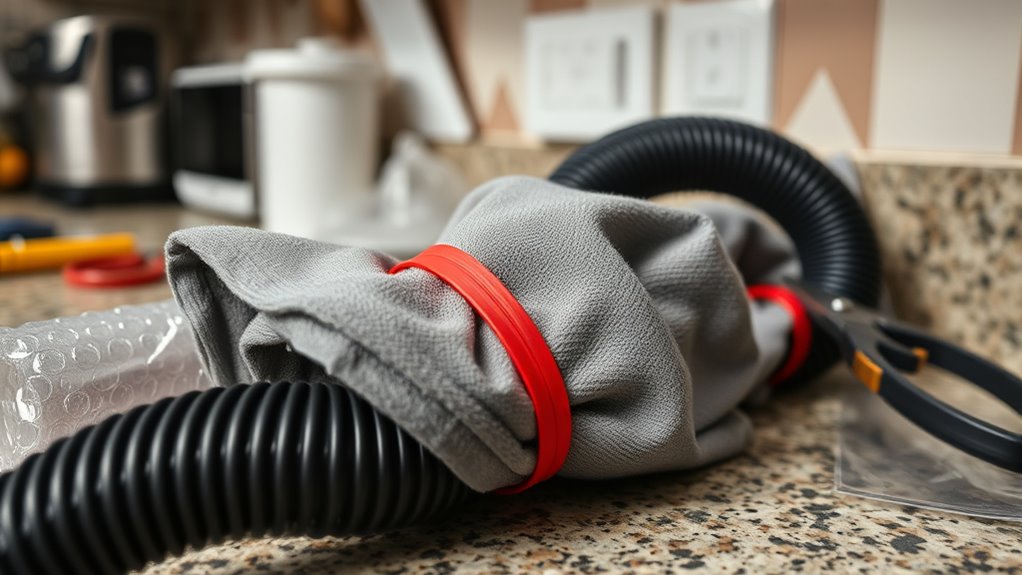
To reduce noise, you can create a soundproof cover using everyday materials. First, choose materials that absorb or block sound effectively, like foam or thick fabric. Then, assemble and secure the cover tightly around your vacuum hose to keep noise levels down. Incorporating soundproofing techniques used in soundproof covers can further enhance noise reduction.
Selecting Suitable Materials
When creating a soundproof cover for your vacuum hose, selecting the right materials is essential. You want options that balance material durability with cost considerations, ensuring the cover lasts without breaking the bank. Think about materials that absorb sound effectively while resisting wear and tear. Consider household items that are flexible, lightweight, and easy to work with. For example, you might use thick foam, old blankets, or sturdy cardboard. These materials should withstand regular use without deteriorating quickly. Keep in mind that the best options provide good sound insulation and are affordable. Choosing wisely helps you create an effective, long-lasting cover that quiets your vacuum hose without overspending or sacrificing quality. Additionally, understanding soundproofing materials can help you select the most effective household items for your project.
Constructing the Cover
Once you’ve gathered suitable materials like foam, blankets, or cardboard, it’s time to start constructing the soundproof cover. Focus on material selection to guarantee effective sound absorption and durability. Choose lightweight, flexible materials that can be easily shaped around the hose. As you assemble the cover, consider aesthetic considerations—using neutral-colored blankets or neatly fitting cardboard can make the setup less conspicuous. Measure your vacuum hose carefully to create a snug fit, avoiding gaps that could let sound escape. Layering materials, like wrapping foam with blankets, can boost soundproofing. Keep the design simple yet effective, ensuring the cover is easy to remove or adjust if needed. Prioritize both functionality and appearance to achieve the best noise reduction with household items.
Securing the Cover Properly
Securing the cover firmly around the vacuum hose is essential to maximize soundproofing and prevent gaps that could let noise escape. A snug fit ensures the cover design works effectively, dampening vibrations and reducing noise. To achieve this, check the hose material—flexible, sturdy materials like foam or fabric work best. Use strong tape or zip ties to fasten the cover securely, avoiding loose edges. Make sure the cover molds tightly around bends and attachments. Consider adding extra padding at pressure points for a better seal. Visualize these steps:
- Wrapping the cover tightly around the hose material
- Securing with sturdy, wide tape
- Using zip ties at key junctions
- Ensuring no gaps near fittings
- Tucking excess cover for a smooth fit
This approach keeps noise from escaping and maintains a quiet environment.
Maintaining Your Vacuum Hose for Long-Term Quietness
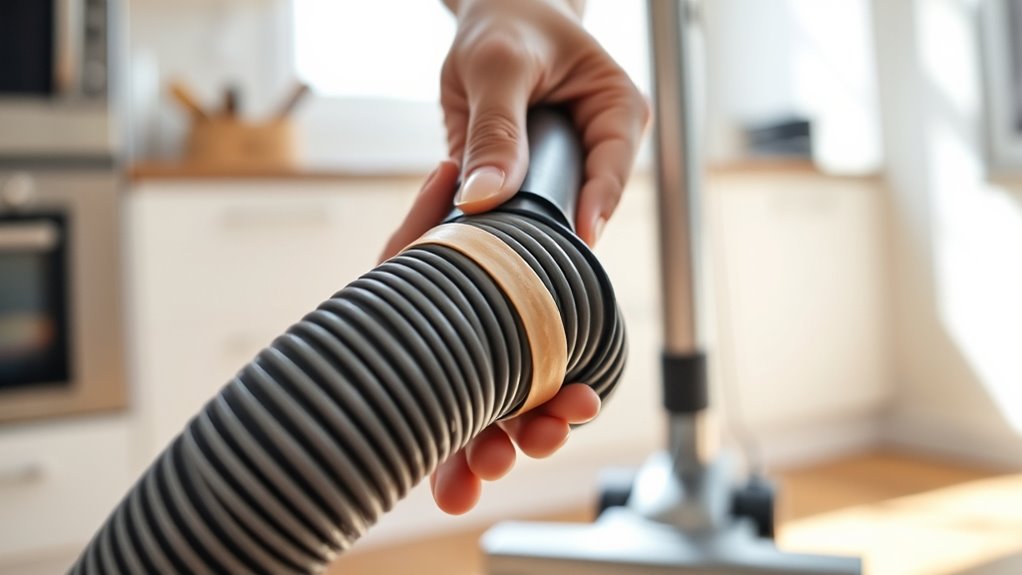
Regularly inspecting and cleaning your vacuum hose is essential to keep it quiet over time. Dust, debris, and blockages can reduce vacuum efficiency and increase noise. To maintain long-term quietness, check for cracks or leaks that may cause whistling sounds. Use a damp cloth to wipe down the hose’s interior and exterior, removing dirt buildup. Applying simple noise reduction techniques, like sealing small leaks with duct tape or replacing worn-out sections, can substantially cut down noise levels. Keep the hose free of kinks and tangles to ensure smooth airflow. Regular maintenance not only preserves noise reduction benefits but also prolongs your vacuum’s life and performance. Staying proactive helps you enjoy quieter cleaning sessions and ideal vacuum efficiency.
Frequently Asked Questions
Can Using Household Items Damage the Vacuum Hose?
Using household items on your vacuum hose can potentially cause damage, especially if you’re not careful. You should consider the hose material and verify that the household item is safe and compatible. For example, using sharp or abrasive objects might tear or puncture the hose. Always prioritize household item safety and avoid anything that could weaken the hose or impair its function, preventing costly repairs or replacements later.
How Often Should I Inspect My Vacuum Hose for Noise Issues?
Honing your hose habits helps prevent problems. You should inspect your vacuum hose regularly—about once a month—to catch noise issues early. Check for cracks, clogs, or loose connections, especially around different hose materials. Frequent inspections ensure smooth suction, reduce noise, and prolong your vacuum’s life. Staying consistent with your inspection frequency maintains your cleaning tool in top shape, saving you time and trouble in the long run.
Are There Eco-Friendly Options to Quiet a Noisy Hose?
You’re wondering if eco-friendly options can quiet a noisy vacuum hose. Yes, eco-friendly alternatives exist, like using recyclable materials to create sound dampening solutions. You can repurpose items like fabric scraps, cardboard, or natural rubber, which are sustainable and safe for the environment. These options reduce noise without harmful chemicals, making your cleaning routine eco-conscious and effective. Just guarantee any DIY fix fits your hose’s size and material.
Will Sealing Leaks Affect the Vacuum’S Suction Power?
Like a knight wielding a trusty shield, sealing leaks, if done carefully, won’t harm your vacuum’s suction power. Leak detection helps identify tiny holes, ensuring you maintain hose durability. When you patch leaks properly, you preserve peak airflow, making cleaning more efficient. Just be cautious not to over-seal, as excessive sealing might reduce flexibility. In the end, a well-sealed hose keeps your vacuum performing like a well-oiled machine.
How Can I Tell if a Section Needs Replacement?
To determine if a section needs replacement, start with a thorough hose inspection. Look for visible damage like cracks, holes, or tears, which are clear replacement indicators. Feel for weak spots or areas that collapse easily when bent. If you notice persistent leaks, significant damage, or reduced suction, it’s time to substitute that section. Addressing these issues promptly ensures your vacuum functions efficiently and avoids further damage.
Conclusion
By following these simple tips, you’ll tame that noisy vacuum hose in no time. Regular maintenance keeps it running smoothly, much like a well-oiled machine from the days of steam engines. Remember, a quiet hose isn’t just about peace and quiet—it’s about preventing bigger problems down the line. So, stay vigilant and treat your vacuum hose like a trusty steed, ensuring it’s always ready for the adventure of a clean home.

