
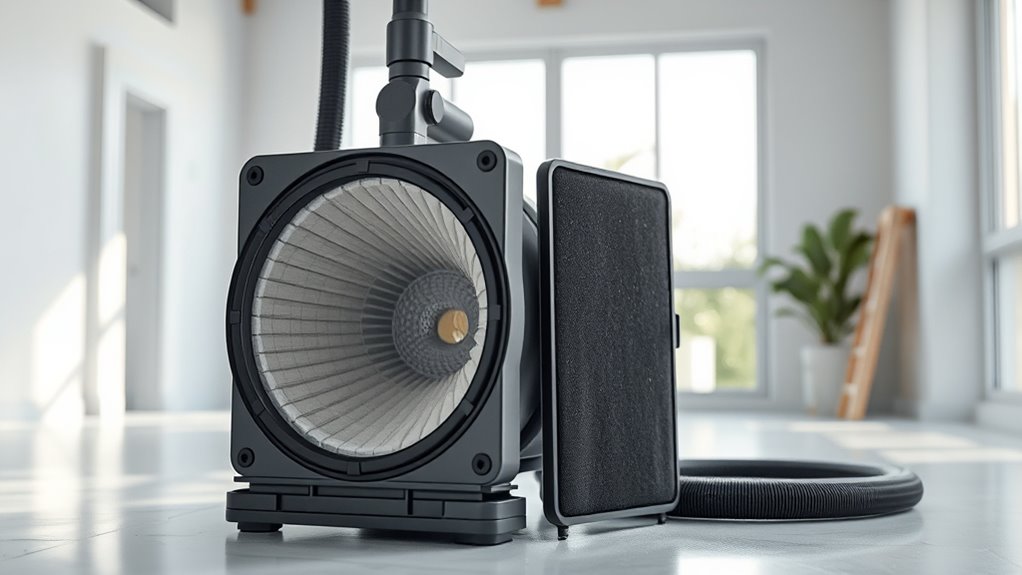
To control dust after renovations, choose vacuum filters that fit your system well and offer high filtration like HEPA filters for ultrafine particles. Regularly replace filters, ideally every 1-3 months, and guarantee proper sealing during installation to prevent leaks. Use pre-filters to catch larger debris and handle used filters carefully for disposal. For more effective dust control and maintaining vacuum performance, explore additional tips that can make your cleanup safer and more efficient.
Key Takeaways
- Choose compatible, high-efficiency filters like HEPA for ultrafine dust and allergens during renovation cleanup.
- Regularly replace filters every 1-3 months to maintain optimal vacuum performance and dust control.
- Properly install and seal filters with gaskets to prevent leaks and ensure airtight filtration.
- Use pre-filters to capture larger debris, reducing clogging and prolonging primary filter lifespan.
- Safely dispose of used filters in sealed bags following local regulations to minimize health and environmental risks.

Hoover Commercial PortaPower Lightweight Canister Vacuum Cleaner, Bagged Canister Vac with Attachments, 2-in-1 Vac and Blower, Corded Vacuum Cleaners for Commercial Use
LIGHTWEIGHT, POWERFUL VACUUM CLEANER: Lightweight and versatile with the ability to clean anywhere, the Hoover Commercial PortaPower Canister...
As an affiliate, we earn on qualifying purchases.
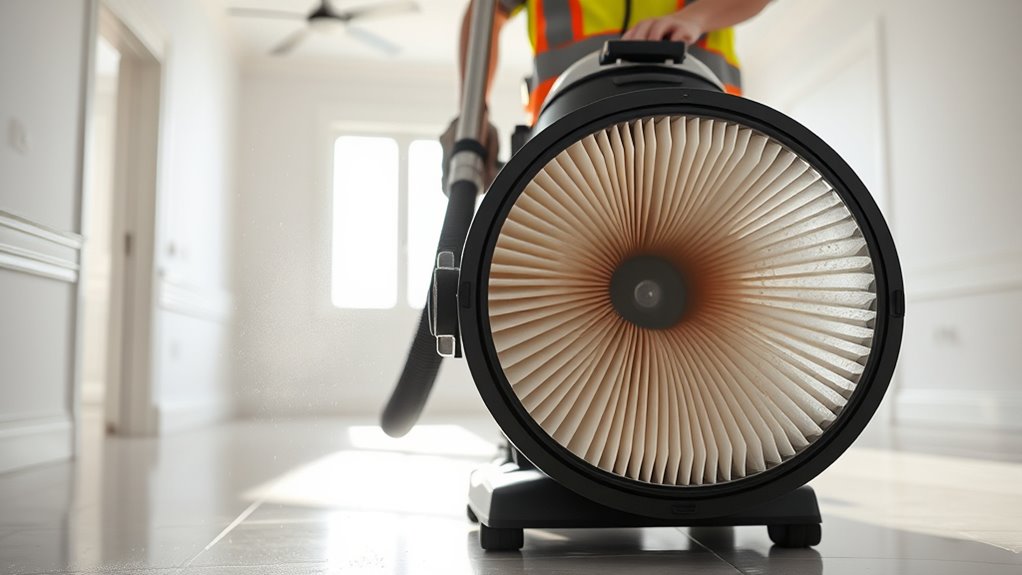
Selecting the Right Vacuum Filters for Renovation Cleanup

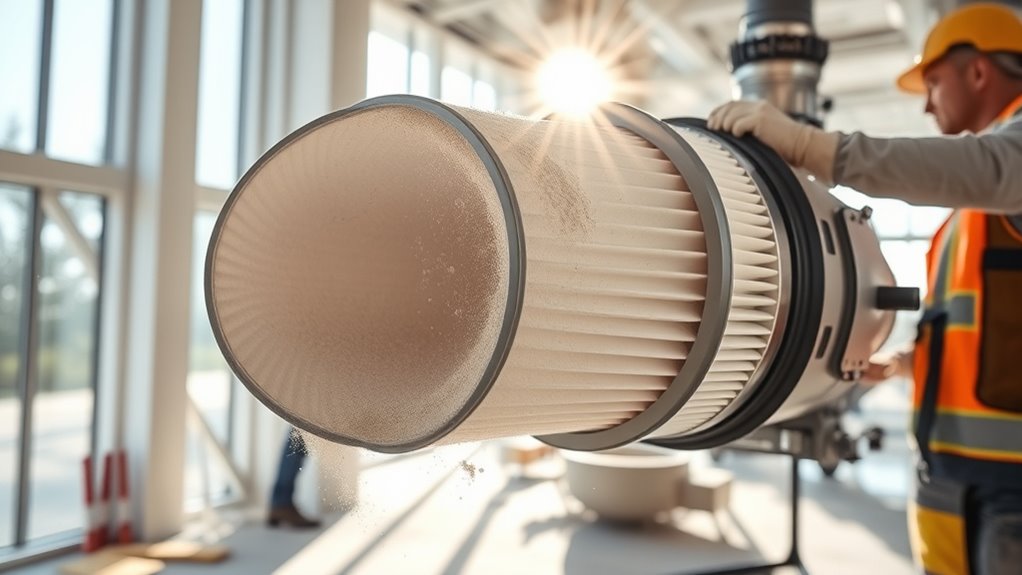
Choosing the right vacuum filters is essential for effective dust control during renovation cleanup. You need to guarantee equipment compatibility so that the filters fit your vacuum system properly, preventing leaks and maximizing efficiency. Consider environmental considerations by selecting filters that capture fine dust particles without releasing contaminants back into the air. Some filters are designed to work with specific vacuum models, so double-check compatibility before purchasing. Opting for high-quality filters also reduces the frequency of replacements, making cleanup more sustainable and cost-effective. Additionally, using filters with HEPA filtration can significantly improve indoor air quality by trapping even the smallest dust particles. Keep in mind that the right filter not only improves dust containment but also protects your equipment and promotes healthier indoor air quality. Making informed choices here helps ensure your renovation cleanup is both thorough and environmentally responsible.

CADPXS Shield-550 Air Scrubber 550 CFM with 3-Stage Filtration, Negative Air Machine, Airborne Cleaner HEPA Scrubber, Water Damage Restoration Equipment, Commercial Air Purifier
【Whole-Home HEPA Air Scrubber】 CADPXS Shield-550 HEPA air purifier removes large airborne particles, including smoke, pet dander, pollen,...
As an affiliate, we earn on qualifying purchases.
Understanding HEPA and Non-HEPA Filter Options
Understanding the differences between HEPA and non-HEPA filters helps you choose the right option for your cleanup needs. HEPA filters offer higher filtration efficiency but may cost more and require more maintenance, while non-HEPA filters can be suitable for less fine dust. Consider the types of dust you’re dealing with to select the most effective and cost-efficient filter for your situation. Additionally, selecting appropriate filtration technology is crucial as automation and technological advancements in cleaning equipment can further enhance dust control efficiency.
Filtration Efficiency Differences
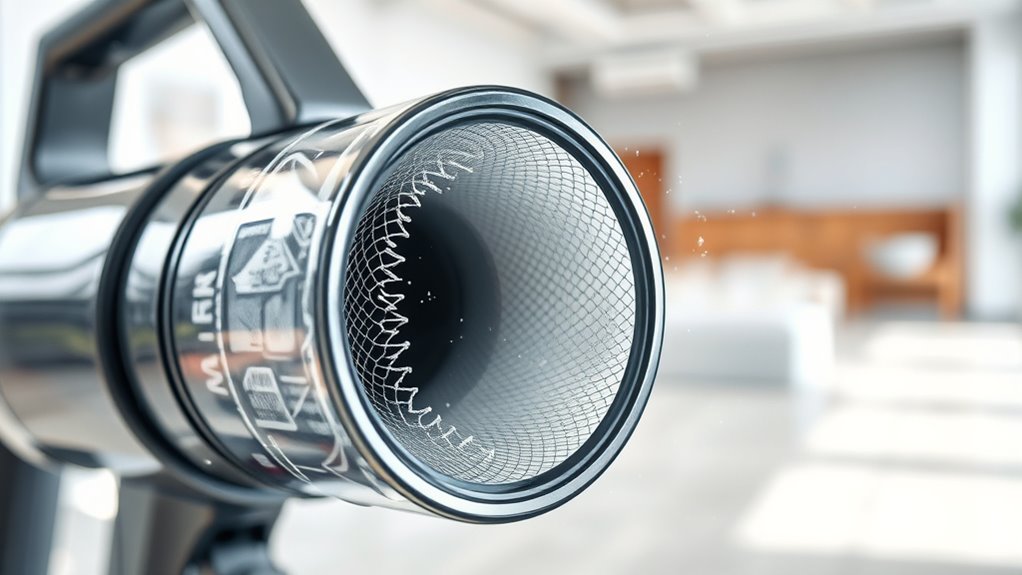
Have you ever wondered how different filters compare when it comes to capturing dust and debris after renovation? Filtration efficiency largely depends on the filter material and airflow optimization. HEPA filters are designed to trap at least 99.97% of particles as small as 0.3 microns, making them highly effective for dust removal. Non-HEPA filters typically have lower efficiency because they use different filter materials that may not capture the tiniest particles. The design of the filter influences airflow, with HEPA filters often requiring more power to maintain proper airflow. Choosing the right filter involves understanding these efficiency differences, especially since a more efficient filter can markedly improve dust control during post-renovation cleanup. Your goal should be to select a filter that balances filtration performance with airflow needs. Additionally, selecting a First Home Theatre Projector with a HEPA filter can further enhance dust filtration efficiency in your space.
Cost and Maintenance Factors
When comparing HEPA and non-HEPA filters, cost and maintenance are key factors to contemplate. A clear cost comparison reveals that HEPA filters typically have a higher upfront price but often last longer due to their superior filter lifespan. Consider these points:
- Initial Investment: HEPA filters usually cost more initially but may reduce long-term expenses.
- Filter Lifespan: HEPA filters generally last longer, reducing frequency and cost of replacements.
- Maintenance Needs: Non-HEPA filters might require more frequent changes, increasing ongoing maintenance costs. Additionally, understanding the filter material can help determine the durability and replacement schedule of your filter choice.
Balancing these factors helps you choose a filter that fits your budget and maintenance capacity, ensuring effective dust control without unexpected expenses.
Suitability for Dust Types
Choosing the right filter depends largely on the type of dust generated during your renovation. HEPA filters are ideal if your dust particles are small, typically less than 0.3 microns, as they effectively capture fine dust and allergens. This makes them suitable for allergen removal and improving indoor air quality, especially if you or your family have allergies or respiratory issues. Non-HEPA filters, such as standard or pre-filters, may handle larger dust particle sizes but fall short when it comes to filtering ultrafine particles. If your renovation produces primarily coarse dust, these filters might suffice. However, for all-encompassing dust control and allergen removal, selecting a HEPA filter ensures you target even the tiniest particles, creating a safer, cleaner environment after your project concludes. Additionally, understanding the contrast ratio of your filtration system can help determine its effectiveness in different environments.

VEVOR Air Scrubber with 3-Stage Filtration, Stackable Negative Air Machine 550 CFM, Air Cleaner with MERV10, Carbon, H13 HEPA, for Home, Industrial and Commercial Use
3-stage Filtration: This air scrubber features a three-stage filtration system consisting of a pre-filter (MERV-10), carbon filter, and...
As an affiliate, we earn on qualifying purchases.
Importance of Regular Filter Replacement
Regular filter replacement guarantees clogs that can reduce your vacuum’s effectiveness. It also keeps suction strong and improves overall air quality in your space. Don’t overlook this simple step to ensure your dust control remains effective after renovations. Regularly changing filters is essential for maintaining optimal dust filtration and prolonging the life of your vacuum.
Prevents Filter Clogging
Regularly replacing your filters is essential to prevent clogging, which can substantially reduce airflow and efficiency. When filters clog, dust and debris get trapped, making it harder for your vacuum to work properly. To avoid this, pay attention to these key factors: proper filter maintenance can extend the lifespan of your vacuum and improve its performance. 1. Filter material: Choose filters made from durable, high-quality materials that resist clogging longer. 2. Replacement intervals: Follow the manufacturer’s recommended schedule—typically every 1-3 months—to keep filters clear. 3. Signs of clogging: Watch for reduced suction power or increased dust escaping, indicating it’s time to replace your filter.
Maintains Suction Power
Maintaining strong suction power is crucial for effective dust removal, and this largely depends on timely filter replacements. A clogged or dirty filter puts extra strain on your vacuum motor, reducing its efficiency and shortening the filter lifespan. Regularly replacing filters ensures the vacuum operates at peak performance, preventing loss of suction. Here’s a quick overview of how filter changes impact your vacuum:
| Filter Condition | Effect on Vacuum Motor | Resulting Suction Power |
|---|---|---|
| Clean | Ideal | Strong suction |
| Slightly Dirty | Slightly Reduced | Moderate suction |
| Clogged | Strain, Reduced | Weak suction |
To keep your vacuum running smoothly, check and replace filters as recommended. This simple step preserves suction and prolongs your device’s life. Foster a maintenance routine to ensure optimal performance.
Ensures Air Quality
Keeping your vacuum’s filters in good shape doesn’t just preserve suction—it also plays a vital role in maintaining indoor air quality. Regular filter replacement ensures dust suppression, preventing allergens and particles from recirculating into the air. Here are three reasons why this matters: 1. Improves air quality by trapping more dust and allergens, reducing respiratory irritation. 2. Enhances dust suppression during cleaning, preventing airborne particles from settling back into your environment. 3. Extends vacuum lifespan by reducing strain on the motor, which helps maintain consistent performance. Additionally, maintaining filter efficiency is essential for optimal air purification.
M-T Air Scrubber with 3 Stage Filtration, Stackable Negative Air Machine Cleaner 550 CFM for Industrial and Commercial Water Damage Restoration Air Scrubber with MERV-10, HEPA, Activated Carbon Filter
【Triple High-Efficiency Purification】As a powerful Portable HEPA Air Scrubber, delivering up to 550 CFM with Variable Speed. It...
As an affiliate, we earn on qualifying purchases.
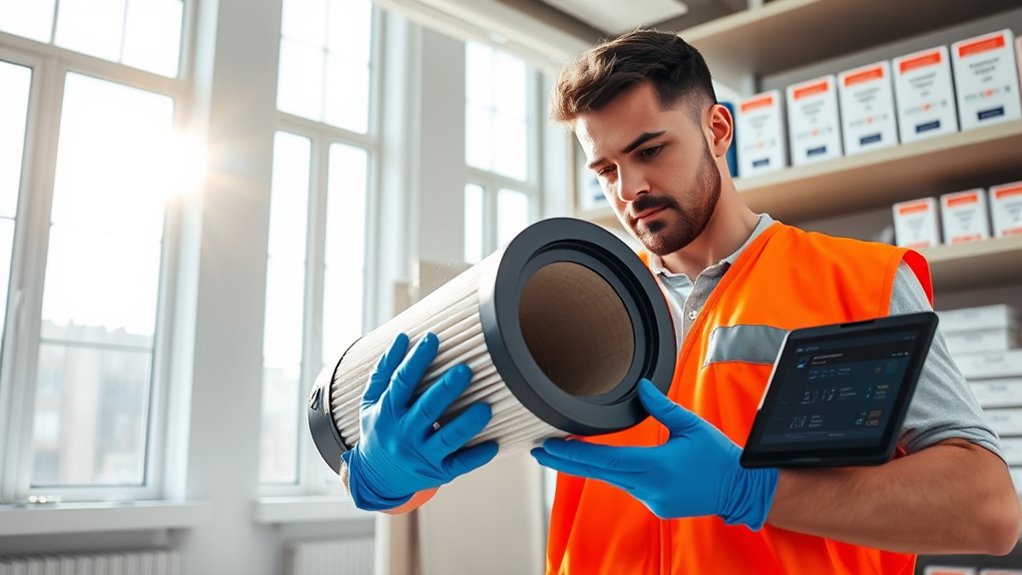
Techniques for Proper Filter Installation and Sealing

Proper filter installation and sealing are essential steps in preventing dust from escaping during and after renovation. When installing filters, ensure they fit snugly into the vacuum’s filter housing without gaps or loose edges. Use sealing techniques like sealing tapes or gaskets to create an airtight seal around the filter frame. Check that the filter is properly seated and secure it firmly to avoid leaks. Avoid over-tightening, which can damage the filter or housing. Regularly inspect seals and replace damaged gaskets to maintain effectiveness. Proper installation and sealing minimize dust escape, ensuring cleaner air quality. Taking these steps guarantees that your vacuum system operates efficiently and that dust doesn’t leak into your environment, making post-renovation cleanup safer and more effective. Ensuring correct filter placement can significantly improve the overall dust containment during cleanup processes.
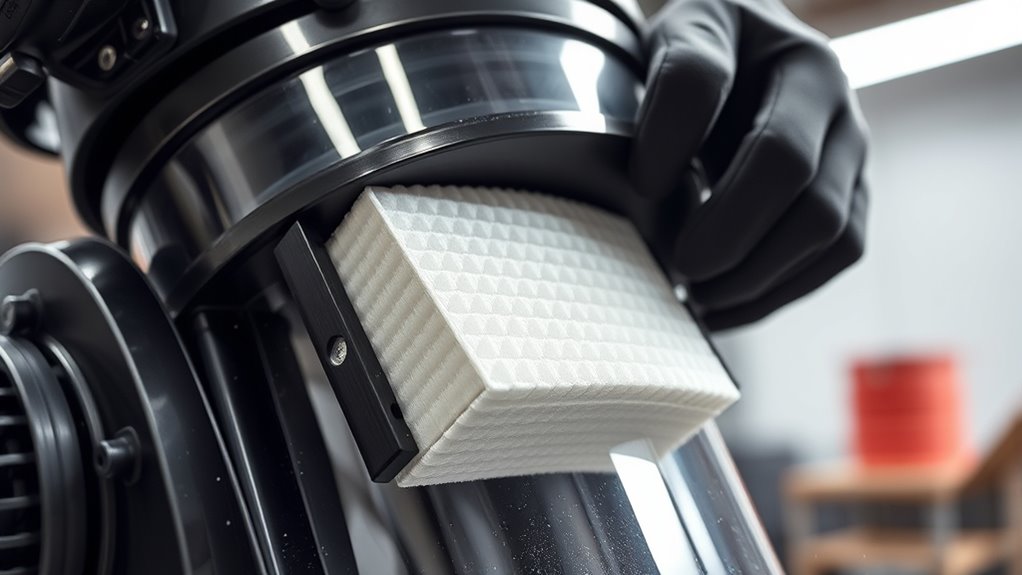
Using Pre-Filters to Extend Main Filter Life
Using pre-filters can considerably extend the lifespan of your main filter by capturing larger debris and preventing it from reaching the primary filtration system. To maximize benefits, focus on pre filter selection based on your dust accumulation levels and the size of particles you expect to encounter. Consider these key points:
- Choose a pre-filter with the right mesh size to trap large dust particles without restricting airflow.
- Regularly inspect and replace pre-filters to prevent clogging and maintain optimal dust capture.
- Match pre-filter material to the type of debris common in your post-renovation environment for better dust control.
Maintaining Vacuum Performance During Dusty Tasks
To guarantee your vacuum performs effectively during dusty renovation tasks, it’s important to monitor its suction power and airflow regularly. Airflow optimization ensures dust doesn’t bypass filters and clog the system, maintaining strong performance. Check for decreases in suction that signal filter overload or blockages. Comparing filter materials helps you choose options with higher airflow capacity and better dust retention. For example, HEPA filters often outperform standard filters in maintaining airflow during heavy dust loads. Regularly inspecting and replacing filters as needed prevents performance drops. Using a filter material comparison guide allows you to select filters that balance filtration efficiency with airflow, ensuring your vacuum stays powerful and effective throughout demanding dusty tasks.
Best Practices for Filter Disposal and Safety

When disposing of used vacuum filters after dusty renovation work, you need to handle them carefully to prevent health hazards. Proper filter disposal is essential to protect yourself and others. Follow these safety protocols:
Handle used vacuum filters with care—seal in a bag and dispose of safely to protect health.
- Wear gloves and a mask to avoid exposure to dust or allergens on the filter.
- Seal the used filter in a plastic bag before disposal to contain dust particles.
- Dispose of the sealed bag in your regular trash, following local regulations for hazardous waste if applicable.
Enhancing Dust Control With Additional Filtration Devices
Adding extra filtration devices can substantially boost your dust control efforts during renovation cleanup. These devices improve air quality by capturing finer dust particles that standard filters might miss. Portable air scrubbers or HEPA filtration units can be easily integrated with your existing tools, ensuring compatibility without complicated setups. When selecting additional filters, consider tool compatibility to ensure they work seamlessly with your equipment. This approach minimizes airborne dust, creating a safer environment for you and others. Enhanced filtration not only improves indoor air quality but also reduces cleanup time by trapping more contaminants at the source. By deploying these extra devices strategically, you can maintain a cleaner workspace and protect sensitive surfaces from residual dust.
Tips for Training Staff and Households on Filter Care
Properly training staff and households on filter care is essential for maintaining effective dust control during renovations. Clear instructions ensure filters function properly and prolong their lifespan. To achieve this, focus on three key steps:
- Regular filter maintenance: Teach how and when to clean or replace filters to prevent clogging.
- Proper handling techniques: Show the correct way to remove and install filters to avoid damage and contamination.
- Routine inspections: Encourage scheduled checks to identify dirt buildup early and maintain ideal airflow.
Effective staff training emphasizes the importance of consistent filter care, reducing airborne dust and improving overall air quality. When households understand these practices, they help sustain the dust control measures, ensuring a safer, cleaner environment throughout the renovation process.
Frequently Asked Questions
How Do I Choose the Most Cost-Effective Vacuum Filter for Renovation Cleanup?
When choosing a vacuum filter, you want to take into account the cost comparison and filter longevity. Look for filters that offer a balance between affordability and durability; cheaper filters might need frequent replacements, increasing overall costs. Check product reviews and specifications to find filters with longer lifespans, which save you money over time. Ultimately, selecting a filter with good durability and reasonable price ensures effective cleanup without overspending.
What Are Signs That a Vacuum Filter Needs Replacement Before Scheduled Intervals?
When it comes to replacing your vacuum filter early, don’t wait until it’s too late—that’s the early bird gets the worm. Signs include increased dust accumulation, reduced suction power, and visible dirt buildup on the filter. If your filter’s lifespan feels shorter than usual or you notice a decline in performance, it’s time to swap it out. Acting promptly maintains your vacuum running efficiently and ensures cleaner results.
Can Certain Filters Be Reused or Cleaned for Multiple Renovation Projects?
You might wonder if certain filters can be reused or cleaned for multiple renovation projects. While some filters, like washable HEPA filters, can be cleaned through filter cleaning and reused, others require proper filter disposal after each use. Always check the manufacturer’s instructions to determine if a filter is reusable or needs disposal. Regularly inspect filters to guarantee they’re functioning properly, and replace or clean them as recommended for peak dust control.
How Do Environmental Factors Influence Filter Selection and Maintenance?
You might think environmental factors don’t matter, but research shows they considerably impact filter choices and maintenance. For ideal air quality, you should consider humidity control, as high humidity can cause mold growth and clog filters faster, while low humidity can lead to static buildup. By monitoring these factors, you can select filters that last longer and maintain cleaner air, ensuring your renovation space stays healthier and more efficient.
Are There Specific Vacuum Models Best Suited for Dust Control in Renovations?
When choosing a vacuum for dust control during renovations, look for models with HEPA compatibility to trap fine particles effectively. Select a vacuum with a high dust capacity to handle larger debris without frequent emptying, ensuring consistent performance. Your goal is to minimize airborne dust, so prioritize units designed for heavy-duty cleaning. This approach keeps your workspace cleaner and protects your health throughout the renovation process.
Conclusion
By choosing the right filters and maintaining them properly, you guarantee a cleaner, safer space after renovation. Regularly replacing filters, sealing them correctly, and using pre-filters can make a significant difference in dust control. Remember, even the most diligent efforts won’t amount to much if you ignore proper disposal and staff training. As the wise Benjamin Franklin once said, “An ounce of prevention is worth a pound of cure”—so invest in good filter strategies for lasting results.