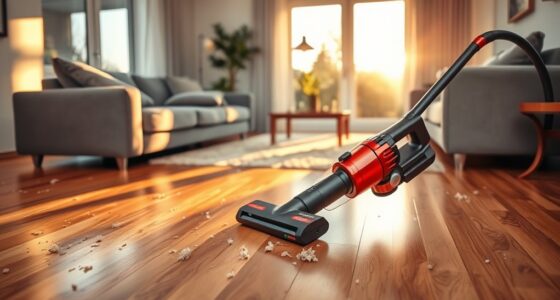

The 7-Day Floor-Freshening Vacuum Challenge guides you through a systematic plan to refresh and maintain your floors using proper techniques and targeted cleaning. You’ll start by preparing your vacuum and surface, then focus on deep cleaning, high-traffic areas, and natural deodorizing methods. Regular upkeep and evaluating your progress will keep floors cleaner longer. Stay committed, and you’ll discover ways to keep your home fresher — and there’s more to explore ahead.
Key Takeaways
- Follow a structured 7-day routine focusing on surface prep, deep cleaning techniques, and targeted cleaning of high-traffic areas.
- Use appropriate vacuum attachments, slow overlapping passes, and regular maintenance for maximum dirt and allergen removal.
- Incorporate natural deodorizers like baking soda and activated charcoal to keep floors smelling fresh throughout the week.
- Prioritize cleaning entryways, corners, and under furniture to eliminate hidden dirt and prevent buildup.
- Maintain vacuum filters and brushes regularly, and utilize smart device security tips for safe, effective cleaning.

Shark Upright Vacuum Cleaner | Navigator Lift-Away | Pet Hair, Carpet & Hard Floor Cleaning | Upholstery & Crevice Tools | HEPA Filter | Swivel Steering | Large Dust Cup Capacity | Lavender | NV352
- Powerful Multi-Surface Suction: Cleans carpets and hard floors effectively
- Lift-Away for Above-Floor Cleaning: Detachable pod for stairs and upholstery
- Pet Hair Removal: Removes pet hair from various surfaces
As an affiliate, we earn on qualifying purchases.
As an affiliate, we earn on qualifying purchases.
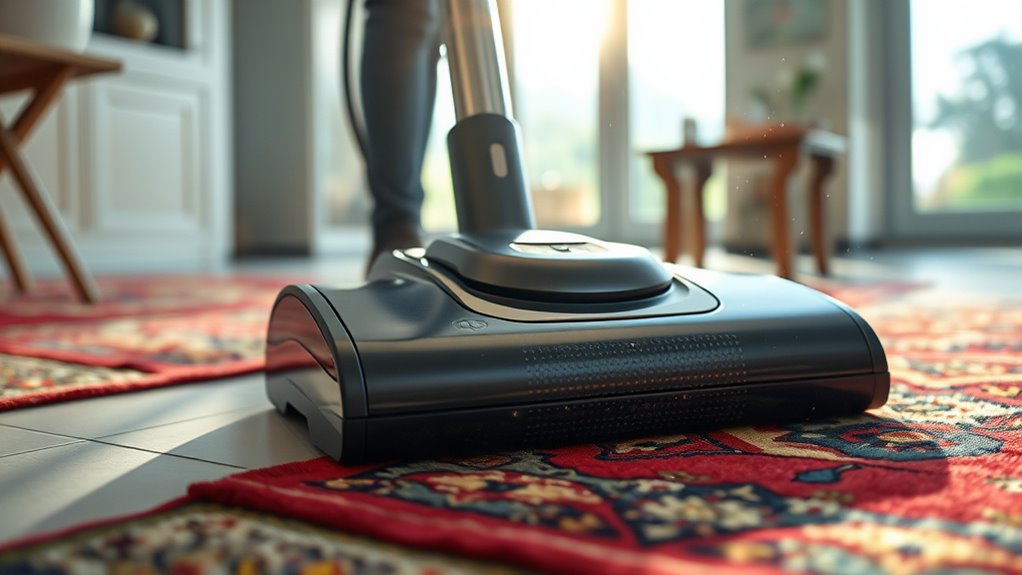
Day 1: Clearing the Surface and Preparing Your Vacuum
Have you ever wondered why your vacuum doesn’t work as well as it should? It’s often because of clogged vacuum filters or poor cord management. Before you start, clear the surface by removing loose debris and furniture. Check your vacuum filters and clean or replace them if they’re dirty; clogged filters reduce suction power. Proper cord management is essential—untangle the cord to prevent interruptions and avoid damage. This not only makes cleaning easier but also prolongs your vacuum’s lifespan. Make sure the vacuum’s attachments are secure and ready to go. When the surface is clear and your equipment is prepared, you’ll ensure maximum efficiency and a deeper clean. Taking these simple steps sets a solid foundation for effective vacuuming. Additionally, understanding the importance of filter maintenance can help maintain optimal suction and extend your vacuum’s overall performance.
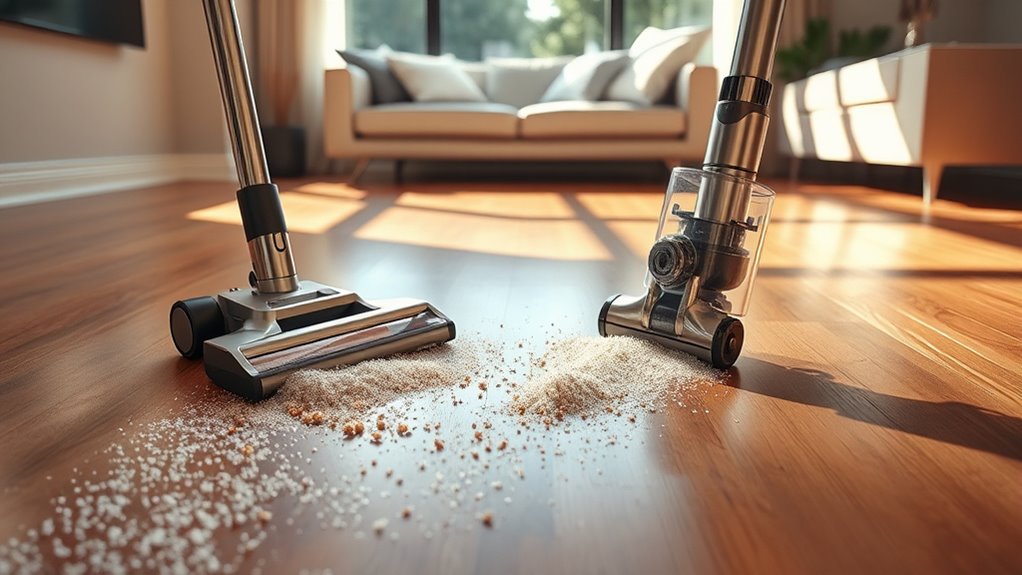
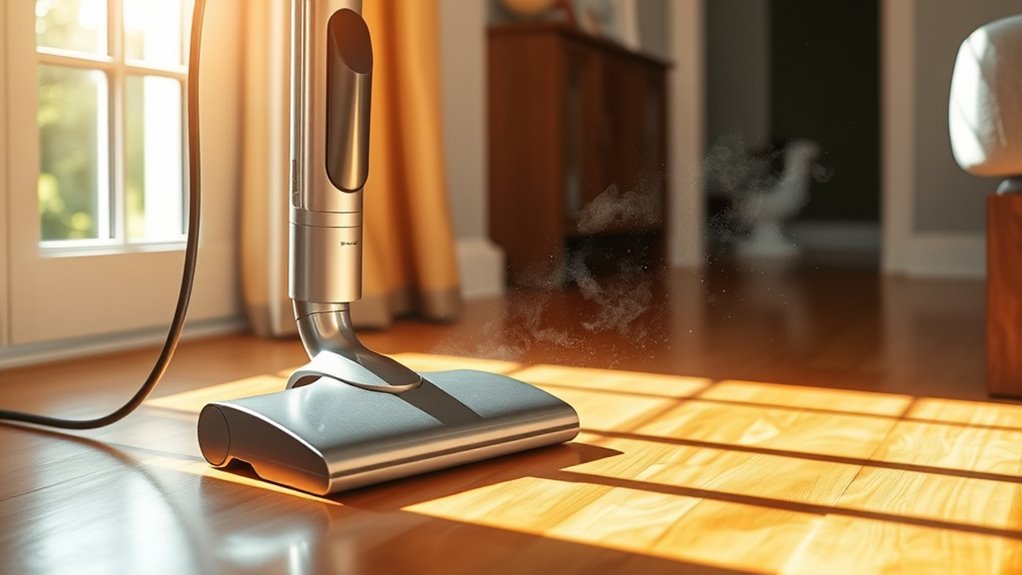
Day 2: Mastering the Proper Technique for Deep Cleaning

Once your surface is cleared and your vacuum is properly prepared, the next step is to focus on your technique to guarantee a thorough deep clean. Use vacuum attachments designed for deep cleaning, like crevice tools or upholstery nozzles, to reach corners, edges, and tight spaces. Move your vacuum slowly and methodically, overlapping each pass to lift embedded dirt effectively. Stick to your cleaning schedule—regular deep cleans prevent dirt buildup and keep floors fresh longer. Avoid rushing; a deliberate approach ensures you remove dust, debris, and allergens thoroughly. Remember, proper technique maximizes your vacuum’s power, making each session more effective. Incorporating effective cleaning tools can further enhance your results. With consistent practice, you’ll master deep cleaning and maintain floors that look and smell fresh every time.
Today, focus on cleaning entryways where dirt quickly accumulates, and make sure to give extra attention to these busy spots. Don’t forget to scrub under furniture; hidden dirt often hides there and can make a big difference. Tackling these areas will leave your floors looking spotless and fresh. Incorporating regular cleaning of high-traffic zones can also help reduce stress and promote a relaxing environment.
Focus on Entryways
Why should entryways be your vacuuming priority? They’re the first impression visitors see and a hotspot for dirt and debris. Your entrance decor, like rugs and mats, often traps dust, mud, and crumbs brought in by shoes. Regular vacuuming keeps these areas clean and prevents dirt from spreading further into your home. Make sure to focus on shoe storage areas, where dirt tends to accumulate unnoticed. Removing shoes at the door reduces tracked-in grime, making vacuuming more effective. Pay attention to corners and edges where dirt gathers around shoe racks and coat hooks. Keeping your entryway tidy not only enhances your home’s appearance but also improves overall floor cleanliness, making every step into your house a fresh, dirt-free experience. Additionally, understanding the importance of high-quality vacuum cleaners with strong suction power can significantly boost your cleaning efficiency and effectiveness.
Scrub Under Furniture
After tidying up your entryway, it’s time to focus on the areas that often hide dirt and debris: under your furniture. Dirt accumulation here can go unnoticed but quickly build up, affecting your clean floors. To effectively scrub under furniture, use your vacuum accessories designed for tight spaces. Here are three tips to help you tackle this task:
- Attach a crevice tool to reach narrow gaps.
- Use the upholstery brush for soft surfaces or legs.
- Move furniture carefully to access hidden spots without damaging flooring.
- Regularly update and clean your cleaning tools to maintain optimal performance email list management.
Day 4: Enhancing Freshness With Natural Deodorizers
Natural deodorizers are an effective way to keep your floors smelling fresh without relying on artificial fragrances. Using natural ingredients, like baking soda, is a simple and eco-friendly method to absorb odors. Baking soda works by trapping odor molecules, making your space smell cleaner and more inviting. You can sprinkle it directly on carpets before vacuuming or create a natural deodorizer spray by mixing baking soda with water and essential oils. Activated charcoal is another excellent natural ingredient for odor absorption, especially in areas prone to mustiness. These natural options are safe, inexpensive, and free from synthetic chemicals, making them perfect for maintaining a fresh, inviting environment. Incorporating natural deodorizers into your cleaning routine enhances freshness without compromising your health or the planet. Additionally, choosing effective deodorizers can improve your overall home freshness and ensure long-lasting results.
Day 5: Maintaining Consistency and Tackling Stubborn Spots
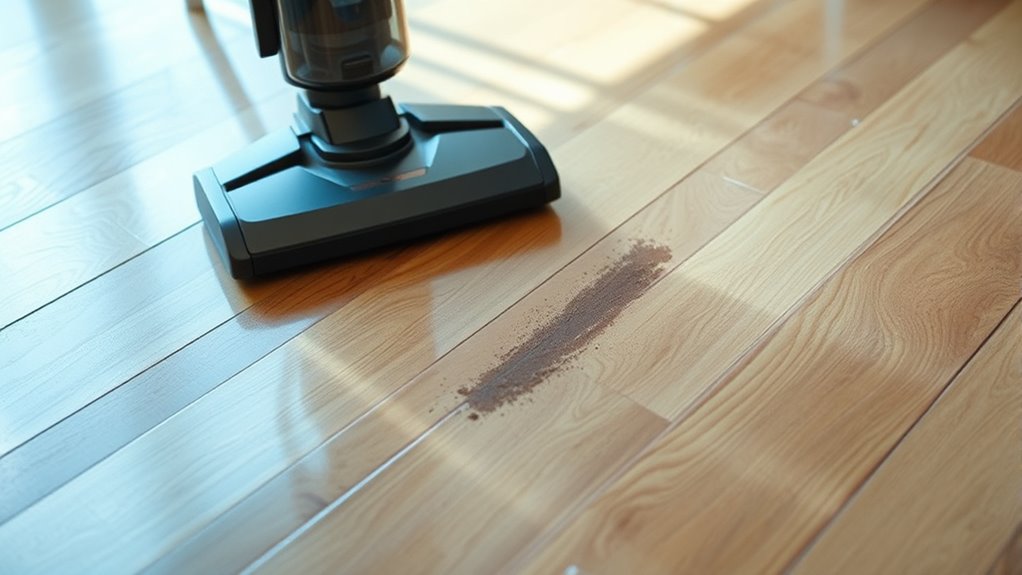
To keep your floors looking their best, you need a consistent routine that tackles stubborn spots early. Using targeted strategies, like applying a bit of extra elbow grease or specific cleaning solutions, can make stubborn marks vanish. Staying committed to your routine guarantees your floors stay fresh and spotless over time.
Stubborn Spot Strategies
Have you ever noticed a stubborn stain lingering despite multiple cleanings? It can be frustrating, especially when pet hair and allergens cling stubbornly to your floors. To tackle these spots effectively, try these strategies:
- Use a mixture of equal parts vinegar and water for tough stains—this breaks down residue and lifts pet hair.
- Pre-treat with a dedicated stain remover, letting it sit for 5–10 minutes before vacuuming again.
- Focus your vacuum’s brush and suction on stubborn areas, making multiple passes to loosen embedded pet hair and allergens.
- Incorporating automation technologies into your cleaning routine can help maintain consistent results and prevent buildup over time.
Sticking to these techniques helps maintain a cleaner, allergen-reduced environment, ensuring your floors stay fresh and pet hair-free longer. Consistency turns stubborn spots into a thing of the past.
Consistent Routine Tips
Maintaining a consistent vacuuming routine is key to preventing stubborn spots from forming and ensuring your floors stay fresh. Regular vacuum maintenance guarantees your machine operates at peak performance, making it easier to pick up dirt and debris before they settle. To keep your vacuum effective, check filters, brushes, and bags frequently. Using smart storage solutions helps you keep your vacuum accessible and in good condition, reducing the chances of neglect. Consistent vacuuming not only prevents buildup but also keeps your floors looking their best. Set a schedule that fits your lifestyle, whether daily or every few days, and stick to it. Staying disciplined with routine maintenance and organized storage means you’ll tackle stubborn spots early and keep your floors consistently fresh. Incorporating vetted home theatre projectors into your cleaning routine can also improve your overall experience by providing better visibility and ease during cleaning.
Day 6: Evaluating Your Progress and Adjusting Your Approach

As you reach Day 6, it’s essential to assess how well your vacuuming routine is working and identify areas needing adjustment. Start by reviewing your vacuum maintenance: Are filters clean? Is the brush roll functioning smoothly? Next, evaluate scent neutralization efforts: Are your floors smelling fresh or do odors linger? Finally, consider your cleaning frequency—are you vacuuming often enough to keep dust and dirt at bay? To improve, try replacing filters if they’re clogged, using scent-neutralizing powders or sprays, and adjusting your schedule based on floor traffic. Additionally, staying informed about AI security developments can help you understand potential vulnerabilities in smart cleaning devices and ensure they operate safely and effectively. Regularly checking these aspects guarantees your vacuum remains effective, your floors stay fresh, and you’re on track to achieving lasting cleanliness.
Day 7: Celebrating Your Clean, Fresh Floors and Next Steps

Now that you’ve completed your 7-day floor-freshening routine, it’s time to celebrate your success and enjoy the results. Your floors, no matter the flooring materials, look and smell fresher. Take pride in your effort and consider ways to maintain this cleanliness. Using the right vacuum accessories helps keep your floors pristine, whether you have hardwood, tile, or carpet. Regular upkeep prevents buildup and prolongs your floors’ life. To keep the momentum, schedule weekly vacuuming and spot cleaning. Celebrate your achievement with a simple walk-through or a photo. Here’s a quick idea to keep inspired:
| Action | Tool/Accessory | Frequency |
|---|---|---|
| Deep clean floors | Multi-surface vacuum heads | Bi-weekly |
| Spot clean stains | Crevice tool | As needed |
| Maintain floors | Soft-bristled brush | Weekly |
Additionally, exploring tuning options for your vehicle can enhance your driving experience, just as proper vacuuming maintains your floors.
Frequently Asked Questions
Which Vacuum Settings Are Best for Different Floor Types?
When choosing vacuum settings for different floors, you should adjust the suction power and brush height accordingly. For carpets, set the vacuum to higher suction and lower brush height, while for hardwood or tile, use lower suction and a higher brush setting. Remember to perform vacuum filter maintenance regularly to keep it running efficiently. Also, use cord storage solutions to keep your space tidy and avoid damage to the cord when switching settings.
How Often Should I Repeat the Vacuum Challenge for Optimal Results?
Think of your vacuum as a trusted garden tool; regular care keeps it thriving. To maintain ideal vacuum performance and air quality, repeat the vacuum challenge every 1 to 2 weeks. This schedule ensures your vacuum stays in peak condition, effectively removing dirt and allergens. Regular vacuum maintenance not only prolongs your device’s life but also creates a cleaner, healthier environment for you. Consistency is key to lasting freshness.
Can Natural Deodorizers Damage My Vacuum or Floors?
Natural remedies like baking soda or essential oils can freshen your floors, but you should be cautious about vacuum safety. Some natural deodorizers might clog filters or damage vacuum components if not used properly. Always check your vacuum’s manual before using any natural products, and avoid pouring liquids directly onto floors. Properly utilizing natural remedies ensures fresh-smelling floors without risking damage to your vacuum or surfaces.
What Are Signs of Ineffective Vacuuming Techniques?
Imagine a gentle breeze turning into a stubborn gust—your vacuum’s performance mirrors this. Signs of ineffective vacuuming include dust accumulation on surfaces and inconsistent suction, like a whisper of power that fades. If you notice debris lingering or the machine struggles to pick up, your technique might need a tune-up. Properly sealing attachments and slow, deliberate passes guarantee your vacuum works at full strength, leaving your floors truly fresh.
How Do I Troubleshoot Common Vacuum Malfunctions During the Challenge?
When troubleshooting common vacuum malfunctions, start by checking your vacuum filter; a clogged filter can reduce suction. Next, inspect the brush roller to ensure it spins freely and isn’t tangled with debris. If your vacuum isn’t picking up dirt effectively, replacing or cleaning the filter and removing any hair or strings from the brush roller usually helps restore performance. Regular maintenance keeps your vacuum working smoothly during the challenge.
Conclusion
By the end of this week, your floors will thank you for the extra love and attention. You’ve gently nudged away the dullness and invited a fresh, lively feel that makes every step a pleasure. Remember, a little consistent effort turns routine chores into a rewarding ritual. Keep up the good work, and soon your home will be shining with a renewed sparkle—proof that small habits can truly make a big difference.