
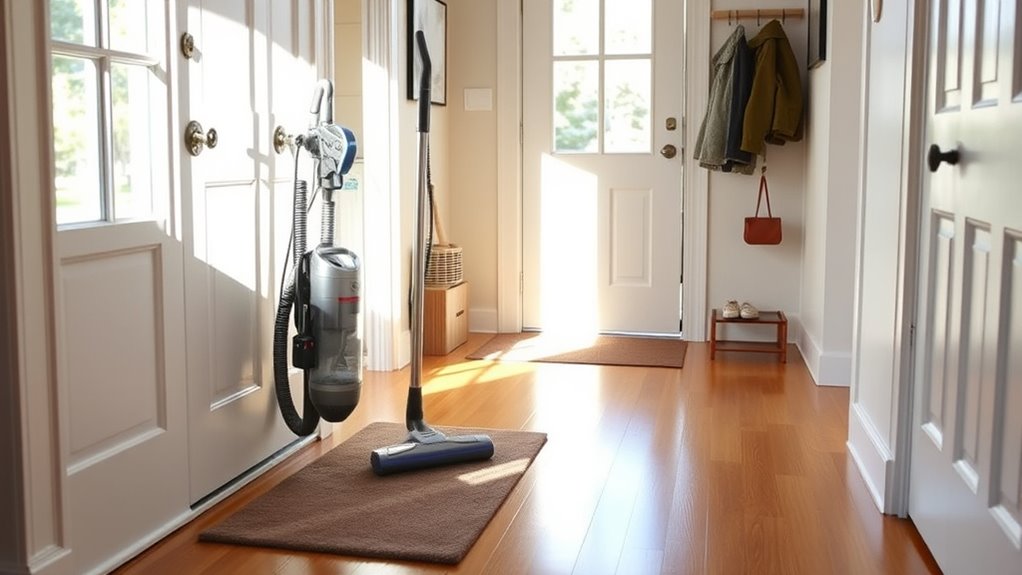
Start by gathering your vacuum, checking filters, and preparing small tools. Clear the entryway of shoes, umbrellas, and clutter to create space. Set a 15-minute timer and begin with the doormat, then vacuum the main floor thoroughly. Wipe down surfaces if needed and guarantee your vacuum is stored properly afterward. Keeping your entryway fresh and tidy takes just minutes—stick around for more tips to keep your space spotless every weekend.
Key Takeaways
- Gather and inspect your vacuum, clean filters, and prepare attachments to ensure optimal performance.
- Clear entryway obstructions and doormats to enhance vacuum efficiency and prevent debris spread.
- Focus on corners, edges, and baseboards using crevice tools for thorough cleaning.
- Wipe down high-touch surfaces and clean rugs or mats to refresh the space.
- Empty the vacuum, store it properly, and review the entryway for overall cleanliness and organization.

Gxzsk Handheld Vacuum Cordless, 15000PA Strong Suction Hand Held Car Vacuum Cleaner Rechargeable, Portable Hand Vacuum with Multi-Nozzles & Washable Filter for Home Office, Car, Pets
🌀【15000PA Strong Suction Power】The handheld vacuum cordless is equipped with an advanced high-speed motor that provides powerful suction…
As an affiliate, we earn on qualifying purchases.
As an affiliate, we earn on qualifying purchases.
Gather Your Vacuum and Supplies
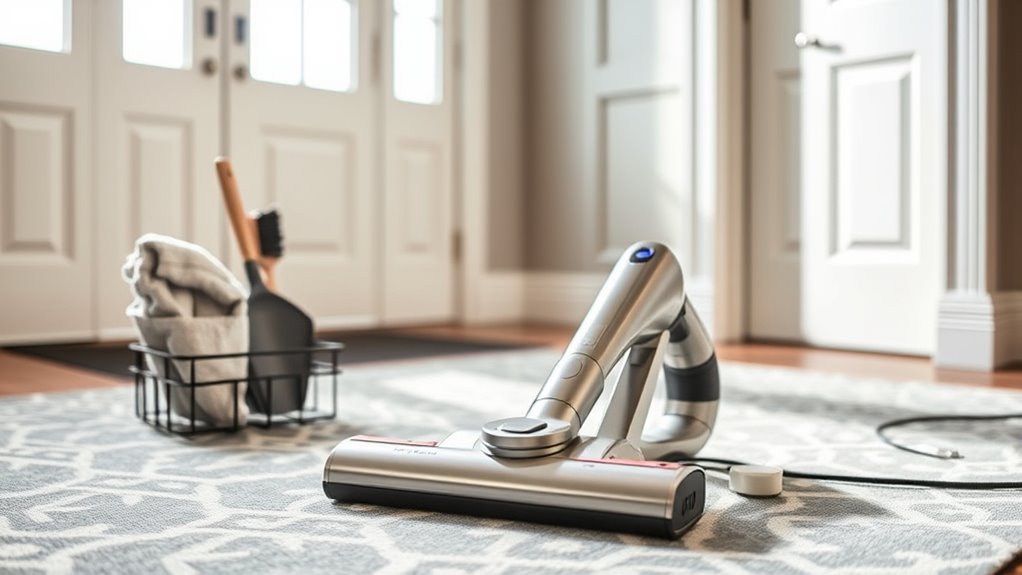
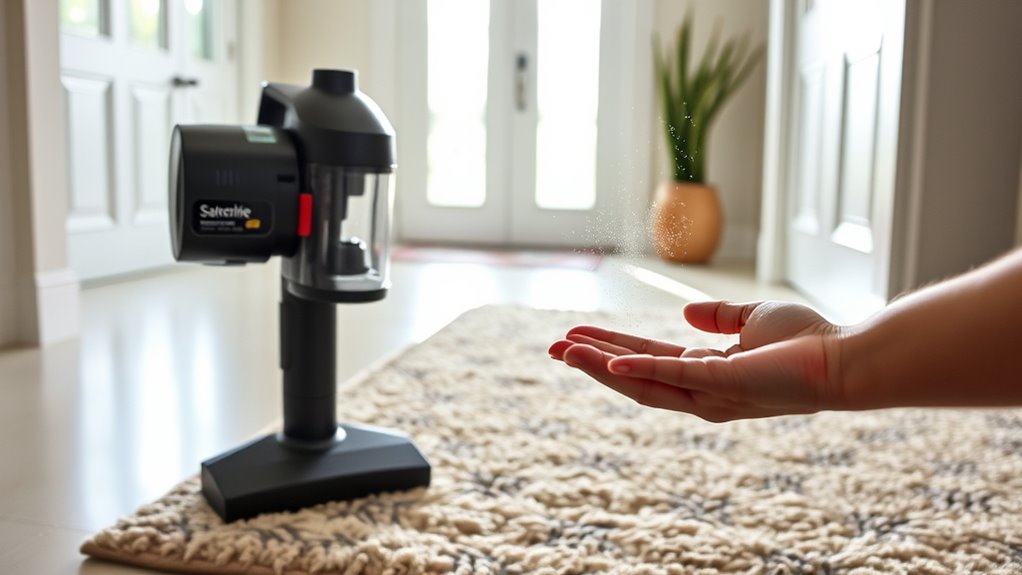
Have you got your vacuum and cleaning supplies ready? Before diving into your entryway cleanup, ensure your vacuum is in top shape with proper vacuum maintenance. Check the bag or canister and empty it if needed, and inspect the brush roll for tangled hair or debris. Gather your cleaning supplies—preferably a microfiber cloth, mild cleaning spray, and a small brush or nozzle attachment. Having everything within reach streamlines the process and keeps you efficient. Double-check that your vacuum’s filters are clean to maximize suction. Preparing your tools now prevents interruptions later. A quick pre-check guarantees your vacuum performs at its best, making your 15-minute routine smoother. Additionally, inspecting the vacuum’s performance upgrades can ensure optimal power and efficiency during your cleaning session. With everything ready, you’ll be set to tackle dirt and dust effortlessly, leaving your entryway fresh and inviting.

WORKSHOP Wet/Dry Vacs Shop Vacuum Accessories WS12502A Crevice Tool Attachment for Wet Dry Vacuum Cleaners, Fits 1-1/4-inch Extension Wands and Hoses
A wet dry vacuum crevice tool lets a user gets into tight spaces
As an affiliate, we earn on qualifying purchases.
As an affiliate, we earn on qualifying purchases.
Clear the Entryway of Obstructions
Before you start cleaning, removing any obstructions from the entryway is essential. Clear doorway clutter like shoes, umbrellas, and bags to create a smooth vacuuming space. Start by organizing shoes; place them neatly in a shoe rack or designated area to prevent scattered clutter. Move any stray items that block your path, such as boxes or toys, so your vacuum can reach every corner effortlessly. Clearing the entryway not only makes vacuuming more effective but also prevents debris from being pushed around or missed. Taking a moment to assess the space can help identify any hidden obstacles that might interfere with a thorough clean. Once the space is clear, you’re ready for an efficient vacuum session.

Kitsure Shoe Rack – Non-Woven Shoe Rack Shelf, Shoe Organizer for Closet, Entryway, Garage & Corridor, Stackable Shoe Shelves, 27.5" Wide – 3 Tier, Black
SPACIOUS STORAGE: This shoe rack offers plenty of space to accommodate your everyday footwear, including sneakers, heels, and…
As an affiliate, we earn on qualifying purchases.
As an affiliate, we earn on qualifying purchases.
Set a Timer for 15 Minutes
Pick a timer device that’s easy to see and use, then set it for 15 minutes. Assign specific tasks to complete within that period, so you stay focused. Remember to stick to the time limit to make the most of your blitz. Incorporating a high refresh rate can help you better monitor your progress during the routine.
Choose a Timer Device
Choosing the right timer device can make a significant difference in how smoothly your tasks flow. Your choice affects your timing strategies and overall efficiency. Consider device comparisons to find one that fits your needs. For example, some timers offer loud alerts, while others have silent modes, which can help you stay focused. Digital timers often feature multiple settings, making them versatile for different tasks. Mechanical timers are simple and reliable, ideal for quick routines. Additionally, look for timers with easy-to-read displays and long battery life to prevent interruptions. Remember, a well-chosen timer keeps you on track, helping you stick to your 15-minute routine without distraction or frustration. Properly managing cookie preferences can also enhance your overall experience by ensuring smooth functionality and personalized content. Select wisely to streamline your weekend blitz and maximize your cleaning efficiency.
Allocate Specific Tasks
Setting a 15-minute timer for each specific task helps you stay focused and prevents burnout. By allocating time for vacuum maintenance and sticking to your cleaning schedule, you guarantee each step gets completed efficiently. Break down your routine into clear tasks—like unclogging filters, emptying the dustbin, or checking brush rolls—and assign a set period to each. This keeps your vacuum functioning at its best and prevents small issues from piling up. Using a timer also helps you avoid spending too much time on one task, keeping the overall routine manageable. Stay disciplined, and if you finish early, use the remaining minutes to review your vacuum or prepare for the next cleaning session. This structured approach makes your routine more effective and less overwhelming. Incorporating regular maintenance can further extend your vacuum’s lifespan and maintain optimal performance.
Stick to Time Limit
Have you ever noticed how easily tasks can expand to fill the time available? To stay efficient during your entryway vacuum routine, set a timer for 15 minutes. This keeps you focused and prevents you from overextending, especially when it comes to vacuum maintenance and supply organization. When time’s up, move on to the next chore. To make it effective:
- Limit your vacuuming to the designated time
- Quickly check and clear filters or brushes
- Organize vacuum supplies for easy access
- Avoid getting sidetracked by minor details
- Incorporate quick cleaning techniques to maximize efficiency within the time limit
This approach guarantees a quick, effective routine without sacrificing other tasks, making your cleaning time both productive and manageable.

USANOOKS Microfiber Cleaning Cloth Grey – 12 Pcs (12.5"x12.5") – High Performance – 1200 Washes, Ultra Absorbent Microfiber Towel Weave Grime & Liquid for Streak-Free Mirror Shine – Car Washing Cloth
10x GRIP-ROOT WEAVE – TRAP MORE, WORK LESS: Ultra-absorbent microfiber towels for car Grip Root weave works like…
As an affiliate, we earn on qualifying purchases.
As an affiliate, we earn on qualifying purchases.
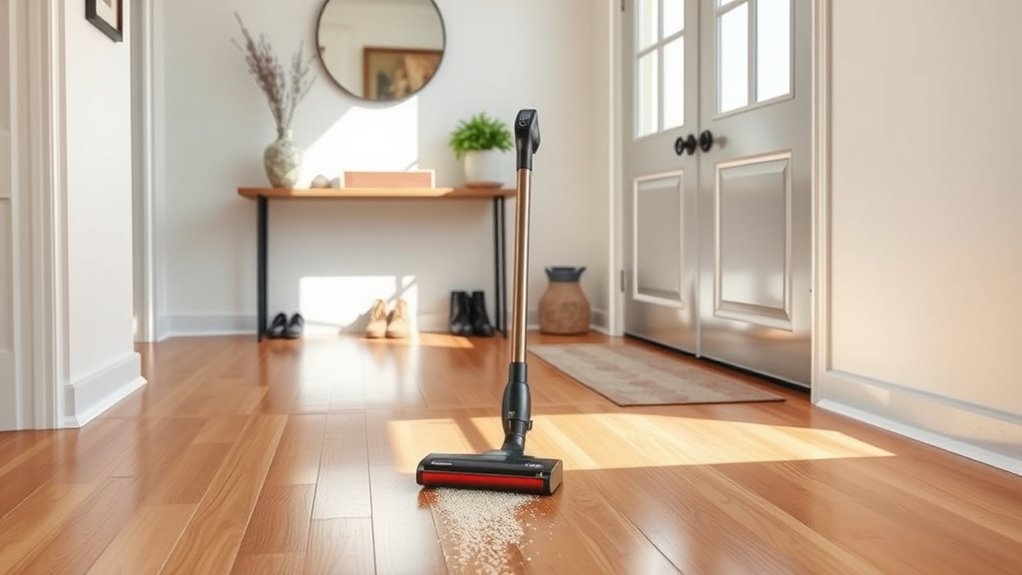
Start With the Doormat

Before cleaning your entryway, start with the doormat by removing any debris and giving it a good shake. Regular maintenance, like cleaning and replacing mats when needed, keeps it looking fresh and inviting. Taking these simple steps sets the tone for a cleaner, more welcoming home. Additionally, home essentials like choosing the right doormat can significantly improve your space’s cleanliness and appearance.
Clear Debris First
Start your weekend blitz by clearing debris from your entryway first. Removing loose dirt accumulation and debris ensures your vacuum works efficiently and prevents spreading messes. Begin with the doormat, shaking out or brushing off loose particles. Once the doormat is clear, look around for larger debris like leaves, twigs, or trash that may have accumulated. These items can clog your vacuum or require extra effort if left for later. To streamline debris removal, consider these tips:
- Use a broom or brush to sweep larger debris into a dustpan
- Shake out or vacuum the doormat thoroughly
- Pick up any scattered items by hand
- Check corners and edges for hidden debris
- Filtration systems help trap dust and allergens, making your cleaning more effective.
Clearing debris first keeps your vacuuming quick and effective, setting a clean tone for the rest of your routine.
Shake Out Mats
Once you’ve gathered all the loose debris from your entryway, focus on the doormat. Shake out your mat vigorously to loosen embedded dirt and dust. This simple step is essential for effective mat cleaning and dirt removal, preventing debris from spreading inside your home. Hold the mat firmly and give it sharp, quick shakes, making sure to cover all sides. If your mat is large or heavy, take it outside to avoid making a mess indoors. For extra dirt removal, consider beating the mat against a sturdy surface or using a broom to sweep away stubborn dirt. Regularly shaking out your doormat keeps it clean and prolongs its lifespan, ensuring it continues to trap debris effectively. Incorporating consistent messaging in your cleaning routine can significantly boost your home’s overall cleanliness. This quick routine makes a noticeable difference in your overall cleaning efforts.
Regular Maintenance Tips
Maintaining a clean entryway begins with regular attention to your doormat, as it’s the first line of defense against dirt and debris. To keep it effective, establish a consistent cleaning schedule, ideally weekly or biweekly. Regular vacuum maintenance ensures your vacuum performs at its best, making quick work of dirt on your doormat and nearby areas. Additionally, understanding the weight of pinball machines can be useful if you plan to move or replace heavy equipment in recreational spaces.
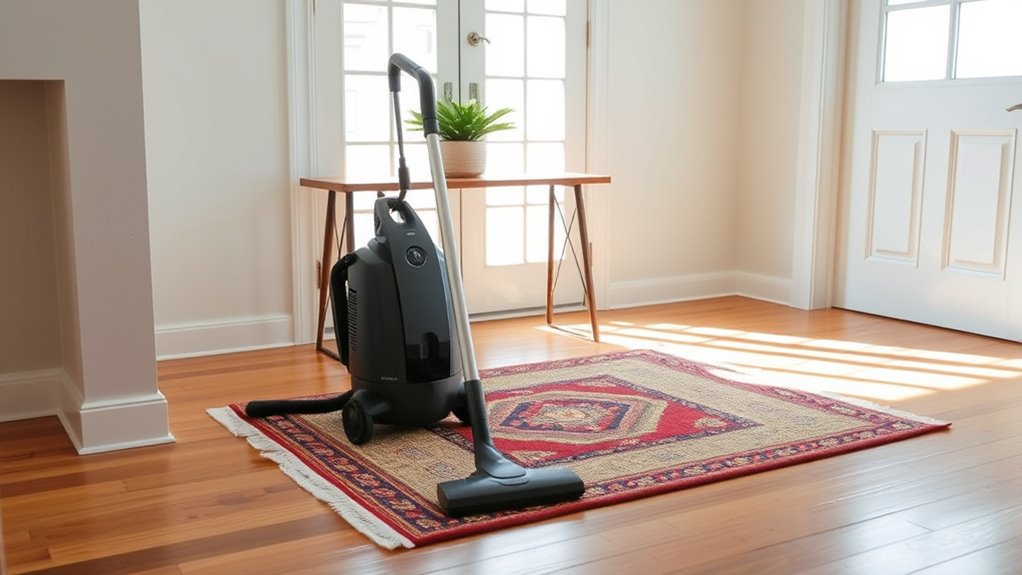
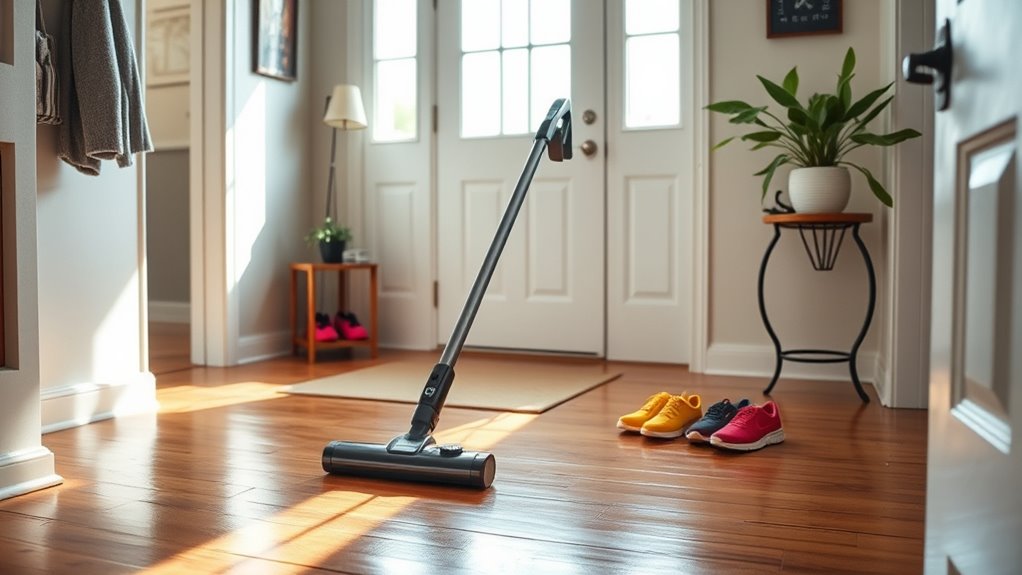
Vacuum the Main Floor Area

Vacuuming the main floor area is a quick yet effective way to refresh your space and remove embedded dirt and debris. Start by paying attention to your door mat, giving it a thorough vacuum to eliminate tracked-in dirt. This prevents debris from spreading across your main floor. Next, focus on the open areas, making multiple passes to pick up dust, crumbs, and pet hair. Be sure to move shoe storage or any furniture if possible, so you can reach all corners and edges. Regular vacuuming keeps your floors clean and helps maintain a healthier environment. Plus, it’s a simple step that makes your entire entryway look tidier and more inviting. A few minutes of thorough vacuuming can make a noticeable difference in your home’s cleanliness.
Pay Attention to Corners and Edges
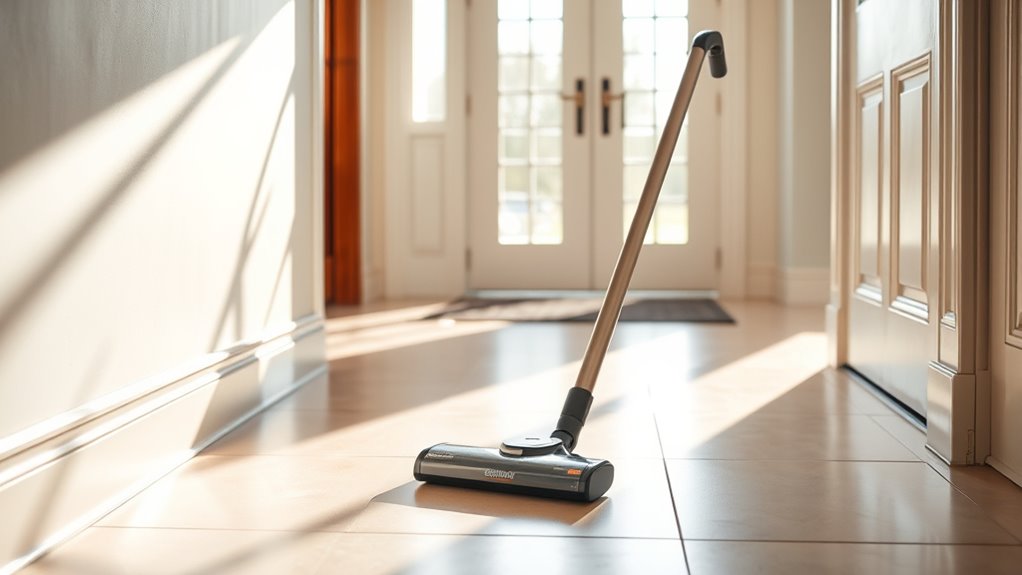
Have you ever noticed dust and dirt hiding in the corners and along the edges of your floors? Focusing on corner cleaning and edge detailing makes a big difference in your vacuum routine. Use the attachment or a crevice tool to reach tight spots. Pay special attention to where walls meet floors and along baseboards. This ensures you remove hidden debris that can accumulate quickly. To enhance your cleaning, consider these tips:
- Use the narrow nozzle for precise edge detailing
- Move slowly to dislodge stubborn dirt in corners
- Switch angles to reach awkward spots
- Regularly check and clean your vacuum’s crevice tool for effectiveness
Tackle Any Visible Dust or Debris on Walls or Baseboards
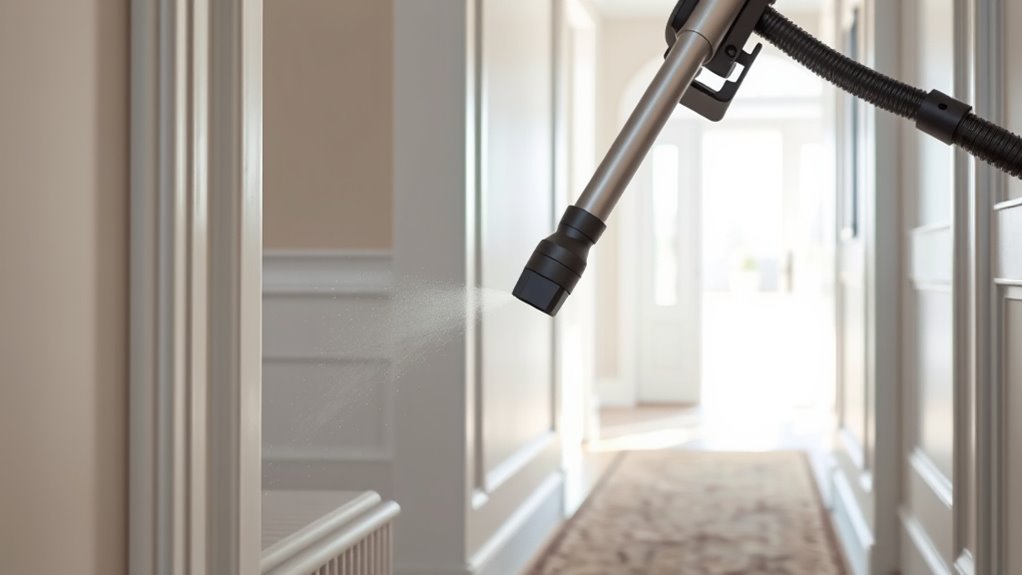
After thoroughly cleaning your corners and edges, it’s time to turn your attention to the walls and baseboards. Dust removal from these surfaces prevents buildup that can worsen over time. Use a microfiber cloth or a damp, soft cloth to wipe down the baseboards, ensuring you catch any visible debris. For wall cleaning, lightly dust or wipe surfaces to remove dust or cobwebs, paying attention to corners and ledges. If walls are particularly dirty, a gentle cleaning solution can help loosen grime without damaging paint. Keep your movements steady and thorough, focusing on visible dust or debris. This quick step enhances your overall clean, making your entryway look fresh and well-maintained with minimal effort.
Fluff and Shake Out Any Rugs or Mats
Ever wondered how to quickly refresh your rugs and mats? A simple rug fluffing and mat shaking session can do wonders. Start by taking each rug or mat outside. Give it a vigorous shake to loosen dirt and debris. Then, perform some rug fluffing to lift the fibers and restore their appearance. This process not only removes surface dust but also revives the texture, making your entryway look fresher. For added effectiveness, consider:
- Using a broom or stick to beat out stubborn dirt
- Flipping the rug to shake both sides
- Spot cleaning any stains beforehand
- Allowing the rug to air out for a few minutes before bringing it back inside
This quick routine keeps your rugs and mats looking clean and smelling fresh, making your entryway inviting.
Use Attachments for Hard-to-Reach Spots

Attachments make cleaning those tricky spots effortless. You can easily tackle corners, reach high ceilings, and clean under furniture without hassle. Using the right tools guarantees no area goes untouched during your weekend blitz.
Tackle Corners Effectively
Struggling to clean those tight corners? Corner cleaning can be tricky, but focusing on vacuum edges makes a big difference. To tackle corners effectively, use attachments like a crevice tool or a small brush to reach deep into corners and along baseboards. These tools help remove dust and debris hidden in hard-to-reach spots.
- Use a narrow attachment to get into tight angles
- Angle the vacuum to follow the wall line closely
- Use a small brush for stubborn dirt
- Switch between vacuum edges and attachments for thorough cleaning
Reach High Ceilings
Reaching high ceilings can be challenging, but with the right tools, it becomes much easier. Use an extension pole or a vacuum with a long reach attachment to easily access high ceilings and ceiling fans. These tools help you clean dust and cobwebs without needing a ladder, making your routine quicker and safer. When vacuuming ceiling fans, use a microfiber attachment or a brush head to capture dust effectively. Be sure to turn off fans before cleaning to avoid spreading debris. With a little effort, you can keep your high ceilings spotless, preventing dust buildup and maintaining a fresh environment. Keep your attachments handy, and you’ll breeze through this task during your weekend blitz.
Clean Under Furniture
Ever wondered how to effectively clean under furniture without moving heavy pieces? Use attachments for hard-to-reach spots to tackle dust and debris. This makes furniture dusting easier and prevents dust buildup on rug padding that’s often hidden beneath. Attach a crevice tool or a dusting brush to your vacuum for better access. To maximize efficiency, consider these tips:
- Use a long, flexible attachment to slide under furniture smoothly
- Focus on corners and edges where dust tends to accumulate
- Switch to a brush attachment for delicate or upholstered pieces
- Regularly clean your attachments to maintain suction and avoid spreading dust
Quick Sweep of Shoes and Shoe Storage Area
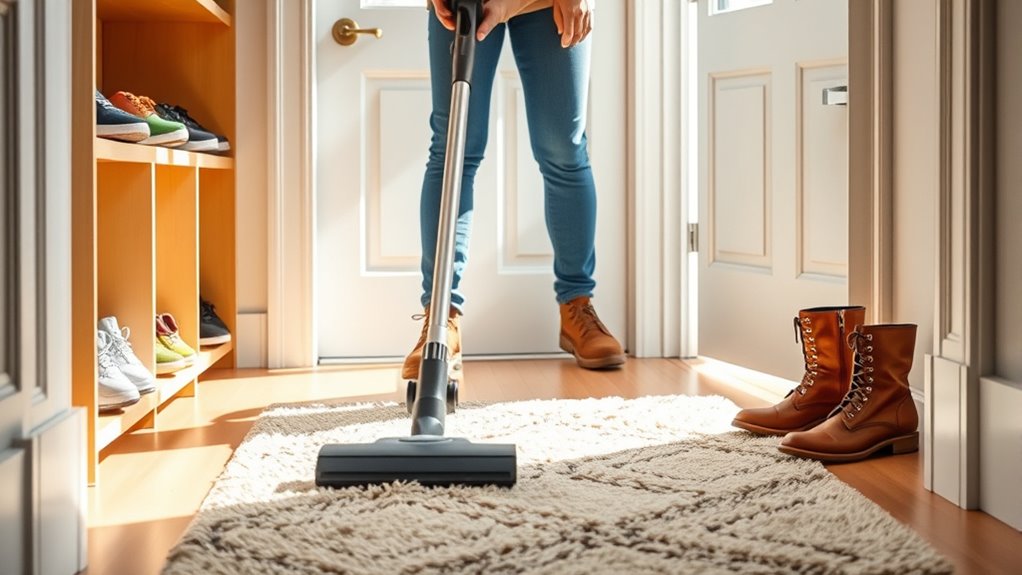
To quickly refresh your shoe storage area, start by gathering all footwear and sorting them into categories such as daily wear, seasonal shoes, and out-of-date pairs. This helps you streamline shoe organization and clear clutter. As you sort, wipe down the shoe storage surfaces to remove dust and dirt, keeping your entryway decor looking tidy. Take a moment to evaluate which shoes no longer fit or are worn out, and set them aside for donation or disposal. Arrange the remaining shoes neatly, perhaps using storage bins or racks to maximize space and maintain order. A well-organized shoe area not only looks cleaner but makes it easier to find what you need, reducing chaos and welcoming a more polished entryway.
Check for Pet Hair or Lingering Dirt
Make certain to look for pet hair that may have clung to furniture or carpets, as it can be stubborn to remove. Check for hidden dirt spots that might have been overlooked during your initial clean. Addressing these areas ensures your space looks spotless and feels fresh.
Pet Hair Pickup
Have you noticed pet hair lingering on your furniture or floors after cleaning? Tackling pet hair pickup is essential for a tidy space. Start with thorough pet hair removal by using a vacuum designed for pet hair or attaching a special brush. Regular vacuum maintenance guarantees peak suction, making pet hair removal easier and more effective. To maximize results, consider these tips:
- Use a vacuum with a motorized brush or pet hair attachment
- Empty the canister or replace the bag frequently
- Check and clean the vacuum filters regularly
- Focus on high-traffic areas and furniture where pet hair accumulates
Consistent upkeep prevents pet hair buildup and keeps your space looking fresh. A quick routine ensures pet hair doesn’t become a persistent problem, making your vacuum work efficiently each time.
Hidden Dirt Spots
Ever wonder if some dirt or pet hair is hiding in places you overlook during routine cleaning? These hidden corners and beneath furniture can trap debris that your regular vacuum misses. To achieve a deeper cleaning, take a moment to inspect tight spaces, baseboards, and behind doors. Use the crevice tool to reach into narrow gaps where pet hair and dirt tend to hide. Don’t forget to check under rugs and around furniture legs. These areas often harbor lingering dirt that can be missed during quick cleanings. By targeting these hidden spots, you ensure your entryway looks spotless and fresh. This simple step boosts your vacuum’s effectiveness and keeps pet hair from building up unnoticed. A thorough approach makes your weekend blitz truly complete.
Wipe Down Surfaces if Needed

Sometimes surfaces can accumulate dust, dirt, or sticky spots that aren’t immediately visible, so it’s important to wipe them down as needed. This step guarantees your entryway stays fresh and clean. When doing surface cleaning, focus on high-touch areas like tables, shelves, and door handles. Use a damp cloth or microfiber towel for effective spot wiping, removing smudges and grime. Keep these tips in mind:
- Check for sticky or stained spots and target them specifically.
- Use a gentle cleaner suitable for the surface material.
- Avoid harsh chemicals that could damage finishes.
- Dry surfaces thoroughly to prevent streaks or water spots.
This quick step prevents buildup and maintains a tidy appearance, making your entryway welcoming and hygienic. Regular spot wiping keeps dirt from settling and enhances your cleaning routine.
Reset and Store Your Vacuum Properly
After finishing your vacuuming session, it’s important to reset and store your vacuum properly to guarantee it stays in good working condition. Start by emptying the dust bin or replacing the bag to maintain ideal vacuum performance. Check the brush roll for tangled hair or debris, and clear it to ensure effective cleaning next time. Perform basic vacuum maintenance by inspecting the filters and cleaning or replacing them if needed. When storing, choose a designated storage solution that keeps your vacuum upright and out of the way, preventing damage. Store it in a cool, dry area away from moisture and extreme temperatures. Proper storage not only prolongs your vacuum’s lifespan but also makes your next cleaning session quicker and more efficient.
Review Your Entryway’s Overall Cleanliness
To keep your entryway inviting and clutter-free, it’s essential to regularly assess its overall cleanliness. Take a moment to evaluate how well your entrance organization works and whether footwear clutter has accumulated. Look for signs of dirt, dust, or debris that need quick attention. Check if shoes are neatly arranged or spilling out of their designated space. Consider if your entryway looks welcoming and functional. Address any issues promptly to prevent clutter from building up. Keep these points in mind:
Regularly assess and tidy your entryway to keep it welcoming and clutter-free.
- Clear away any visible dirt or debris
- Tidy up shoes and footwear clutter
- Reorganize any disorganized shelves or hooks
- Ensure the space feels open and inviting
Regular reviews help maintain a fresh, tidy entryway that sets a positive tone for your home.
Celebrate Your Fresh and Tidy Space
Once you’ve cleaned and organized your entryway, take a moment to enjoy the fresh, inviting space you’ve created. Celebrate your effort by adding decorative accents and seasonal decorations that reflect your style and the time of year. These touches make your entryway feel personalized and welcoming. Consider swapping out items seasonally to keep the space lively and engaging. Here’s a simple way to elevate your decor:
| Decorative Accents | Seasonal Decorations | Inviting Atmosphere |
|---|---|---|
| Stylish rugs | Wreaths | Bright lighting |
| Statement art | Holiday ornaments | Fresh flowers |
| Functional hooks | Seasonal banners | Cozy textiles |
| Small sculptures | Festive garlands | Warm color palette |
Frequently Asked Questions
Can I Customize the 15-Minute Routine for Larger Entryways?
You can definitely customize the routine for larger entryways by adjusting the time. Simply extend the vacuuming duration to cover more area, ensuring every corner gets attention. This way, you’re personalizing the routine to fit your space’s size. By customizing the routine, you make sure your entryway stays clean without feeling rushed. Just keep an eye on the clock and increase the time as needed to maintain an efficient, thorough clean.
What Type of Vacuum Is Best for Quick Entryway Cleanups?
Oh, the irony—choosing the perfect vacuum for quick cleanups shouldn’t be complicated, right? For fast, effortless entryway tidying, robot vacuums are a game-changer, maneuvering tight spaces on their own. Handheld vacuums also shine, letting you swiftly tackle dirt and debris in corners or on stairs. Both options save time and energy, making your routine smoother. Pick one based on your space and cleaning style, and enjoy a spotless entryway in minutes.
How Often Should I Perform This Routine for Optimal Results?
To keep your entryway tidy, you should perform this routine at a frequency schedule that suits your lifestyle—typically, 3-4 times a week. Regular maintenance tips include quick daily sweeps or vacuuming, which prevent dirt buildup. This way, your space stays clean and inviting. Adjust the frequency based on foot traffic or if you notice more dirt. Staying consistent guarantees your entryway remains neat and well-maintained.
Are There Specific Vacuum Attachments Recommended for Entryways?
So, you’re wondering if specific vacuum attachments are needed for your entryway? Well, unless you enjoy battling entryway debris types with a stubborn attachment mismatch, stick to versatile tools like a crevice tool or upholstery brush. These are generally compatible with most vacuums and handle dirt, dust, and crumbs like pros. Trust me, a little attachment compatibility saves you time and keeps your entryway looking pristine—no secret weapon required.
Can I Incorporate This Routine Into My Weekly Cleaning Schedule?
You can definitely incorporate this routine into your weekly cleaning schedule for better entryway maintenance. It’s a quick, effective way to keep dirt and debris at bay, preventing buildup. Just set aside 15 minutes once a week, and you’ll maintain a tidy, welcoming space. This routine easily fits into your cleaning schedule, making entryway upkeep simple and manageable without taking up too much time.
Conclusion
Now that your entryway is spotless, imagine the surprise visitors will get when they step inside. But don’t stop here—there’s more to uncover in your cleaning routine. Could a quick refresh tomorrow make it even better? Keep that vacuum handy because, trust me, a tidy space isn’t just about looks—it’s about feeling good every time you walk through that door. Ready to see what other secrets your home holds? The next step might just surprise you.