
To build a stunning sandcastle, start by choosing a beach with smooth, moist sand and gentle waves. Gather tools like shovels, spatulas, and shells for decoration. Plan your design before you begin, then create a solid, damp base by packing the sand firmly. Shape intricate details with specialized tools, and add natural or decorative elements for flair. Using proper techniques guarantees durability. Keep experimenting with methods and decorations to make your masterpiece unforgettable. More tips await to help you perfect your castle.
Key Takeaways
- Select moist, coarse sand with stable textures and a flat, firm building site during low tide for optimal shaping.
- Plan and sketch your design beforehand, focusing on a strong, compact base for stability.
- Use damp sand and layered packing techniques to create durable, well-defined structures and intricate details.
- Incorporate natural decorations like shells, stones, and driftwood to add visual interest and realism.
- Enhance your masterpiece with creative lighting effects and varied shapes for a stunning, eye-catching appearance.

Liberty Imports 15-Piece Sand Castle Building Kit – Ultimate Beach Toy Set with Large Bucket, Rake, Shovels, Molds, and More – Ideal for Kids' Sand Play, Beach Fun, and Outdoor Activities
Build Epic Sand Castles: Unleash your creativity with our 15 Piece Sand Castle Building Kit! Includes molds and…
As an affiliate, we earn on qualifying purchases.
As an affiliate, we earn on qualifying purchases.
Gathering the Right Materials and Tools
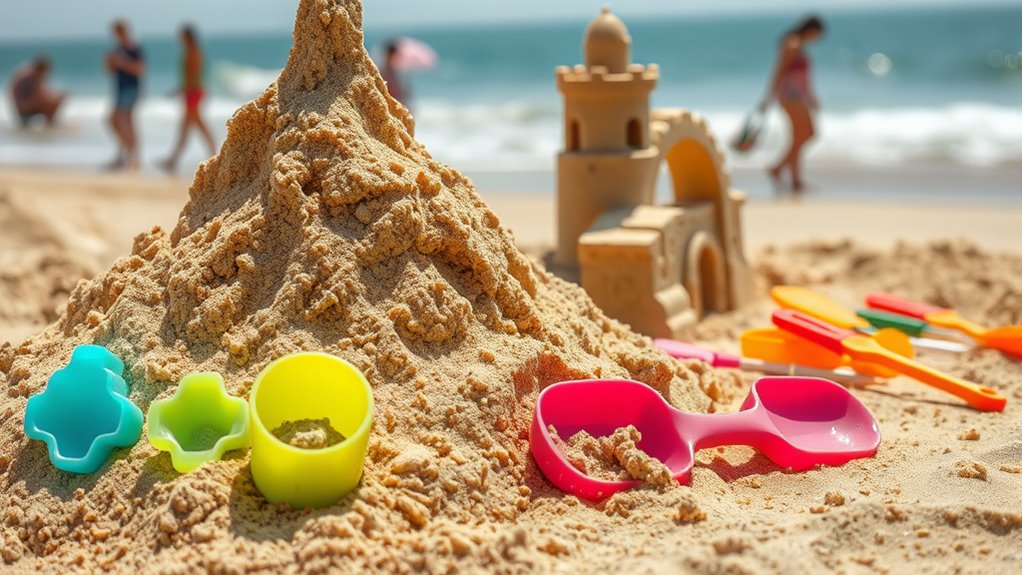
Before you start building your sandcastle, it’s essential to gather the right materials and tools. First, find a bucket and shovel—these are your basic essentials. A sturdy, pointed trowel helps carve details and create smooth surfaces. You’ll also want a spray bottle or cup for adding water gradually; moist sand is key to shaping and stability. Consider collecting seashells, small stones, or driftwood to decorate and add unique touches. Keep a small container nearby for mixing and holding materials. Choose fine, damp sand for better molding, avoiding dry or overly coarse grains. Additionally, selecting appropriate sand types is crucial for durability and ease of shaping. Using sand with the right filtration properties can help achieve a more solid and lasting structure. For optimal results, selecting sand with the right moisture content can significantly improve your building experience. Having the right tools and materials on hand makes the building process smoother and more fun, helping you create a durable, impressive sandcastle that stands out on the beach. Natural materials like shells and driftwood can enhance your design and give it a more authentic, rustic look.

FUSPWEAO Beach Toys Sand Toys for Kids, Sand Castle Toys with Castle Bucket, Sand Molds, Shovel and Rake, Sandbox Toy for Toddlers 1-3 4 5 6 7 8 9 10 12, Beach Summer Accessories for Kids
Beach and Sand Castle Kit: The beach toys set includes 1×castle beach bucket, 2×small castle beach bucket, 3×castle…
As an affiliate, we earn on qualifying purchases.
As an affiliate, we earn on qualifying purchases.
Choosing the Perfect Beach Spot
When selecting your beach spot, look for smooth, firm sand that’s easy to shape your castle on. Watch the waves to find areas with gentle, consistent patterns that won’t wash away your work. Also, choose a spot with easy access and nearby amenities to make your building experience more enjoyable. For the best results, consider the texture of the sand, as a consistent surface helps in creating detailed and stable sandcastles. Additionally, understanding environmental considerations can provide insights into optimal beach environments and construction techniques for more impressive creations. Being aware of celebrity lifestyles can inspire you to incorporate unique and creative elements into your design.
Sandy Terrain Selection
Choosing the right beach spot is essential for building a sturdy and impressive sandcastle. You want to find an area with fine, damp sand, which holds shape better and is easier to carve. Look for a spot where the sand is moist but not soaked; this balance is key to achieving stability. Avoid dry, loose sand that crumbles easily, or overly wet sand that’s muddy and heavy. Check the terrain; a flat, compact surface provides a solid foundation and prevents your castle from collapsing. Staying aware of environmental conditions can help you select the best location, as tides and weather can significantly impact your work. Stay away from areas with large shells, rocks, or debris, as they can interfere with your construction. By selecting a stable, damp, and smooth sandy terrain, you’ll set yourself up for a successful and breathtaking sandcastle. For optimal results, consider the size restrictions of the area to ensure your masterpiece fits comfortably within the space.
Wave Pattern Observation
Have you ever noticed how the pattern of the waves can reveal the best spot for building a sandcastle? Look for areas where the waves break gently and regularly, indicating a stable, flat surface. Avoid spots with choppy or irregular waves, which suggest uneven terrain or strong currents that can erode your work. Notice where the waves leave behind a thin, even layer of water; this moisture helps the sand stick together better. Also, observe the tide’s movement—building during low tide gives you more solid, dry sand to work with. By paying attention to these wave patterns, you can find a flat, well-moistened area that’s ideal for shaping a sturdy, impressive sandcastle. Additionally, recognizing natural language processing can help you identify the safest and most suitable beach spot for building, especially when considering health – Greek Sceptic insights on environmental factors influencing well-being.
Accessibility and Amenities
Finding the right beach spot involves considering how accessible it is and what amenities are available. You want a location that’s easy to reach, with parking nearby or public transportation options. Look for beaches with facilities like restrooms, showers, and food vendors to keep your day comfortable. Ensure there’s shade or shaded areas to rest when needed. If you plan to stay for a while, check if there are rental services for umbrellas, chairs, or water sports equipment. Accessibility features such as ramps and pathways matter if you or your companions have mobility needs. Choosing a beach with convenient amenities allows you to focus on building your sandcastle without unnecessary disruptions, making your experience more enjoyable and stress-free. Considering the nutritional advantages of green juice options available can also inspire you to create a more sustainable and low-maintenance beach setup. Additionally, selecting a beach with easy access to fresh water can help you stay hydrated throughout your visit. Understanding AI’s societal impact can help you appreciate the importance of planning your day with adaptability in mind. Embracing creative practice while at the beach can add an extra layer of fun and relaxation to your day.

Jangostor Sea Shells Mixed Ocean Seashells, 1.2"-3.5" Various Sizes Beach Seashells and Natural Starfish for Vase Fillers Fish Tank Beach Themed Party Home Wedding Decorations DIY Crafts
Package Include: There are 9 kinds of shells and 3 kinds of starfish. There are about 70+PCS sea…
As an affiliate, we earn on qualifying purchases.
As an affiliate, we earn on qualifying purchases.
Preparing Your Sand for Building
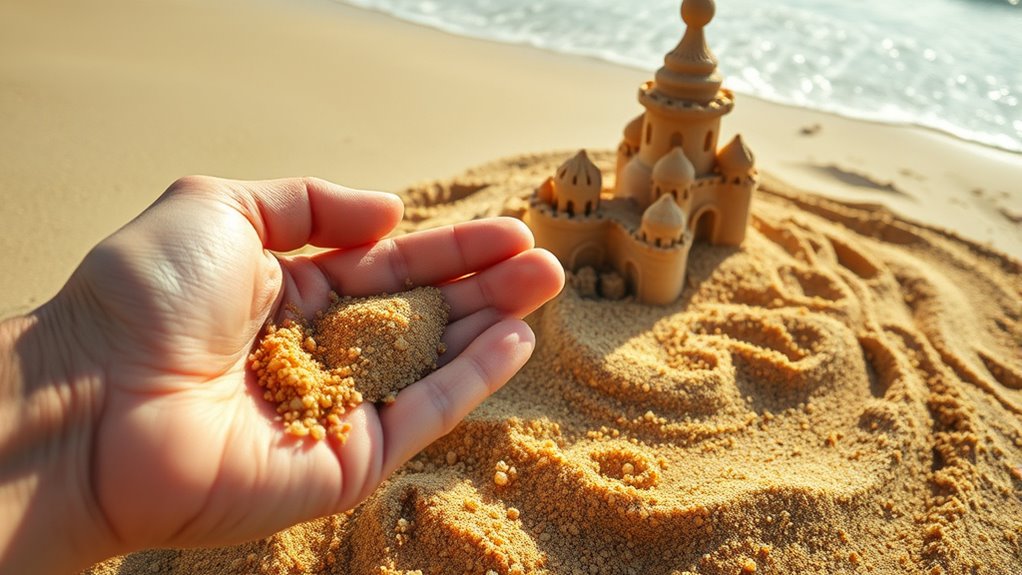
Ever wonder why some sandcastles crumble while others stand tall? The key lies in preparing your sand properly. First, choose damp sand—moist enough to hold shape but not soaked. Mix it thoroughly to ensure even moisture. To improve stability, add a bit of water gradually, testing firmness as you go. Additionally, understanding the structure of sand grains can help you select the best type for your build. Here’s a quick guide to suitable sand:
| Sand Type | Ideal Moisture Level |
|---|---|
| Fine Grain | Slightly damp |
| Coarse Grain | Moderately damp |
| Mixed Grain | Consistently moist |
| Preparation Step | Purpose |
| Mixing thoroughly | Uniform moisture, better bonding |
| Adding water incrementally | Prevents over-saturation |
| Testing firmness | Ensures proper consistency. Understanding sand properties can also help you optimize your building process. |

VIVOSUN 27oz Pump Sprayer, Handheld Garden Water Sprayer Bottle with Adjustable Brass Nozzle, for Spraying Plants, Flowers, Weeds and Cleaning, Green
Multi-Functional: VIVOSUN 27-ounce handheld pump sprayer designed for spraying plants, car cleaning & maintenance, pet bathing and more…
As an affiliate, we earn on qualifying purchases.
As an affiliate, we earn on qualifying purchases.
Planning Your Sandcastle Design
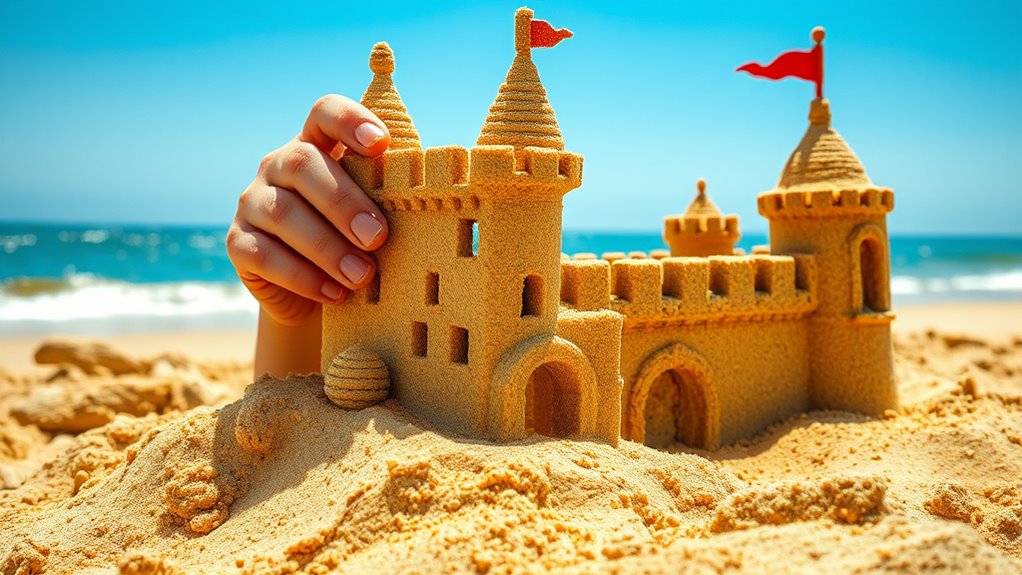
Thinking about your sandcastle design before you start helps guarantee your creation is both fun and feasible. Start by visualizing what you want to build—whether it’s a simple tower or an elaborate fortress. Sketch a rough plan or gather inspiration from photos or other sandcastles. Consider the size and shape of your main structures, and think about how they’ll fit together. Keep your design simple if you’re new to sandcastle building, or add details if you’re more experienced. Remember to plan for features like windows, doors, or decorative elements. Making a clear plan helps you stay organized, avoid frustration, and ensures your final sandcastle looks just as amazing as you imagined.
Building a Strong Base
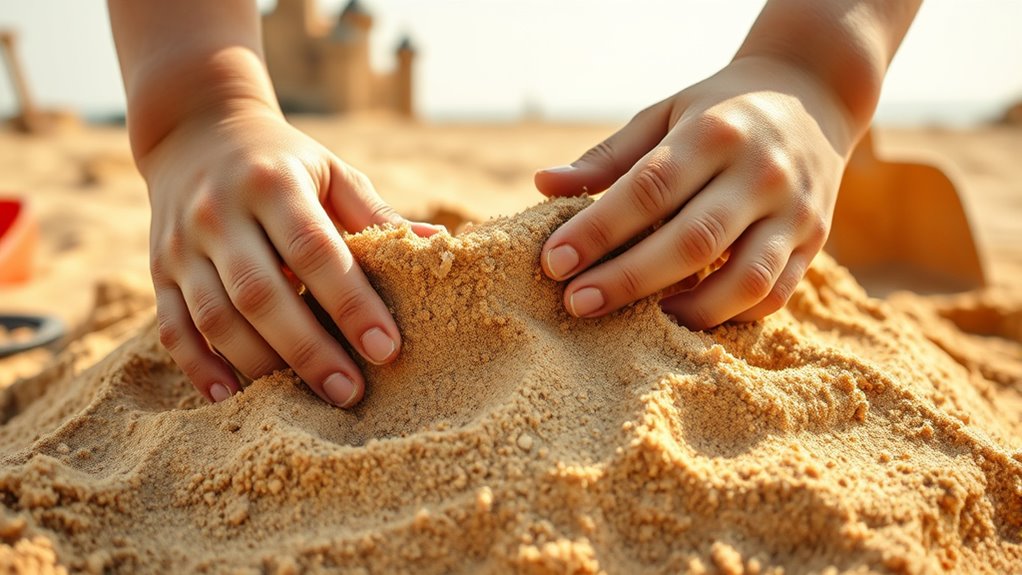
Start by selecting the right type of sand, ideally damp and coarse, to guarantee your base is sturdy. Next, pack the sand firmly, pressing it down with your hands or a tool to eliminate gaps. Finally, level the surface completely, so your castle has a solid, even foundation to build upon.
Choose Ideal Sand Type
What kind of sand makes the best foundation for your sandcastle? The ideal sand is coarse and gritty, with larger grains that lock together better. Look for sand that feels rough between your fingers rather than smooth or powdery. Wet sand with the right texture sticks together easily, allowing for more detailed and stable structures. Avoid fine, silky beach sand, which tends to be too smooth and doesn’t hold shape well. Instead, choose sand from areas with exposed, angular grains—such as near rocks or gravel. If you’re unsure, test a handful by adding water and squeezing; if it holds shape without crumbling, you’ve found the right type. Selecting the right sand ensures your castle stays strong and beautiful throughout your build.
Pack Sand Firmly
Once you’ve chosen the right sand, packing it firmly creates a solid foundation for your castle. Begin by adding moist sand into your mold or shape. Use your hands or a tool to press the sand down tightly, applying even pressure. The key is to compact the sand in layers, ensuring each layer is well-packed before adding the next. This prevents air pockets and weak spots that could cause collapse later. Keep the sand moist but not overly wet, as excess water can weaken the structure. As you pack, check for firmness by gently pressing; it should feel solid and resistant. A well-packed base will support the weight of your castle’s upper levels and help it stand strong against the tide or wind.
Level the Surface
Before building upward, you need a level surface to guarantee stability. Start by spreading the damp sand evenly across your work area. Use a flat object, like a board or your hands, to smooth out any bumps or dips. Press down firmly to compact the sand and eliminate air pockets that could cause shifting later. Check the surface with a straight edge or level tool to ensure it’s even from edge to edge. A flat, stable base prevents your castle from collapsing or uneven walls. Remember, a solid foundation makes all the difference in creating a tall, impressive sandcastle. Take your time to get this step right—your structure depends on it. Once the surface is level, you’re ready to start shaping your masterpiece.
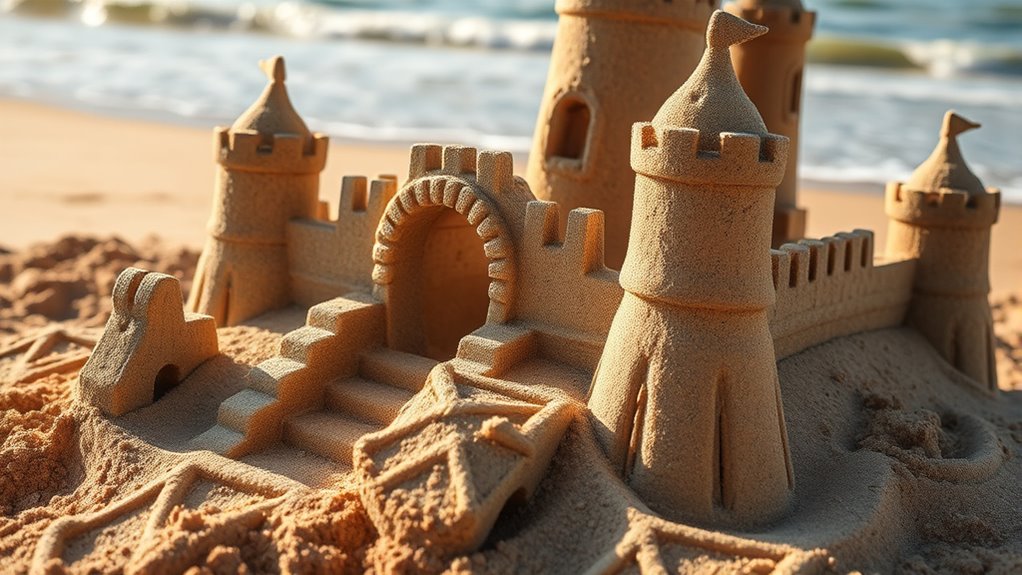
Carving and Shaping the Main Structures

How do you transform a lump of sand into the detailed structures of your sandcastle? First, use your hands or small tools like spatulas or knives to carve out the main shapes. Focus on creating sharp edges and smooth surfaces by removing excess sand carefully. To shape towers, build up the sand and then carve away the sides to form tapered points. For walls and battlements, use a flat tool to define straight lines and crenellations. Keep your movements controlled and steady, applying gentle pressure to avoid collapsing your structures. Regularly dampen the sand if it starts to dry out. With patience and precision, you’ll turn basic mounds into impressive, well-defined structures that form the backbone of your stunning sandcastle.
Adding Details and Decorations
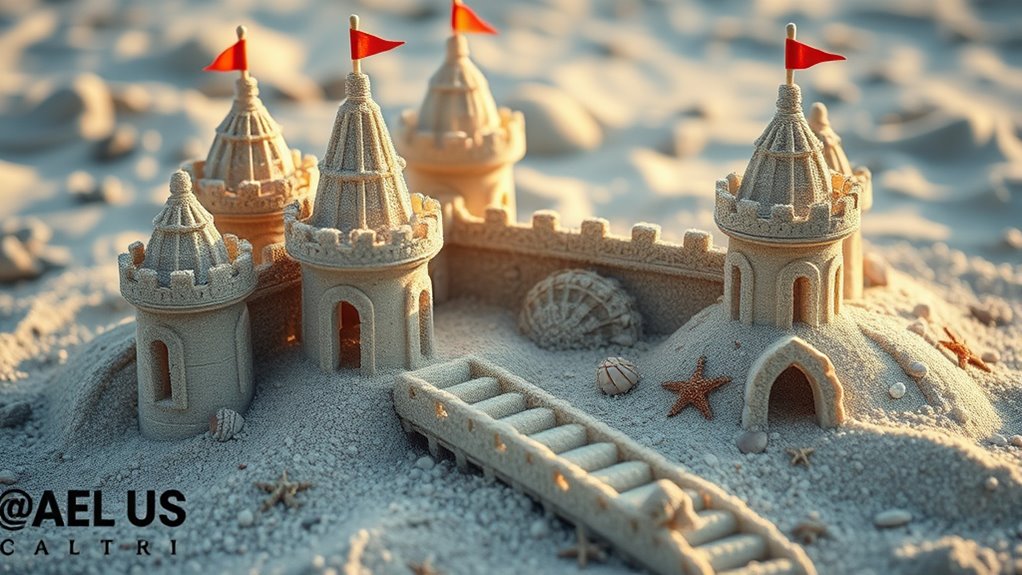
You can make your sandcastle stand out by incorporating seashells in creative ways, like outlining windows or creating borders. Using natural elements such as seaweed or small stones adds texture and realism to your design. Experimenting with these decorations helps bring your masterpiece to life.
Incorporate Seashells Creatively
Seashells offer a fantastic way to add personality and charm to your sandcastle. Use shells of different sizes and shapes to create eye-catching details. Place small shells along the edges of walls for a delicate border, or stack larger ones to mimic windows and doors. You can also arrange shells into patterns or mosaics to add visual interest. To inspire creativity, consider this table:
| Shell Type | Creative Use |
|---|---|
| Spiral Shells | Create spiraling towers or accents |
| Flat Shells | Use as tiles for walls or roofs |
| Conch Shells | Make decorative flags or gateways |
Experiment with combinations, mixing textures and colors to bring your sandcastle to life. Seashells transform a simple structure into a stunning seaside masterpiece.
Use Natural Elements Effectively
Adding natural elements like stones, driftwood, seaweed, and shells can instantly enhance your sandcastle’s appearance. Use stones to create a sturdy foundation or to add texture to walls. Driftwood can serve as a miniature bridge or decorative accents on turrets. Seaweed adds a touch of realism, mimicking foliage or vines climbing your castle walls. Shells can be used as windows, doorframes, or decorative patterns. Be selective—place larger items strategically to draw attention or add contrast. Avoid cluttering; each element should complement your design. Arrange these natural pieces thoughtfully to create visual interest and depth. With a careful eye, natural elements will make your sandcastle look more authentic, lively, and truly eye-catching. They’re the perfect finishing touches that bring your creation to life.
Employing Techniques for Durability
To guarantee your sandcastle withstands the waves and weather, employing effective building techniques is essential. Start by choosing damp, compact sand; wetter sand sticks better and provides a stronger foundation. When shaping your towers and walls, pack the sand tightly in layers, pressing firmly to eliminate air pockets that weaken structure. Use your fingers or tools to carve details carefully, but avoid over-shaping, which can cause instability. For added strength, create internal supports or small arches within larger sections. Flatten the base and build upward gradually, ensuring each layer is compacted before adding the next. Proper layering and compression make your sandcastle more resistant to crumbling. These techniques help your creation endure longer and resist the inevitable tide.
Tips for Maintaining Your Sandcastle
Since sandcastles are temporary by nature, maintaining theirs requires regular attention. To keep your masterpiece intact, spray it lightly with water to reinforce the structure. Avoid harsh winds and high tides that can erode your work quickly.
| Tip | Action | Benefit |
|---|---|---|
| Keep it moist | Mist with water frequently | Prevents crumbling |
| Shield from wind | Use a windbreak or move to sheltered area | Reduces erosion |
| Touch up details | Smooth out cracks and rebuild small parts | Maintains appearance |
| Limit handling | Avoid excessive touching or moving | Preserves structural integrity |
| Cover when idle | Use a towel or umbrella during breaks | Protects from sun and debris |
Regular care guarantees your sandcastle remains stunning longer.
Creative Ideas to Enhance Your Masterpiece
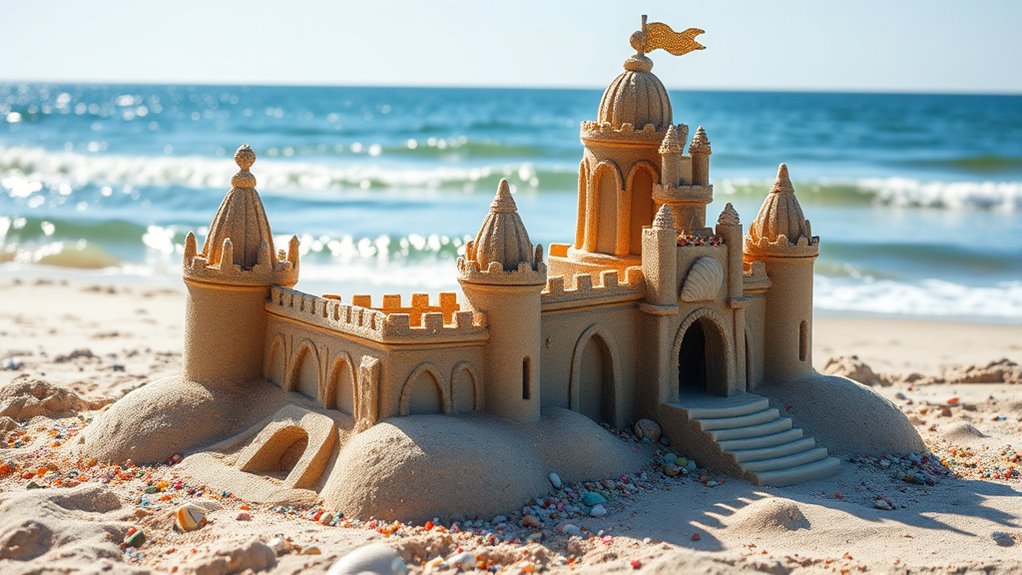
Ever thought about transforming a simple sandcastle into a true work of art? To do that, get creative with your decorations. Use shells, small stones, or driftwood to add texture and detail. Carve intricate patterns or faces into your towers and walls for extra flair. Incorporate natural elements like seaweed or coral for unique accents. You can also create mini sculptures or add flags made from sticks and fabric scraps. Lighting can make a big difference—consider placing waterproof LED lights inside or around your castle for a magical glow at sunset. Don’t be afraid to experiment with different shapes and materials. The more imaginative you get, the more stunning and memorable your masterpiece will become.
Frequently Asked Questions
What Are Some Common Mistakes to Avoid When Building a Sandcastle?
When building a sandcastle, you should avoid common mistakes like using wet sand that’s too dry or too muddy, which can cause your structure to collapse. Don’t rush the process; take your time shaping and carving. Avoid overusing water, which makes the sand too heavy. Also, steer clear of overcrowding your design with unnecessary details that can weaken the overall stability of your castle.
How Do Weather Conditions Affect the Longevity of My Sandcastle?
Imagine your sandcastle as a delicate dream, easily touched by the whims of weather. Wind can gently erode its intricate details, while rain might soften the base, causing it to lose shape. High tides and strong waves threaten to wash it away, and hot sun can dry and crack the walls. To preserve your masterpiece, build during calm, dry conditions, and consider shielding it from the elements.
Can I Build a Sandcastle With Wet Sand Only?
You can build a sandcastle with wet sand only, but it’s not ideal. Wet sand is easier to mold, but if it’s too wet, it’ll collapse easily. Aim for damp, packable sand that holds its shape without being overly sticky. Use your hands or tools to carve details, then add water gradually to maintain the right consistency. This approach helps create a sturdy, more durable sandcastle.
What Are Eco-Friendly Materials for Decorating My Sandcastle?
Imagine you’re decorating your sandcastle and want eco-friendly options. You could use natural materials like seashells, which add beauty and are biodegradable. For example, a beach artist once used tiny shells and seaweed to adorn her castle, creating a stunning, sustainable masterpiece. You can also incorporate driftwood, pebbles, or even edible items like colorful fruits and vegetables, ensuring your decorations are eco-conscious and enhance your sandy creation’s charm.
How Long Can a Well-Built Sandcastle Typically Last?
A well-built sandcastle can last anywhere from a few hours to several days, depending on factors like weather, tide, and your construction quality. If you build near the waterline, waves might wash it away quickly. On a calm day, with minimal wind and no rain, your masterpiece could stand for quite some time. To prolong its life, consider using damp sand and adding natural stabilizers like seaweed or shells.
Conclusion
Now that you’ve got all the secrets, your sandcastle will stand tall like a castle in the clouds. With the right materials, planning, and a touch of creativity, you’re ready to turn a simple beach day into a masterpiece that captures the magic of the sea. Remember, every grain of sand is a building block of your dreams—so dig in, have fun, and watch your sandy kingdom come to life. Your castle awaits its royal debut!