
If your tower speakers are rattling like crazy, it’s usually caused by loose or damaged mounting hardware, not volume levels. Check all brackets, screws, and bolts securing the speakers—tighten any that feel loose using the right tools. Also, make sure your speakers sit flush against their mounts and aren’t vibrating against surfaces. Proper placement and damping materials can prevent future issues. Keep exploring how to effectively fix the mounting to get clean, rattling-free sound.
Key Takeaways
- Check and tighten all mounting hardware to ensure speakers are securely fastened.
- Inspect for loose internal components or mounting brackets causing vibrations.
- Use damping materials strategically inside the cabinet to reduce internal vibrations.
- Position speakers on stable, flat surfaces and avoid placing near walls or corners.
- Regularly inspect and maintain hardware to prevent future rattling issues.

Pair Rockville MAC360B 360 Degree Swivel Tower/Surface Mount Clamps, Black
- 360-Degree Swivel: Adjust speaker angles freely
- Marine-Grade Material: Corrosion-resistant aircraft aluminum
- Quick-Release Clamp: Easy installation and removal
As an affiliate, we earn on qualifying purchases.
As an affiliate, we earn on qualifying purchases.
Why Do Tower Speakers Rattle? Common Causes and Signs

Why Do Tower Speakers Rattle? Common Causes and Signs
Tower speakers rattle when internal components or mounting structures become loose or damaged. You might notice this if your speaker wire isn’t securely connected or if the mounting isn’t tight enough. Acoustic treatment inside the cabinet can also cause rattling if panels aren’t properly secured or if materials vibrate at certain frequencies. Over time, vibrations weaken the mounting hardware, leading to loose parts that cause noise. External factors like nearby objects or improper placement can amplify these issues. The signs are usually distorted sound, buzzing, or persistent vibrations when playing audio at higher volumes. To fix this, check the tightness of screws and mounts, inspect the speaker wire connections, and verify the internal acoustic treatment isn’t causing unnecessary vibrations. Addressing these causes stops the rattling at its source. Additionally, exploring digital concepts can provide further insights into sound optimization techniques. The use of regional flavors in coffee and tea can also enhance your auditory experience when paired with music. Regular maintenance of your speaker’s mounting structures is crucial for optimal performance, as effective soundproofing can significantly reduce unwanted noise. Regularly assessing HRV insights can also enhance your understanding of how vibrations affect overall sound quality.
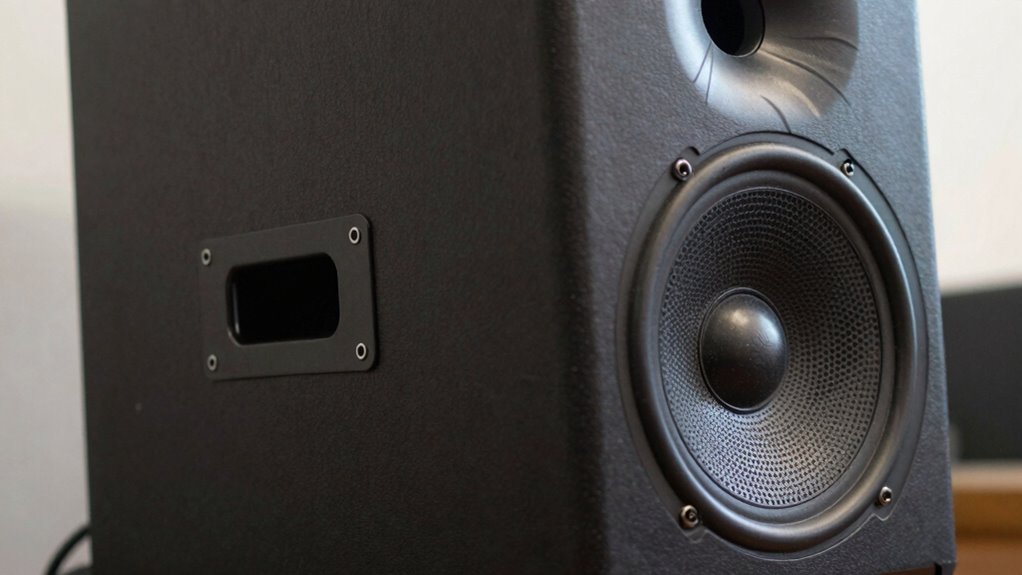
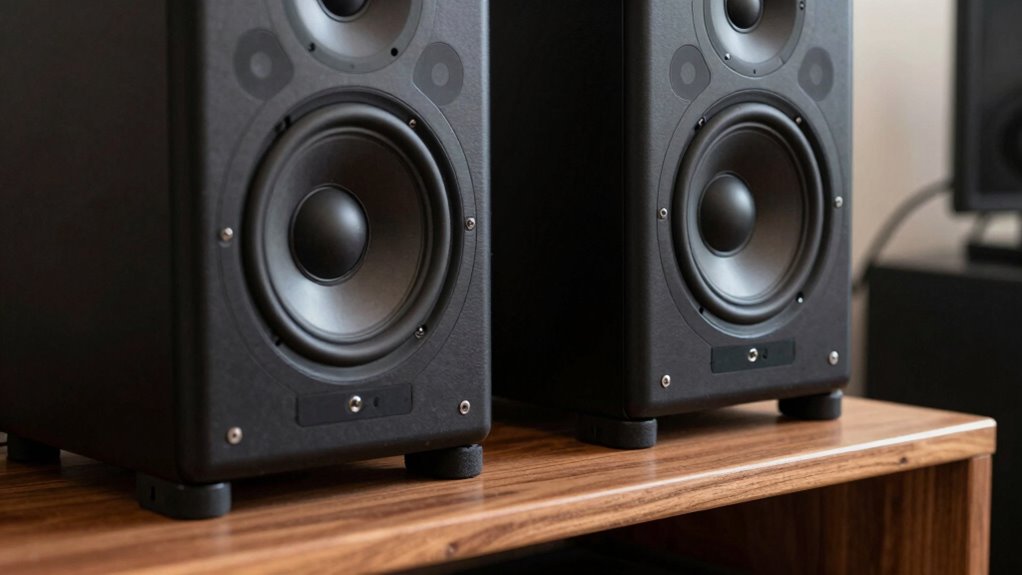
How to Check for Loose Mounting Hardware
To make certain your speakers aren’t rattling due to loose mounting hardware, you need to perform a thorough inspection of all mounting points. Start by checking the brackets, screws, and bolts securing the speakers in place. Look for any signs of looseness or gaps that could affect mounting aesthetics. Gently shake each speaker to see if it moves excessively; if it does, hardware is likely loose. Tighten any loose screws or bolts with the correct tools, ensuring they’re snug but not overtightened, which could damage the mount. Also, examine the mounting surface for cracks or wear. Keeping mounting hardware secure not only improves sound quality but also preserves your speaker’s aesthetics, preventing an unsightly, rattling mess. Additionally, ensure that the mount leveling kits are properly installed, as improper leveling can contribute to vibrations and rattling sounds. Regular maintenance, including checking essential DIY tools, can help you maintain a secure setup and enhance overall performance. Moreover, ensuring that your speakers are emotionally supported in their environment can help minimize unwanted noise distractions. For optimal performance, consider pre-soaking pads to reduce vibrations and enhance sound clarity. Furthermore, maintaining a proper acoustic environment can significantly enhance your listening experience, minimizing potential disturbances that could lead to rattling.
Simple Steps to Tighten and Secure Your Speakers
Sure! Here’s your revised article content with the requested changes:
—
If your speakers are still rattling after checking the hardware, tightening and securing them properly can often resolve the issue. Start by inspecting the mounting brackets and tightening any loose screws or bolts. Make certain the speakers sit flush against the mount, maintaining good speaker aesthetics. Avoid overtightening, which could damage the speaker or mount. Once secure, adjust your audio calibration to optimize sound quality and prevent vibrations that cause rattles. Proper alignment enhances both sound clarity and speaker appearance. Use a level to confirm the speakers are straight, and double-check all fasteners. Additionally, ensuring accessibility features are utilized can help in creating a more stable audio environment. Ethical consumerism encourages the use of products that minimize environmental impact, which can also apply to speaker accessories. In the realm of blockchain gaming, innovations are emerging that can enhance audio experiences through improved technology. Moreover, data storage solutions can provide useful tools for managing your audio files effectively. Maintaining a firm but gentle grip ensures stability without compromising speaker design. These simple steps can notably reduce rattling, improving both sound performance and visual appeal. Additionally, using high-quality car protection accessories can further minimize vibrations and enhance overall audio experience.
—
Let me know if you need any more modifications!
Using Damping Materials to Silence Rattles
Choosing the right damping materials is key to stopping rattles without damaging your speakers. You need to apply them carefully, ensuring they stick well and don’t interfere with the sound. Watch out for common mistakes like overfilling or using materials that are too bulky, which can cause more problems than they solve. Additionally, selecting materials with acoustic properties can enhance the effectiveness of your damping strategy. Understanding how damping materials work in various environments can significantly improve your results. For instance, shipwreck preservation techniques can provide insights into effective damping methods that minimize sound distortion and maximize clarity. Incorporating Victorian steampunk aesthetics into your setup can also create a unique visual appeal while maintaining functionality.
Choosing Effective Damping Materials
Selecting the right damping materials is essential for effectively silencing rattles in tower speakers. You want materials that absorb vibrations without affecting sound quality, so consider foam, mass loaded vinyl, or damping pads. Proper cable management helps reduce loose cables that can vibrate and cause rattles, making damping more effective. When choosing materials, keep in mind that they shouldn’t interfere with speaker calibration; too thick or dense materials can alter sound output. Use damping materials strategically around cabinet joints, internal panels, and mounting points. The goal is to minimize vibrations without muffling the sound. Focus on materials that are easy to install and won’t degrade over time, ensuring your speakers stay silent and sound crisp. Additionally, incorporating mind-body healing techniques can help you approach the process with a clearer mindset and greater patience.
Proper Application Techniques
Applying damping materials correctly is essential for effectively silencing rattles in your tower speakers. Proper application guarantees the damping achieves ideal acoustic treatment and prevents unwanted vibrations. First, assess the speaker placement to identify high-vibration areas. Second, clean the surface thoroughly to ensure good adhesion of damping materials. Third, apply the damping evenly, focusing on joints, corners, and mounting points where rattles occur. Use a consistent pressure to press the material into place, avoiding air pockets. This precise technique minimizes speaker movement and improves sound clarity. Remember, the goal is to reduce vibrations without obstructing airflow or damaging the speaker. Proper application not only stops rattles but also enhances overall audio quality by controlling unwanted resonance.
Common Mistakes to Avoid
One common mistake is overusing damping materials, which can dampen sound quality instead of just stopping rattles. When you pile on too much, it can muffle your speaker’s clarity and diminish its aesthetics, making it look cluttered or poorly maintained. Instead, focus on targeted application—only where the rattles originate. Using excessive damping can also alter the speaker’s resonance, leading to a less precise sound. Keep in mind that the goal is to silence the rattle without sacrificing the speaker’s visual appeal or audio performance. Properly applied damping materials should be subtle, effective, and discreet, preserving both the speaker’s aesthetics and sound quality. Avoid the temptation to overdo it, and instead, use damping materials thoughtfully for ideal results.
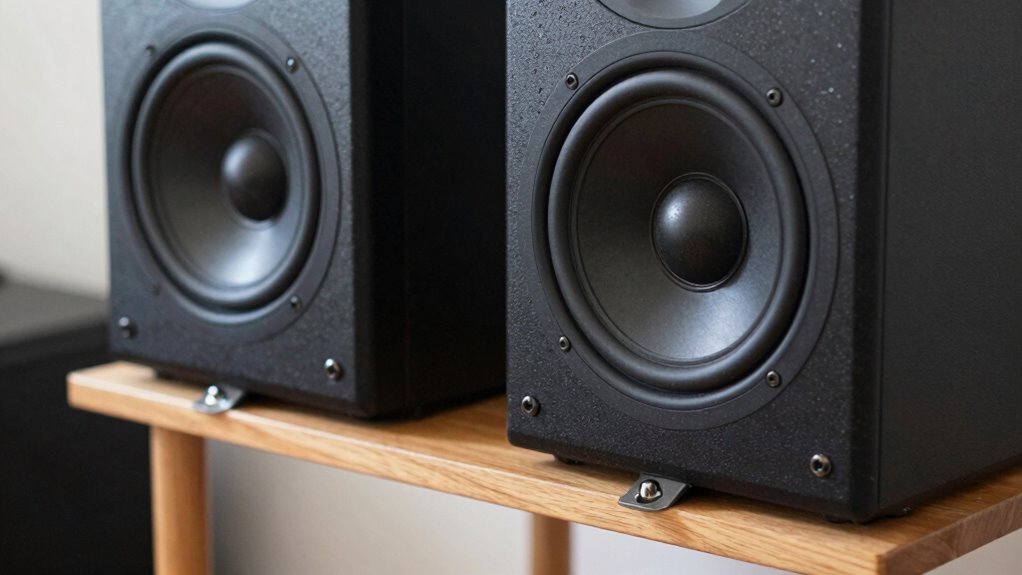
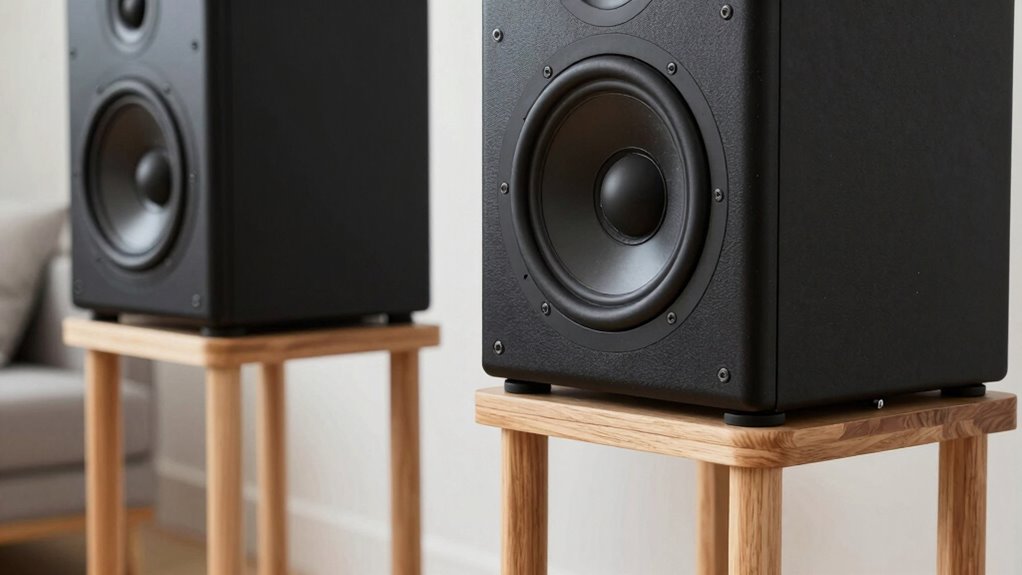
Adjusting Speaker Position for Better Stability
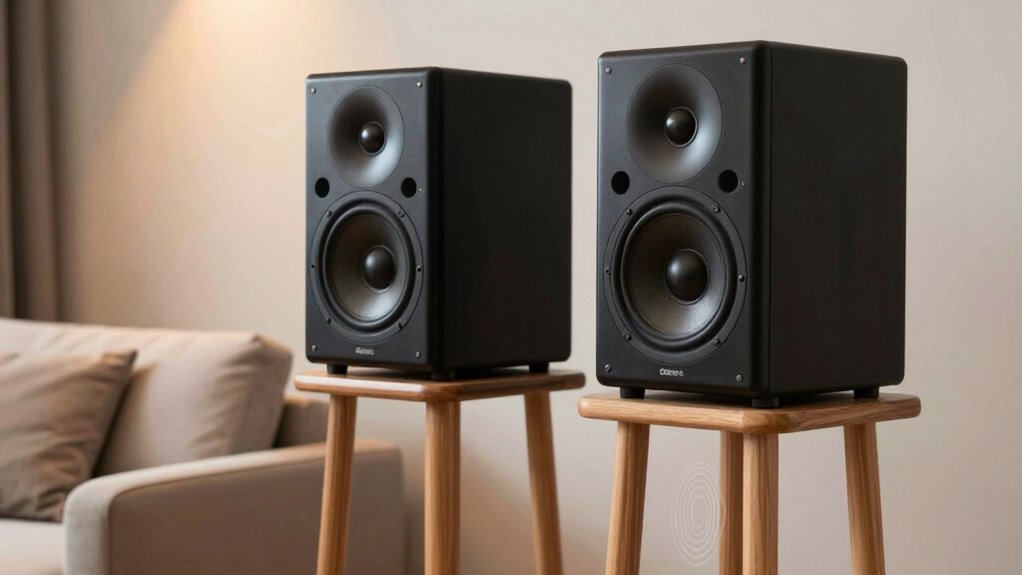
To guarantee your tower speakers stay steady and prevent rattling, start by adjusting their position for better stability. Proper placement helps reduce vibrations caused by unstable mounting. Focus on three key aspects:
Adjust your tower speakers for stability by optimizing placement, room setup, and surface support to minimize rattling and vibrations.
- Speaker height adjustment – ensure your speakers are at ear level for optimal sound and minimal movement. This positioning can also enhance inclusive casting in your audio setup, allowing for a more personalized listening experience. Additionally, maintaining consistent listening levels can contribute to a more balanced sound profile. A well-positioned speaker setup can also improve overall sound clarity, making the listening experience more enjoyable.
- Room acoustics – position speakers away from walls or corners that can amplify vibrations. This can enhance the overall sound quality by creating a more balanced audio environment.
- Surface stability – place speakers on a flat, non-slippery surface or use anti-slip pads for secure footing.
Adjusting these factors allows your speakers to remain firm during playback, minimizing rattling. Experiment with slight shifts to find the most stable position, considering how room acoustics influence vibrations and overall sound quality. Additionally, be mindful of the importance of surface stability when selecting speaker placements, as it can significantly impact sound quality and reduce unwanted noise.
Prevent Future Rattling and Keep Your Speakers Quiet
Once you’ve adjusted your speaker placement for stability, the next step is to prevent future rattling and keep your speakers quiet during playback. Improving room acoustics plays a key role—add soft furnishings like rugs, curtains, or foam panels to absorb vibrations and reduce resonances that cause rattling. Additionally, check that your speaker aesthetics align with your space; hiding or blending them can minimize external impacts that trigger noise. Consider using vibration isolation pads or mounts designed to dampen movement, which helps keep your speakers steady and quiet. Regularly inspect mounting hardware for looseness or wear, tightening or replacing parts as needed. Taking these steps guarantees your tower speakers stay stable, enhancing sound quality while maintaining a clean, clutter-free appearance.
Frequently Asked Questions
Can Speaker Rattles Damage My Audio Equipment?
Yes, speaker rattles can cause speaker damage over time if left unaddressed, which may compromise sound quality. When your speakers rattle, it often means they’re being pushed beyond their limits or have loose components, risking internal damage. Fixing the mounting and ensuring proper setup helps protect your equipment. Ignoring rattles might lead to long-term damage, reducing sound clarity and potentially causing costly repairs. Always maintain your speakers for peak sound quality.
Are Certain Materials More Effective for Securing Speakers?
Ever wonder if using the right mounting materials can make a difference? For speaker stability, materials like rubber, foam, or specialized mounting brackets often work best. They absorb vibrations and prevent rattling. Strong, dense materials like wood or metal can also secure your speakers firmly. Choosing the right mounting materials isn’t just about stability, it’s about ensuring your sound stays clear and free of unwanted vibrations.
How Often Should I Inspect My Tower Speakers for Rattles?
You should inspect your tower speakers every few months for rattles. Regular checks help catch issues early and guarantee vibration dampening remains effective. Look for loose mounting brackets or worn-out hardware that might compromise mounting longevity. Tighten any loose screws and replace damaged components promptly. Consistent inspections keep your speakers secure, prevent unwanted vibrations, and maintain peak sound quality, saving you from costly repairs or replacements down the line.
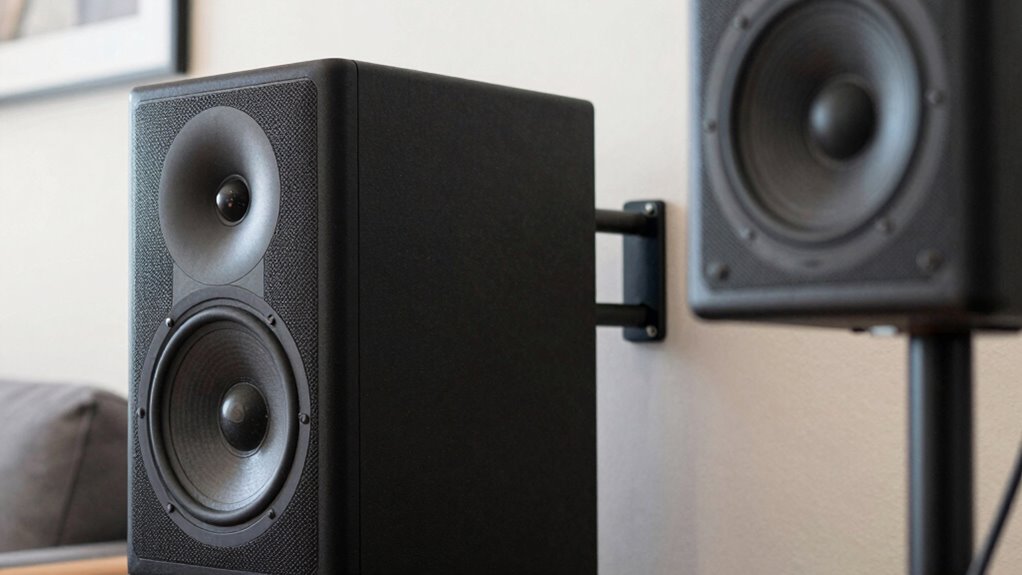
Do Speaker Stands Help Prevent Mounting-Related Rattles?
Yes, speaker stands greatly help prevent mounting-related rattles by improving mounting stability. They keep your towers secure, reducing unwanted vibrations. Look for stands with vibration damping features, like rubber pads or isolators, to absorb excess vibrations further. Properly stable stands minimize movement and rattling, ensuring clearer sound. Regularly check your stands for looseness or wear, and replace or tighten them as needed to maintain ideal vibration control and sound quality.
Is Professional Installation Necessary to Prevent Speaker Rattles?
You don’t need professional installation to prevent speaker rattles, but proper speaker placement and mounting techniques are essential. Think of it like tuning a musical instrument—if your speakers aren’t securely mounted, vibrations escape and cause rattles. A simple DIY approach, like tightening brackets or using foam padding, often solves the problem. If you’re unsure, consulting a pro guarantees your speakers stay steady, avoiding unnecessary noise and damage.
Conclusion
Think of your speakers as a delicate dance partner—if they’re rattling, it’s not their rhythm, but their footing. By checking and tightening mounting hardware, adding damping materials, and adjusting their position, you’ll restore harmony. Keep your setup stable, and your sound won’t just be loud—it’ll be crystal clear, like a finely tuned orchestra. Don’t let rattles steal the show—secure your speakers, and enjoy the music without missing a beat.