Fixing damaged surfboard fins and leashes is vital for your performance and safety. Start by evaluating the fins; fiberglass fins can often be repaired with epoxy resin, while plastic fins usually need replacement. For leashes, inspect for frays or damaged cuffs, and replace them if necessary. Make certain your leash offers the right length for control and safety. With the right approach, you can keep your gear in top shape—there’s more to explore about proper repair techniques!
Key Takeaways
- Inspect fiberglass fins for minor cracks or dings, and repair with epoxy resin for effective adhesion and stability.
- Replace damaged plastic fins promptly, as repairs may not hold under pressure and could compromise safety.
- Assess leash length and condition; replace frayed or damaged leashes to maintain reliability and control while surfing.
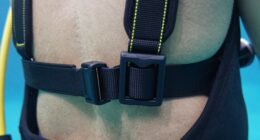
- Ensure leash cuffs are intact; consider cutting off damaged cuffs and attaching new ones for secure performance.
- Protect against UV rays by applying sunscreen to surfers and young participants during outdoor activities.
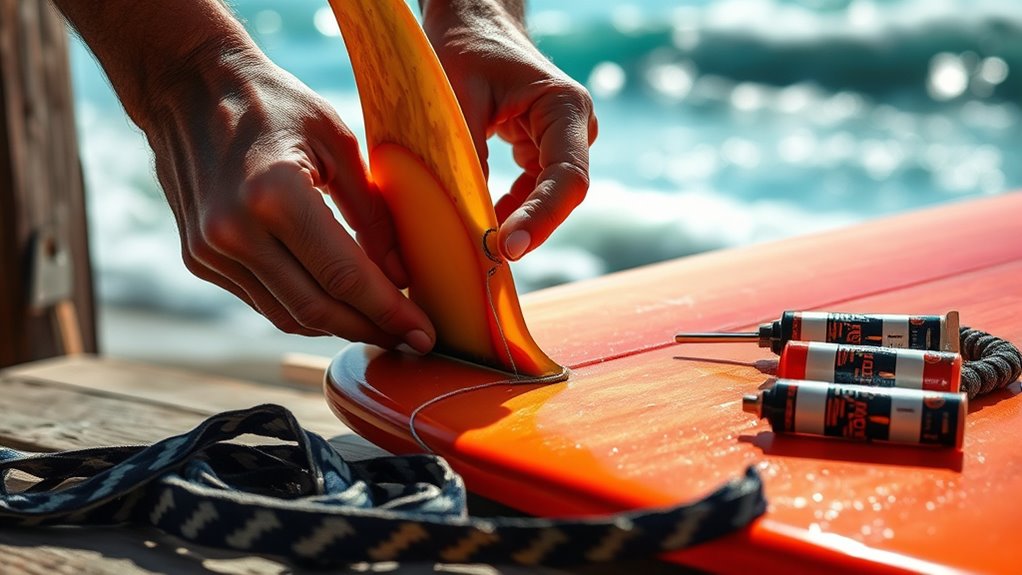
When your surfboard fins or leash get damaged, it can feel like a major setback, but you don’t have to let it ruin your day on the waves. Knowing how to assess and fix these issues can save you from missing out on great surf sessions. First, let’s talk about your fins. Depending on the fin material—whether they’re fiberglass, plastic, or carbon fiber—your approach to repair may differ. For minor dings or cracks in fiberglass fins, a bit of epoxy resin can do wonders. You’ll want to sand the area clean, apply the resin, and let it cure properly before hitting the water again. If you’re dealing with plastic fins, you might be out of luck; they often need replacing since repairs don’t hold up well under pressure.
Now, if your leash is the problem, the fix can be straightforward, but you need to assess the leash length and condition first. A leash that’s too long can lead to tangles, while one that’s too short might not give you enough slack if you wipe out. If the cuff is damaged, you might be able to replace just that part without changing the entire leash. Simply cut off the damaged cuff, and attach a new one if you have a compatible strap. If the cord itself is frayed, it’s best to replace the entire leash to guarantee your safety while surfing. A strong leash is essential, as it keeps your board close to you and prevents it from becoming a hazard to others in the water. Additionally, protecting delicate skin from UV rays is crucial when spending time outdoors, so make sure to apply sunscreen to yourself and any young surfers in your group.

Pro-Lite Finless Coffin Surfboard Travel Bag Double/Triple (2-3 Boards) 7'6
This boardbag has 10mm of foam protection and is designed for the traveling surfer taking 2-3 boards depending...
As an affiliate, we earn on qualifying purchases.
Frequently Asked Questions
Can I Use Epoxy Resin for All Surfboard Repairs?
Yes, you can use epoxy resin for many surfboard repairs, but be mindful of epoxy compatibility with your board’s materials. If your surfboard is made from polyurethane, epoxy might not adhere well. When reinforcing fins, epoxy can provide a strong bond, improving durability. Just make certain the repair area is clean and dry before applying the resin. Overall, epoxy is a great choice for various repairs, offering strength and resilience for your surfboard.
How Often Should I Replace My Surfboard Leash?
You should replace your surfboard leash every 6 to 12 months, depending on wear and tear. Regular leash replacement is essential for damage prevention while surfing. Check for frays, cracks, or any signs of weakness after each session. If you notice any issues, don’t hesitate to replace it sooner. A reliable leash keeps you connected to your board and enhances your safety, so invest in a good-quality leash for the best experience.
What Are the Signs of a Damaged Surfboard Fin?
You’ll know your surfboard fin’s damaged when you spot fin cracks or feel it wobbling during rides. It’s like discovering your favorite board’s lost its magic! If you see any noticeable breaks, or if the fin seems loose and moves unpredictably in the water, it’s time to act. Don’t ignore these signs; a compromised fin can ruin your session and put you at risk. Keep an eye out to ride safely!
Can I Fix a Leash That Has a Broken Clip?
Yes, you can fix a leash that has a broken clip. For leash repair, start by evaluating the damage. If the clip’s just detached, you might be able to reattach it or replace it with a similar clip. If the leash itself is frayed, consider using a strong adhesive for smaller repairs or replacing the entire leash if it’s too damaged. Remember, a reliable leash keeps you safe while surfing, so don’t skip this step!
How Do I Prevent Future Damage to My Surfboard Fins?
To prevent future damage to your surfboard fins, focus on fin maintenance and proper surfboard storage. After each session, rinse your fins with fresh water to remove salt and sand. Store your board in a cool, shaded area, using a board bag for added protection. Avoid placing heavy objects on your board, and regularly check your fins for any signs of wear. With these steps, you can keep your fins in great shape.

OCEANBROAD Surfboard Longboard Travel Bag Double for 2 Boards 6'0, 6'6, 7'0, 7'6, 8'0, 8'6, 9'0, 9'6, 10'0
BAG SIZE WEIGHT AND SHAPE: 6’6’’ x 22’’ x 6'', 10.5 lbs, for board size up to 6’8’’...
As an affiliate, we earn on qualifying purchases.
Conclusion
In conclusion, repairing your surfboard fins and leashes not only saves you money but also extends the life of your gear. Did you know that over 50% of surfers have experienced damaged fins at some point? By learning how to fix these issues yourself, you can keep riding the waves without breaking the bank. So grab your tools, take on those repairs, and get back to enjoying the surf—after all, every ride counts!
SWELL Wakesurf - Vermillion Skim Board (56)
BOARD STYLE: The Vermillion Skim Board is a skim style wakesurfer. Ideal for surface tricks like 360's, shuv-its,...
As an affiliate, we earn on qualifying purchases.

Ronix Koal Classic Fish Wakesurf Board for All Levels | Versatile Forgiving Surf-Style Board with Tool-Free Fin-S System & Swallowtail | Best for Recreational Wakesurfing, Glossy Black/Bamboo, 5'
SURF-STYLE PERFORMANCE FOR ALL LEVELS - The Ronix Koal Classic Fish Wakesurfing Board is designed as a true...
As an affiliate, we earn on qualifying purchases.