
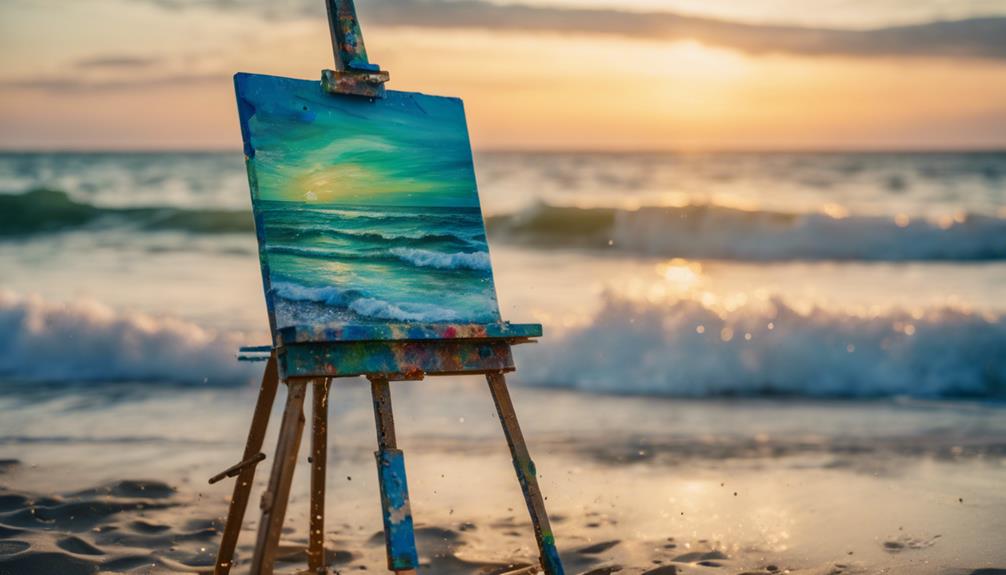
To draw surfing waves, start with light sketches using oval shapes for wave outlines. Focus on fluid curves to represent the rise and fall. Add zig-zag lines for surface texture and gradually darken your lines for definition. Pay attention to the wave's barrel and incorporate foam by sketching cloud-like shapes at the peak. Use smooth shading techniques and layer colors for depth, blending to capture ocean hues. Don't forget to explore your personal style—vary line thickness and shapes. As you practice, you'll discover unique methods to enhance your wave drawings and express your artistic vision.
Key Takeaways
- Start with light sketches using oval shapes to outline the wave structure, focusing on slopes and peaks for realism.
- Incorporate zig-zag lines at the base to depict water texture and enhance the dynamic quality of the waves.
- Utilize shading techniques by layering colors and smudging for smooth transitions, capturing the ocean's depth and movement.
- Experiment with different wave shapes and personal symbols to develop a unique artistic expression and narrative in your artwork.

Under Armour Squeeze Water Bottles, 32 oz Water Bottles, Sideline Sports Water Bottle with Quick-Shot Lid, Quick & Easy Hydration, Gym Water Bottles, Squeeze Bottle, 1 32oz Bottle
- Easy Hydration: Quick-shot lid and one-way valve
- On-the-Go Use: One-hand operation for active hydration
- Measurement Markings: Ounces and milliliters for tracking
As an affiliate, we earn on qualifying purchases.
Essential Drawing Techniques
To capture the essence of surfing waves, start with light sketches using oval or egg shapes to outline their basic form. This approach gives you the flexibility to adjust as you refine your drawing.
As you work, use gentle, fluid curves to illustrate the natural rise and fall of the waves, emphasizing their energy and movement. When you focus on the next wave, guarantee your lines reflect its unique characteristics, keeping in mind that a wave is less distinct at its base.
At the bottom of the wave, incorporate zig-zag lines to depict the water's surface, adding texture. Once you're satisfied with the outline, gradually darken selected lines to give your wave a more defined shape.
To illustrate foam, experiment with cloud-like shapes at the peak of the wave. Layered shading techniques can create depth, adding dimension to your drawing.
Don't hesitate to adjust your paper orientation or vary your line thickness to enhance the dynamic quality of your waves. This practice helps convey the power and beauty of surfing waves, resulting in a more enthralling representation.
Understanding Wave Structure
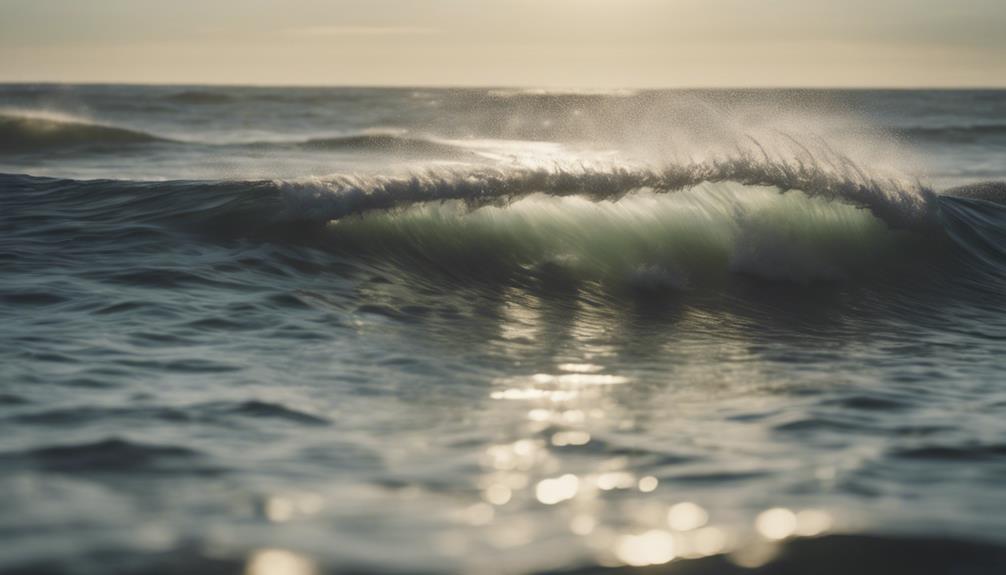
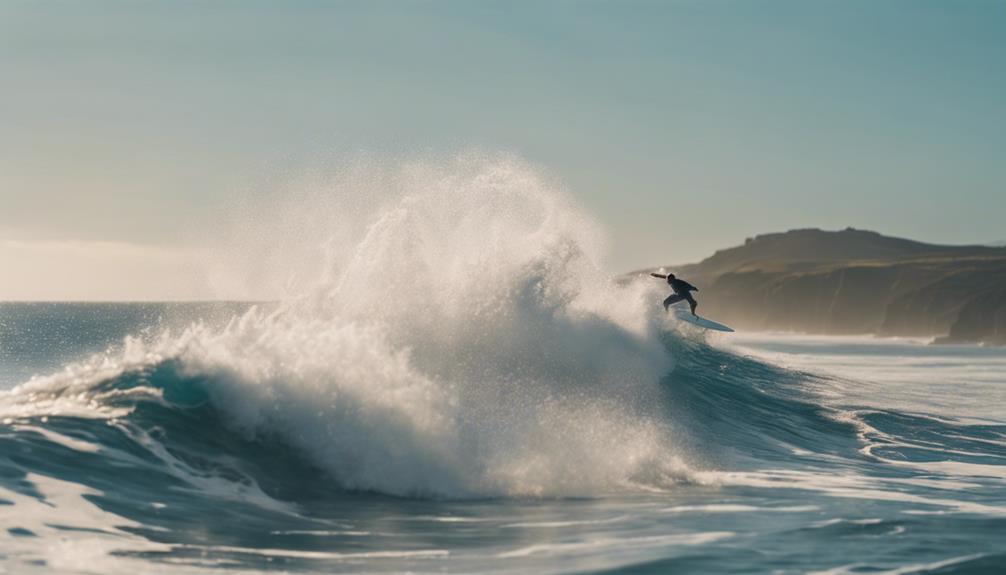
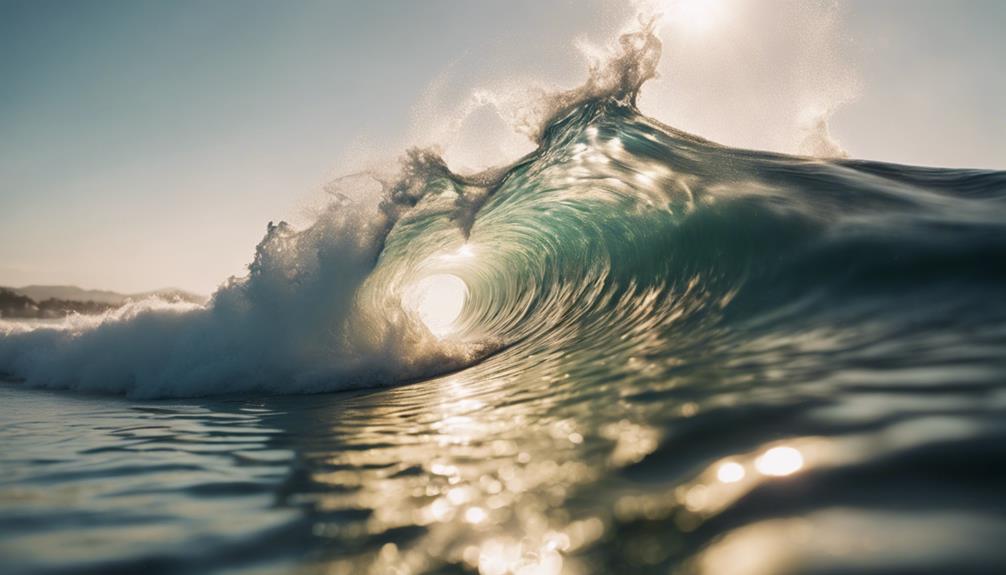
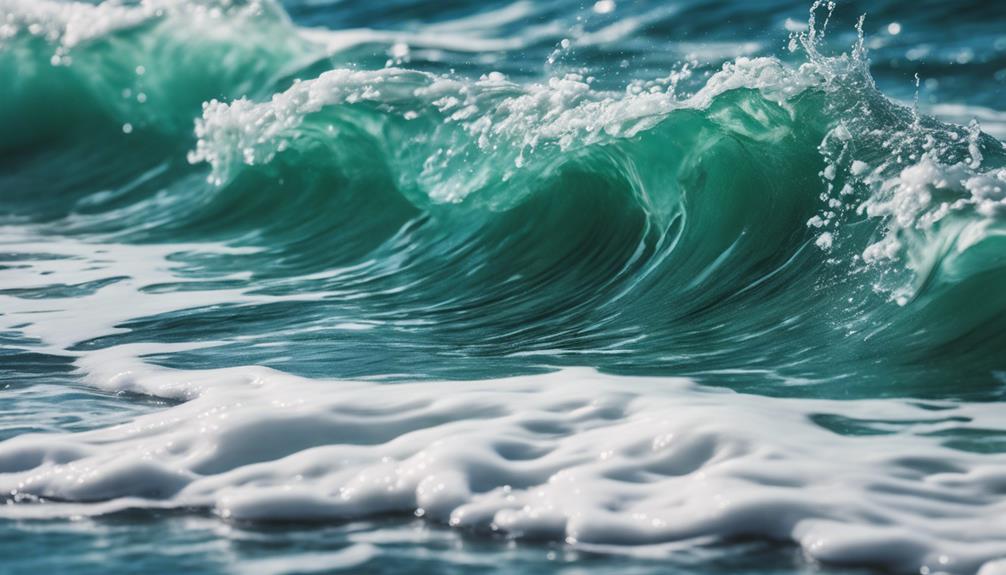
Understanding wave structure reveals the intricate components that contribute to the beauty and power of surfing waves. A wave's basic form consists of a gentle slope that rises and falls, culminating in a peak defined by its curvature.
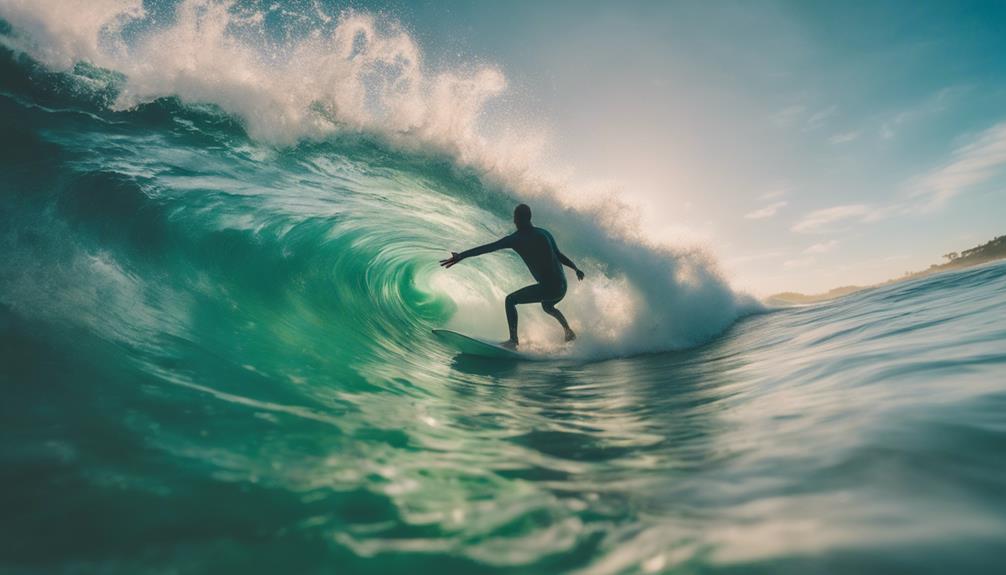
When you're capturing this wave that's about to break, pay close attention to the barrel—the inner curve that gathers momentum. This is where the wave's energy begins to manifest.
At the top, you'll notice foam resembling cloud-like shapes, showcasing the turbulent energy as the water crashes down. Representing this foam accurately adds a layer of realism to your drawing.
For the bottom of the wave, use zig-zag lines to depict the flat water, enhancing the contrast with the rising wave above.
To create depth and movement, vary the line thickness throughout the wave's structure. Thicker lines can emphasize areas of greater energy, while thinner lines can suggest gentler slopes.
This approach not only captures the wave's essence but also brings it to life on paper. By understanding these components, you'll be better equipped to create stunning representations of surfing waves.
Detailing Wave Features
Detailing wave features brings your drawing to life, capturing the unique characteristics that make each wave distinct and enchanting. Start by sketching a gentle slope above the foundational egg shape to represent the wave's crest. Make sure the curves are fluid to mimic real wave movement. At the peak, incorporate cloud-like shapes to illustrate foam, while using zig-zag lines at the base to depict the flat water surface beneath.
To emphasize the dynamic nature of the wave, utilize curved lines for the barrel and a waterfall effect on the crashing side. Vary line thickness throughout the wave structure to enhance three-dimensionality. This adds realism and depth to your drawing.
Here's a quick reference table to help you remember key features:
| Feature | Description |
|---|---|
| Crest | Gentle slope above the egg shape |
| Foam | Cloud-like shapes at the wave's peak |
| Base | Zig-zag lines depicting flat water surface |
| Barrel | Curved lines creating a hollow wave effect |
| Texture | Dots in the foam area for realistic appearance |
Shading for Depth
Adding shading techniques enhances the wave's depth, giving it a more lifelike appearance that captures the viewer's attention. To create this effect, use darker shades in the barrel area of the wave. This approach adds the illusion of depth and shadow, emphasizing the three-dimensional quality of your drawing.
For smoother shading shifts, apply the pencil side instead of the tip, allowing for a more natural gradient that mimics the way light reflects on water. Remember to leave small unshaded areas on the wave's surface; these highlights contribute to a shiny, realistic look that draws the eye.
Gently smudge the shaded areas to blend the tones effectively while preserving those highlight spots. This technique guarantees your wave maintains a fluid and cohesive appearance.
Additionally, don't hesitate to experiment with layering different shades of blue and green. This layering builds complexity and richness, enhancing the realism of your wave.
Color Application Methods
When you're applying color to your waves, layering is key to achieving depth and dimension.
You'll want to explore various shading techniques and blending tips to create smooth shifts and realistic highlights.
Let's jump into these methods to enhance your artistic surf creations.
Layering for Depth
Layering colors effectively brings your surfing waves to life, creating a rich depth that mirrors the ocean's movement. Start with a base color for your wave, something that captures the essence of water. Gradually build up darker shades in areas that need more depth, like the barrel and the underside of the wave. This technique helps you create realistic shadows that enhance the overall look.
When applying your colors, use the side of a pencil to achieve smooth gradations; this technique allows for soft blending and maintains a fluid appearance. Don't forget to add lighter shades on the wave's surface to mimic reflections, giving it that shiny, realistic quality.
Experiment with blending and smudging to merge your colors seamlessly. This not only enriches your wave's texture but also reflects the dynamic nature of ocean waves. The goal is to create a harmonious blend of colors that captures both motion and stillness, inviting the viewer into your artwork.
With practice, you'll find that layering transforms your drawings into vibrant representations of the ocean's beauty.
Shading Techniques Explained
Shading techniques are essential for capturing the fluid movement of surfing waves and enhancing their realism through effective color application methods.
You'll want to start by utilizing the side of your pencil for smooth shading effects. This allows for a gradual shift between light and dark areas on the wave, creating a more dynamic look.
Experiment with layering colors by beginning with a base color and gradually adding darker shades. This builds complexity and adds depth and contrast to your drawing.
Smudging techniques can also help blend tones and soften edges, while preserving highlight spots to create a shiny effect on the wave's surface.
Consistency is key, so select a color palette that reflects the natural hues of ocean waves. Adjust your colors for light and shadow to maintain a realistic appearance.
Don't forget to incorporate darker shades in the barrel area, as this effectively depicts depth and shadow, enhancing the three-dimensionality of the wave structure.
Color Blending Tips
To create stunning wave drawings, you'll want to blend colors smoothly for a seamless and realistic effect.
Start by using the side of your pencil or pastel instead of the tip. This technique allows for broader strokes and smoother shifts between colors. Begin with lighter hues and gradually layer darker shades to achieve a rich, complex appearance.
Don't hesitate to smudge with your fingers or a blending tool; this can help merge colors effortlessly, giving your waves a fluid look. Remember to leave intentional highlights in your application. These highlights reflect light on the wave, adding depth and realism to your artwork.
Experiment with varying pressure while applying your medium. This can create different shades and textures, enhancing the visual interest of your waves. You'll find that subtle shifts in pressure can make a big difference in how your colors interact.
Emphasizing Artistic Expression
When you draw surfing waves, you get to explore your personal style and let your unique interpretation shine through.
Incorporating themes of celebration not only enhances your artwork but also invites viewers to connect with the emotions behind each wave.
Personal Style Exploration
Exploring your personal style in drawing surfing waves opens a world of artistic expression that reflects your unique perspective. Start by experimenting with different wave shapes and sizes; each variation allows your artistic voice to shine through. Incorporate personal symbols or motifs that resonate with your experiences, enriching the narrative behind your artwork. This connection not only personalizes your piece but makes it more relatable to others.
Next, choose color palettes that evoke your feelings, creating a deeper bond between the viewer and your work. The colors you select can convey moods and emotions, enhancing the overall impact of your drawing. To emphasize the fluidity and movement of the waves, vary line thickness and apply dynamic brush strokes. This technique showcases your individual style and highlights the energy of the ocean.
Lastly, embrace mistakes as part of the creative journey. Instead of seeing them as failures, transform them into unique elements that define your work. By allowing your personal style to evolve organically, you'll not only celebrate your creativity but also develop a signature approach that speaks to who you are as an artist.
Themes of Celebration
Celebrating life through your wave drawings allows you to infuse your artwork with joy and meaning, capturing the exhilarating spirit of surfing. When you embrace themes of celebration, you reflect the dynamic energy of the waves, symbolizing freedom and adventure. Think about how the movement of water can illustrate life's highs and lows, inviting viewers to connect with your experiences.
Incorporating symbols related to joy and gratitude deepens the emotional resonance of your work. Each line and curve can represent a personal milestone, inviting others to share in your journey. By emphasizing the beauty of nature in your illustrations, you foster appreciation for life's fleeting moments, encouraging a bond with your audience.
As you draw, consider how your own experiences shape your artistic expression. Let the waves tell your story, celebrating not just the sport of surfing but the joy of living. By focusing on these themes, you create a powerful narrative that transforms your wave drawings into a celebration of life itself, allowing both you and your viewers to revel in the adventure and beauty that surrounds us all.
Creative Process Insights
Artistic surf journeys thrive on themes of life and celebration, infusing your wave drawings with joy and gratitude. Kick off your creative process by letting these themes guide your choices. Use symbols that resonate with your personal experiences; they'll help convey deeper messages within your wave art and create a unique connection with your audience.
Embrace artistic freedom throughout your journey. Allow yourself to explore different styles and techniques without limitations. This exploration can lead to unexpected discoveries that enrich your artwork. Don't shy away from experimentation; it's part of what makes the creative process so rewarding.
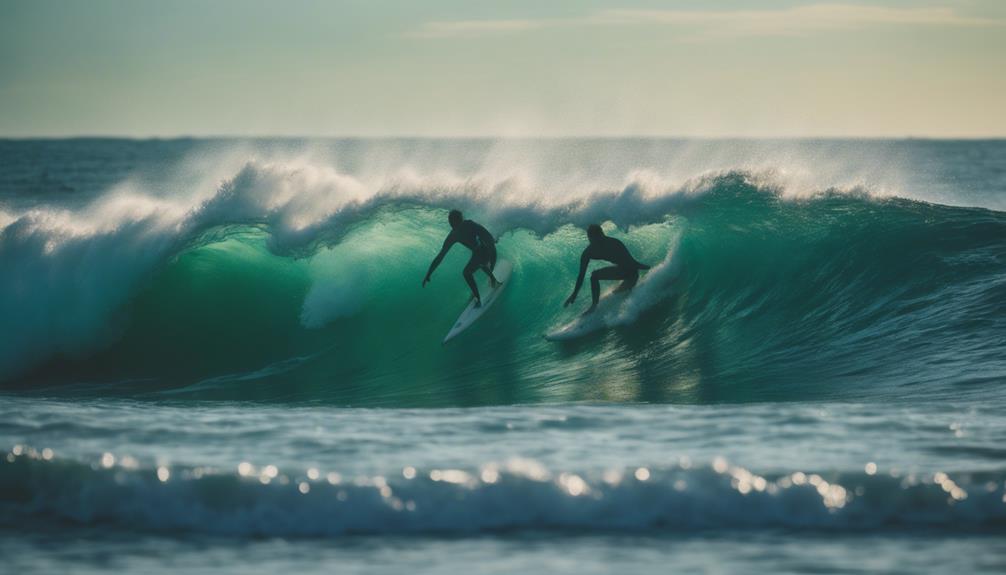
Observing real waves is essential for capturing their dynamic nature. Spend time at the beach or watch surf videos to analyze the fluidity and movement of water. Take mental notes or sketch quick studies to improve your detailing skills.
Adding Final Touches
To elevate your wave drawings, focus on adding final touches that enhance depth and texture, making your artwork truly stand out. Start by incorporating lighter lines and small dots in the foam area of the wave. This technique creates texture and boosts the illusion of depth, drawing viewers into your piece.
Next, consider adding additional waves in the background using lighter shades. This not only indicates distance but also gives your artwork a sense of perspective, helping to create a more immersive experience. Confirm that the curves of these background waves mimic the main wave's shape for consistency, making your composition feel cohesive and unified.
Observing real waves can inspire realistic details and behaviors, providing you with a solid foundation for your final touches. Pay attention to the subtleties in color and movement, and try to replicate these in your drawing.
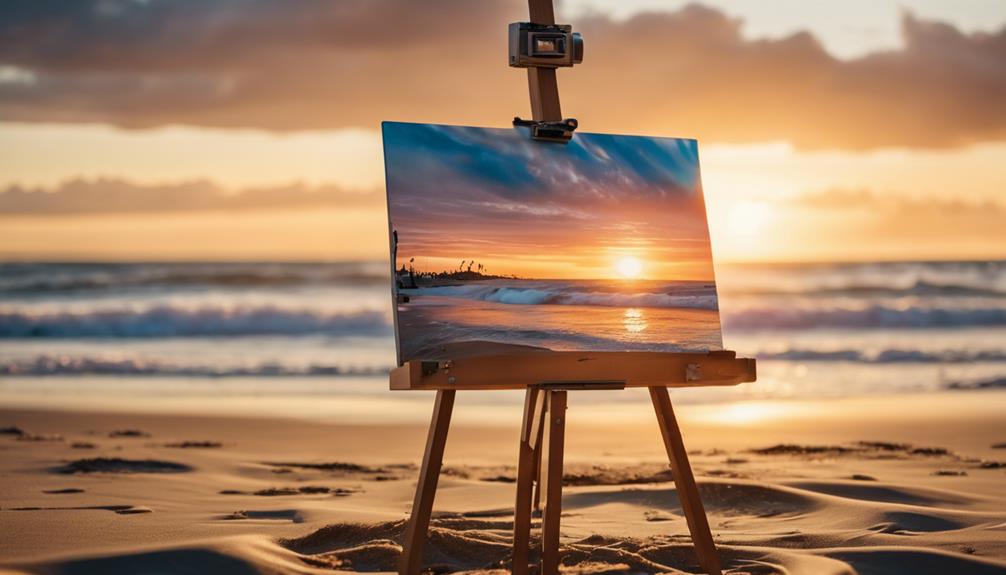
Presenting Your Artwork

When you present your artwork, the right environment can make all the difference in showcasing its beauty and details. Choose a well-lit space to highlight the intricate colors and textures of your piece. Natural light works wonders, but if that's not available, consider using soft, diffused artificial lighting.
Framing your artwork not only gives it a polished look but also protects it from potential damage. A sturdy frame acts as a barrier against dust and moisture, ensuring your piece stays in pristine condition. Additionally, use a strong backing board to maintain the shape and integrity of your artwork, preventing any warping over time.
Create an engaging display by grouping your artwork with complementary pieces or themes. This not only captivates viewers but also encourages them to explore the connections between your works.
Don't forget to document your artistic journey! Including photos or notes alongside your artwork adds context and depth, allowing viewers to appreciate the story behind each piece.
Finding Inspiration and Influence
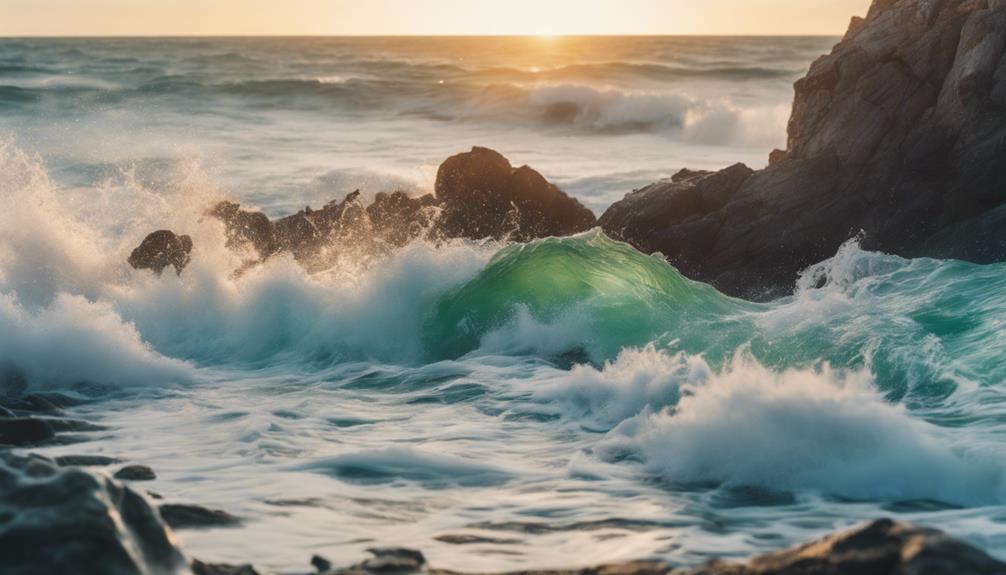
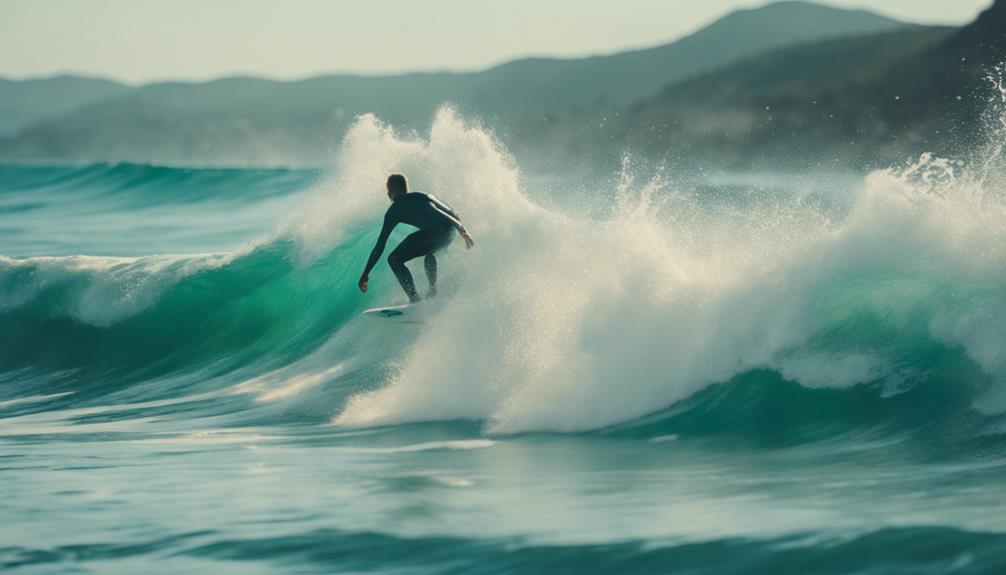
Finding inspiration for your surf artwork often starts with immersing yourself in the vibrant world of the ocean and its waves. Observing real waves in action lets you capture their fluidity and dynamics, essential for depicting surfing. Take time to visit local beaches or surf spots; sketching from life will give you firsthand experience of wave structure and motion.
Don't stop there. Delve into the works of renowned surf artists to explore various styles and techniques. This study can deepen your understanding of how to effectively convey the energy and excitement of surfing. Additionally, consider the cultural significance of surfing in different regions. This perspective can inspire thematic elements that resonate in your drawings.
Engaging with surf communities, both online and in-person, can also spark your creativity. Seek feedback and insights from fellow surf enthusiasts; their perspectives can ignite new ideas and techniques for your artwork.
Frequently Asked Questions
How Do You Draw a Wave Surfing?
To draw a wave, start with an oval shape for the base, then add curves for the crest. Incorporate foam details and shading for depth, ensuring to capture the wave's dynamic movement and fluidity.
How to Draw Breaking Waves?
To draw breaking waves, start with a gentle slope above an oval for the base. Add foam shapes, zig-zag lines for the surface, and use curved lines for depth. Finally, texture with dots and lighter lines.
How Do I Draw a Wave?
To draw a wave, start with an oval shape for the base. Sketch the crest gently, add foam details, and use varied lines for depth. Incorporate texture for realism, and enjoy the creative process!
How to Sketch a Big Wave?
Isn't capturing a big wave exhilarating? Start with a light oval shape, add a gentle slope, indicate the peak with cloud-like forms, and use varied lines and shading for depth and realism.
Can I Apply the Techniques for Drawing Surfing Waves to Draw Artistic Waves?
Yes, you can apply the techniques for drawing surfing waves to draw artistic waves. By learning how to draw surfing waves, you can incorporate the same principles of movement, shape, and form to create dynamic and visually striking artistic waves in your artwork.
Conclusion
As you step back and gaze at your masterpiece, a sense of anticipation builds.
Did you capture the raw energy of the ocean, the thrill of the ride? Each wave you've drawn tells a story, whispering secrets of the sea.
You know that with a few final touches, it could transform from mere lines on paper to a breathtaking moment frozen in time.
Will this be the artwork that resonates with others, drawing them into the world you've created?